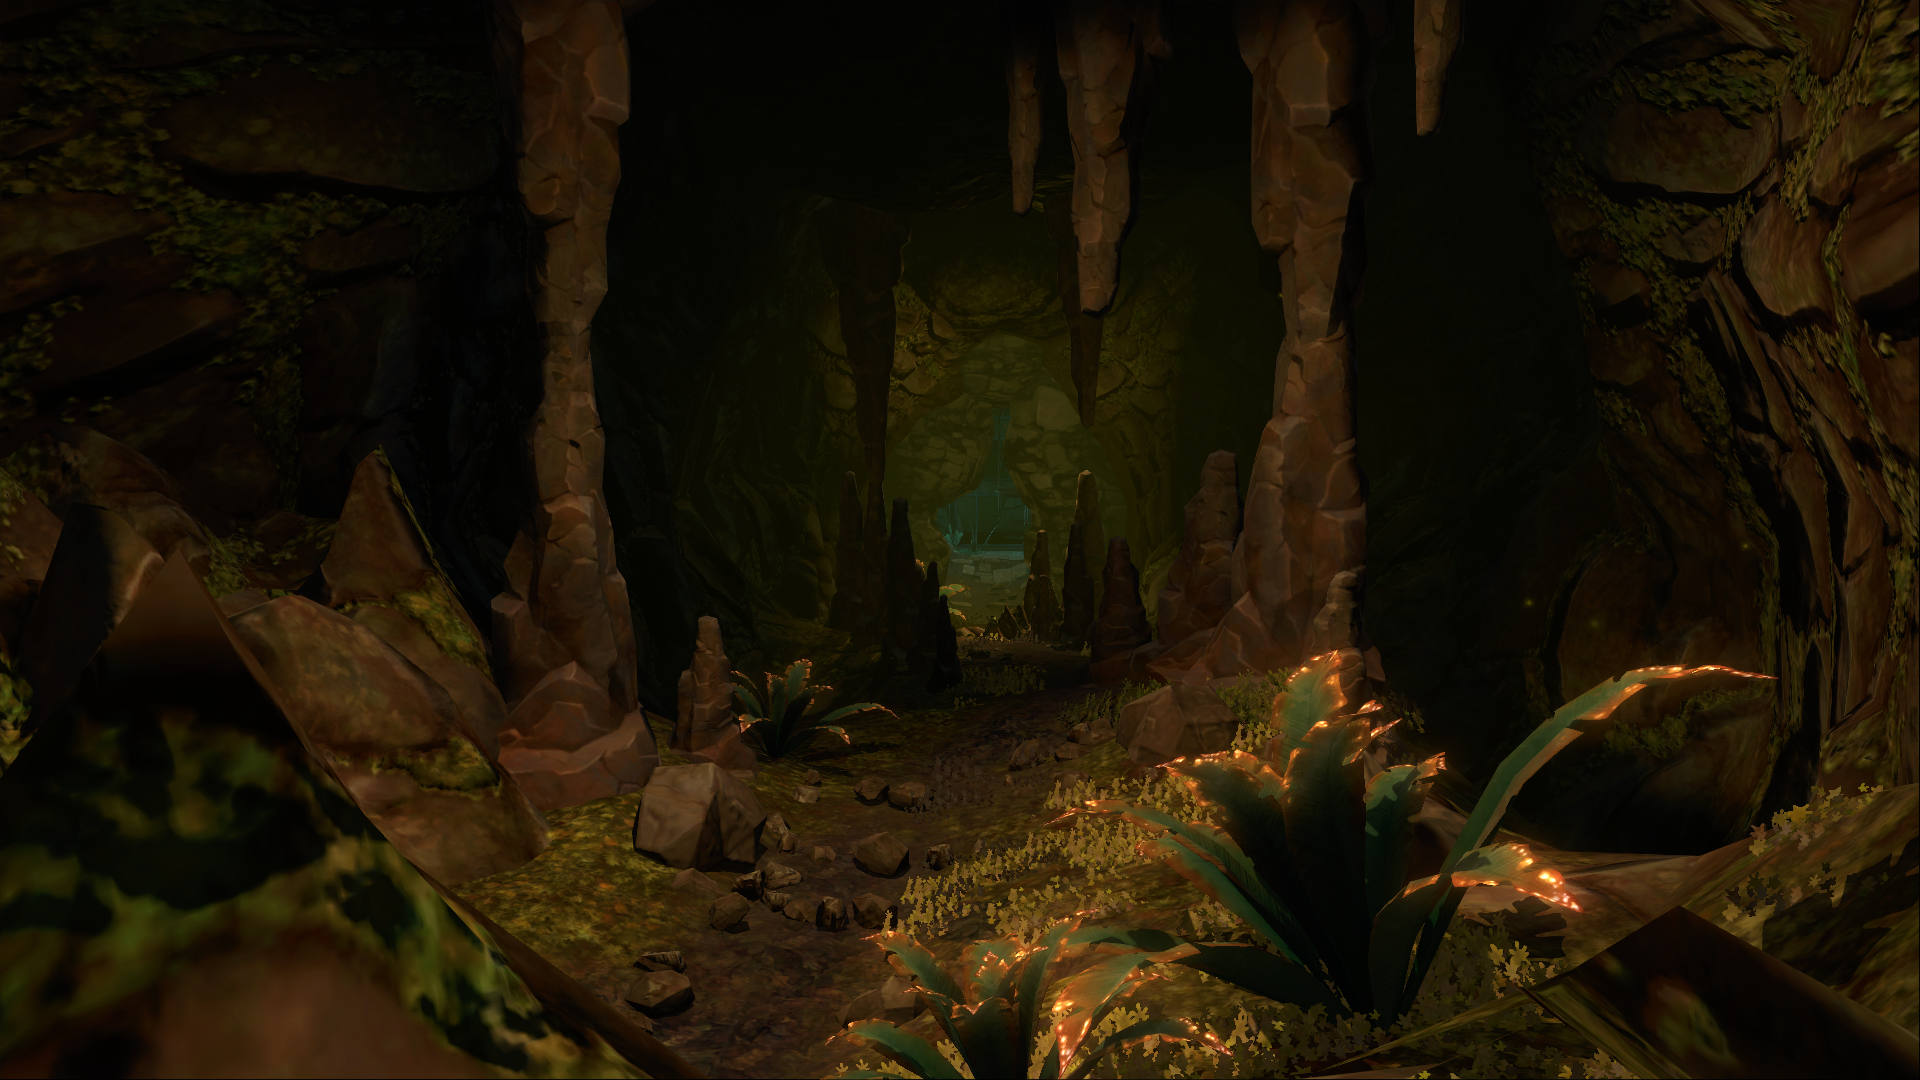
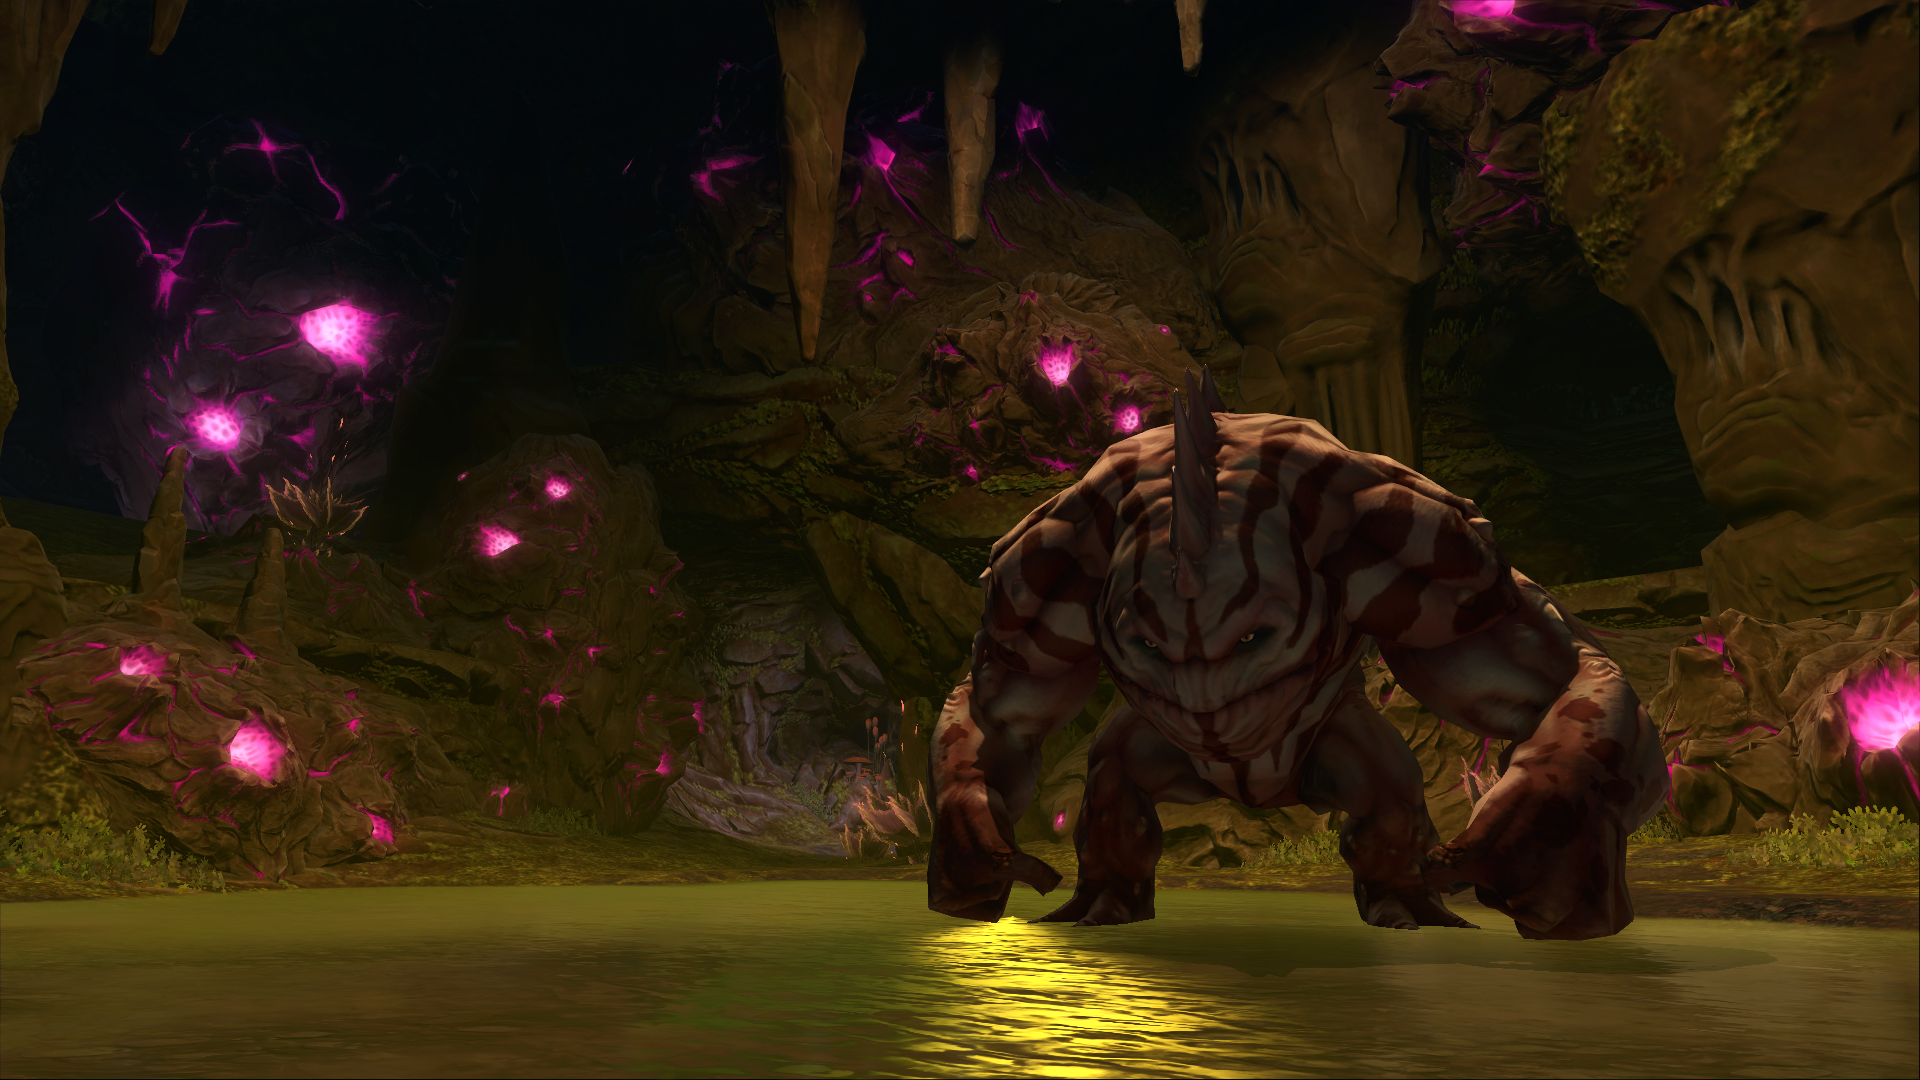
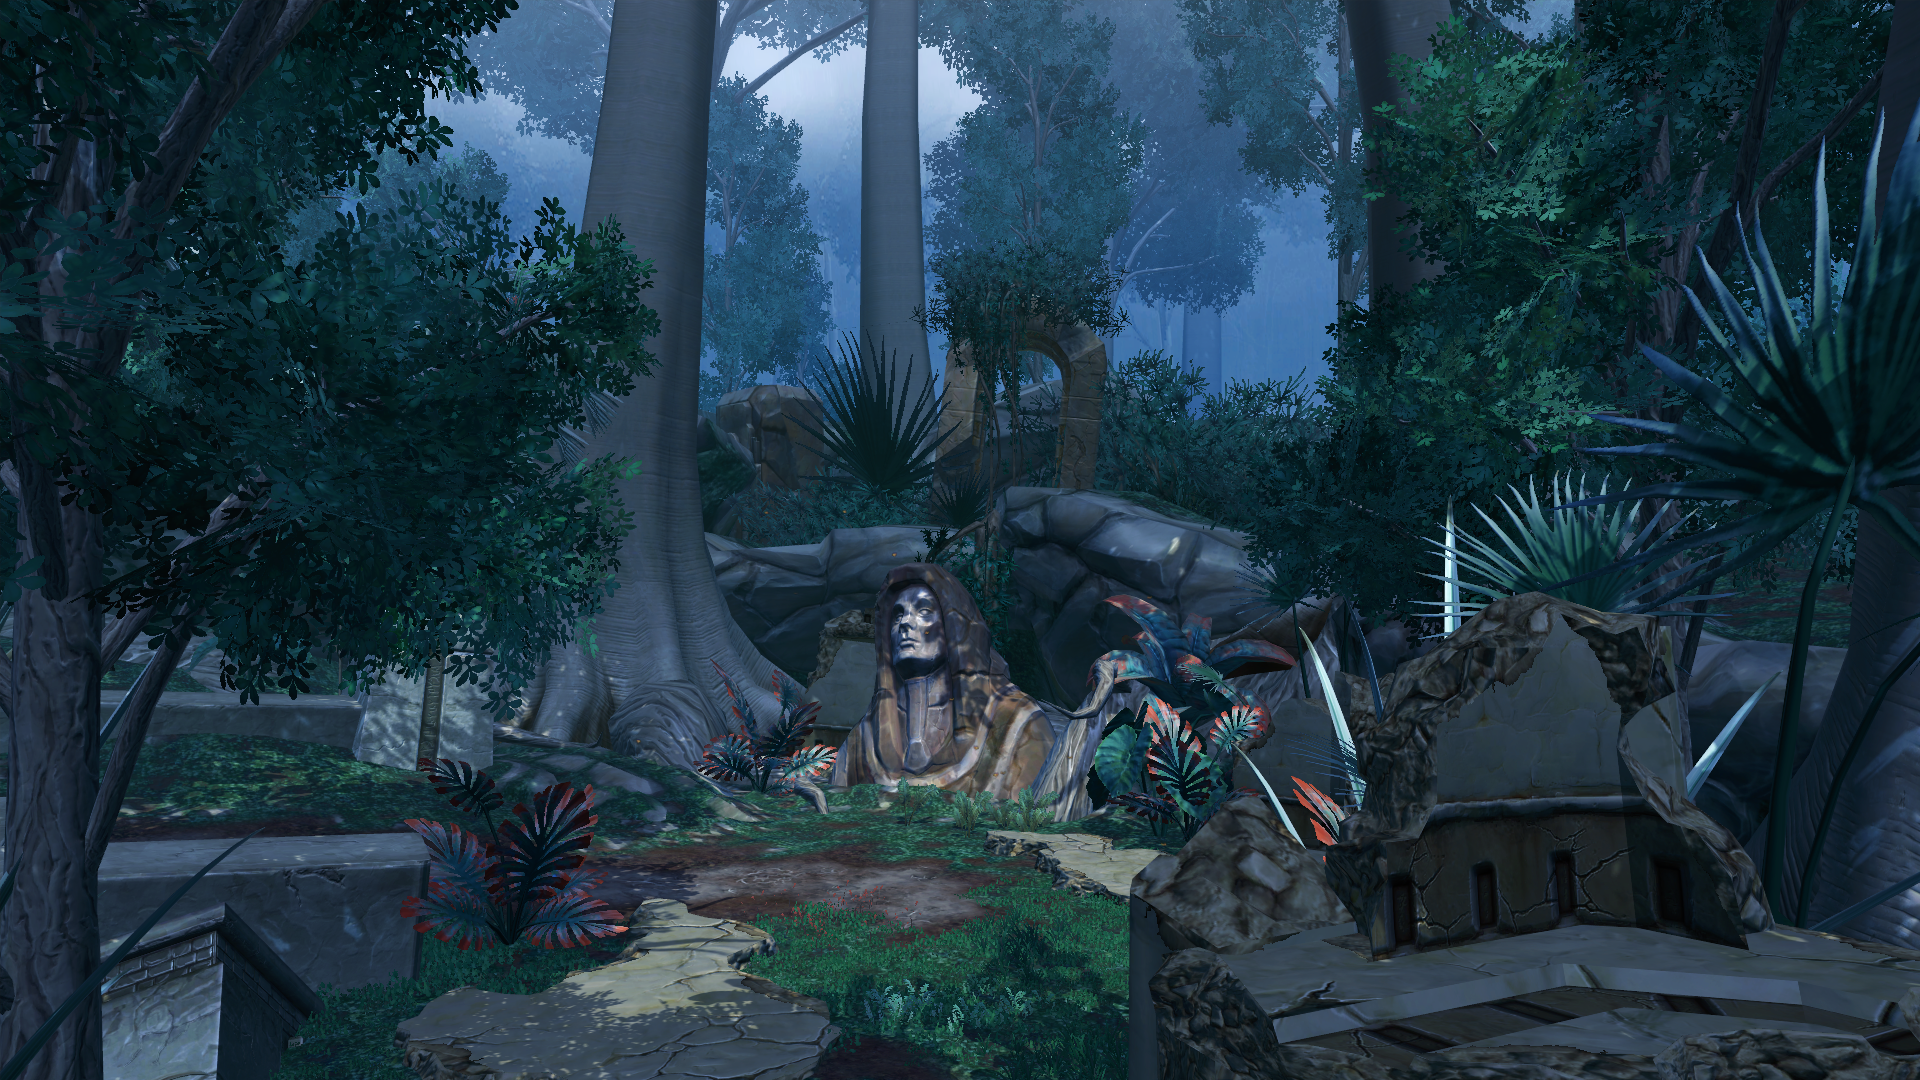
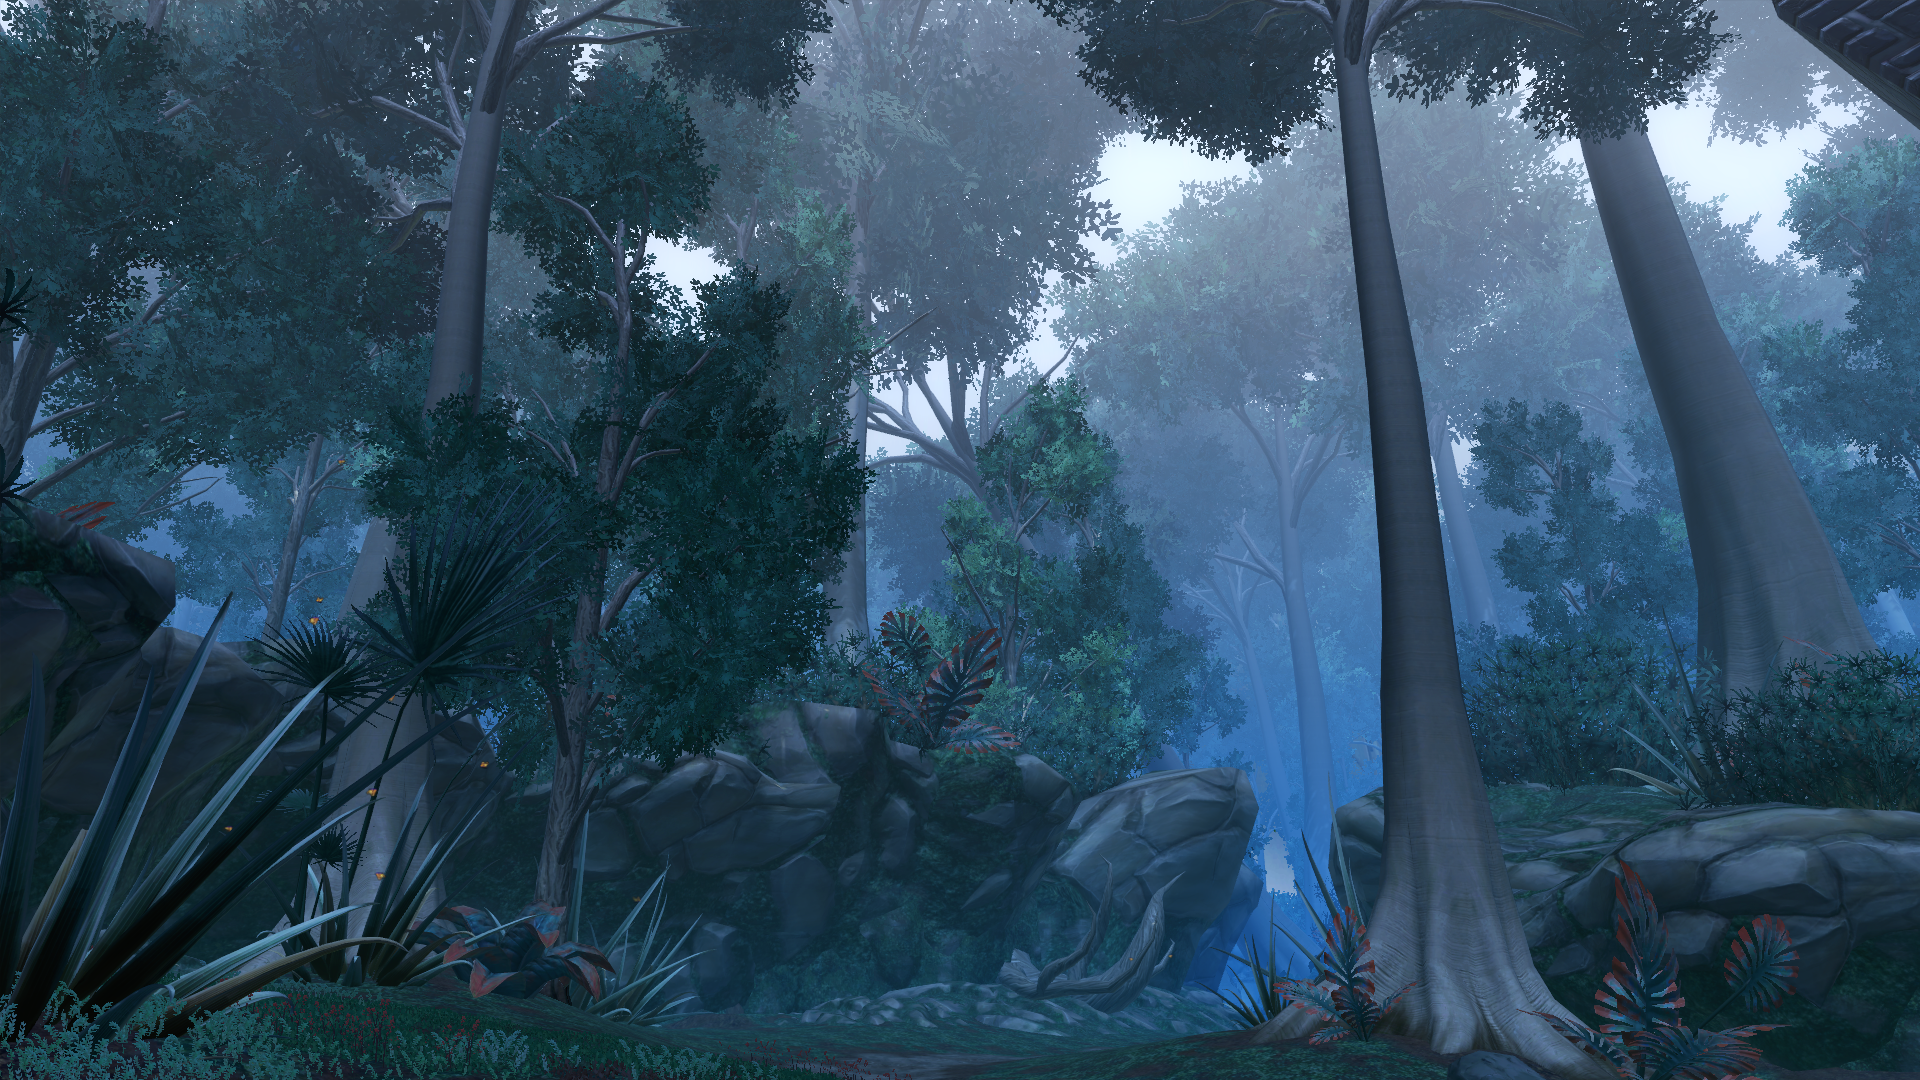
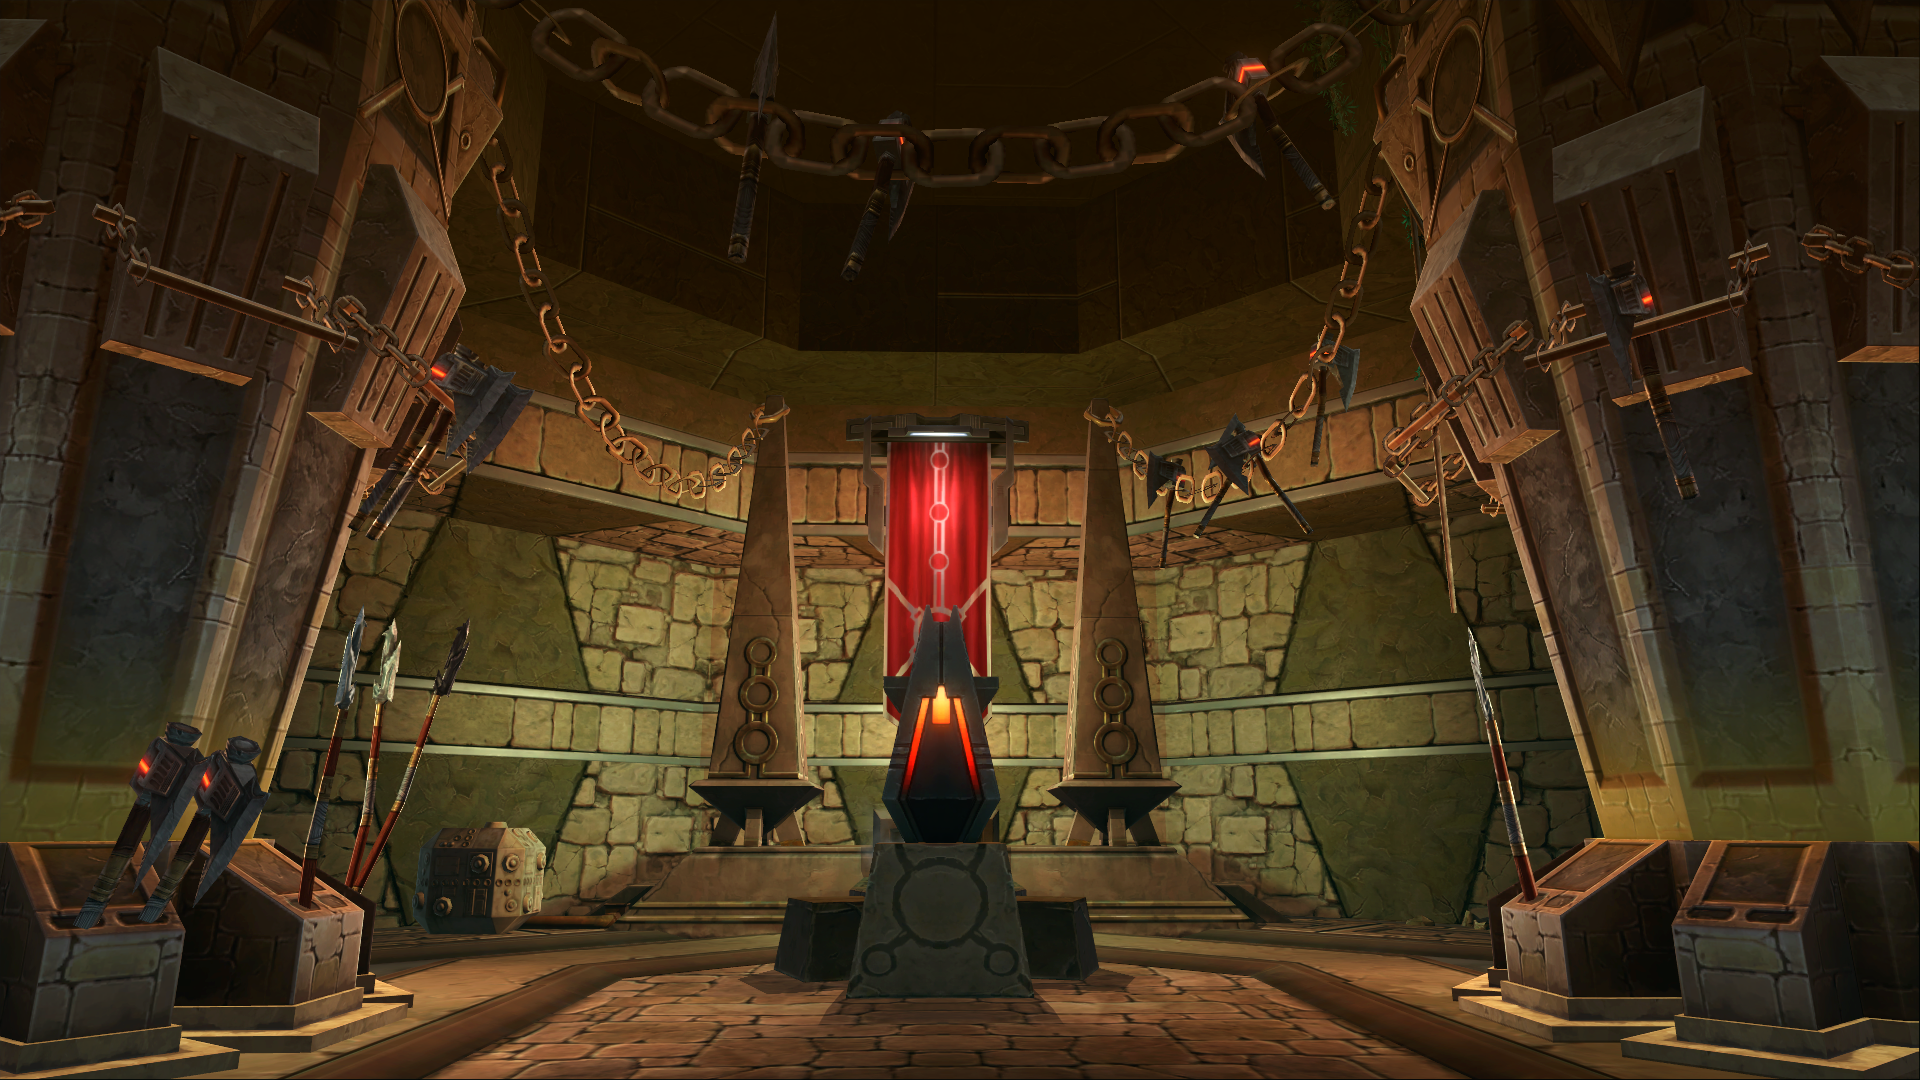
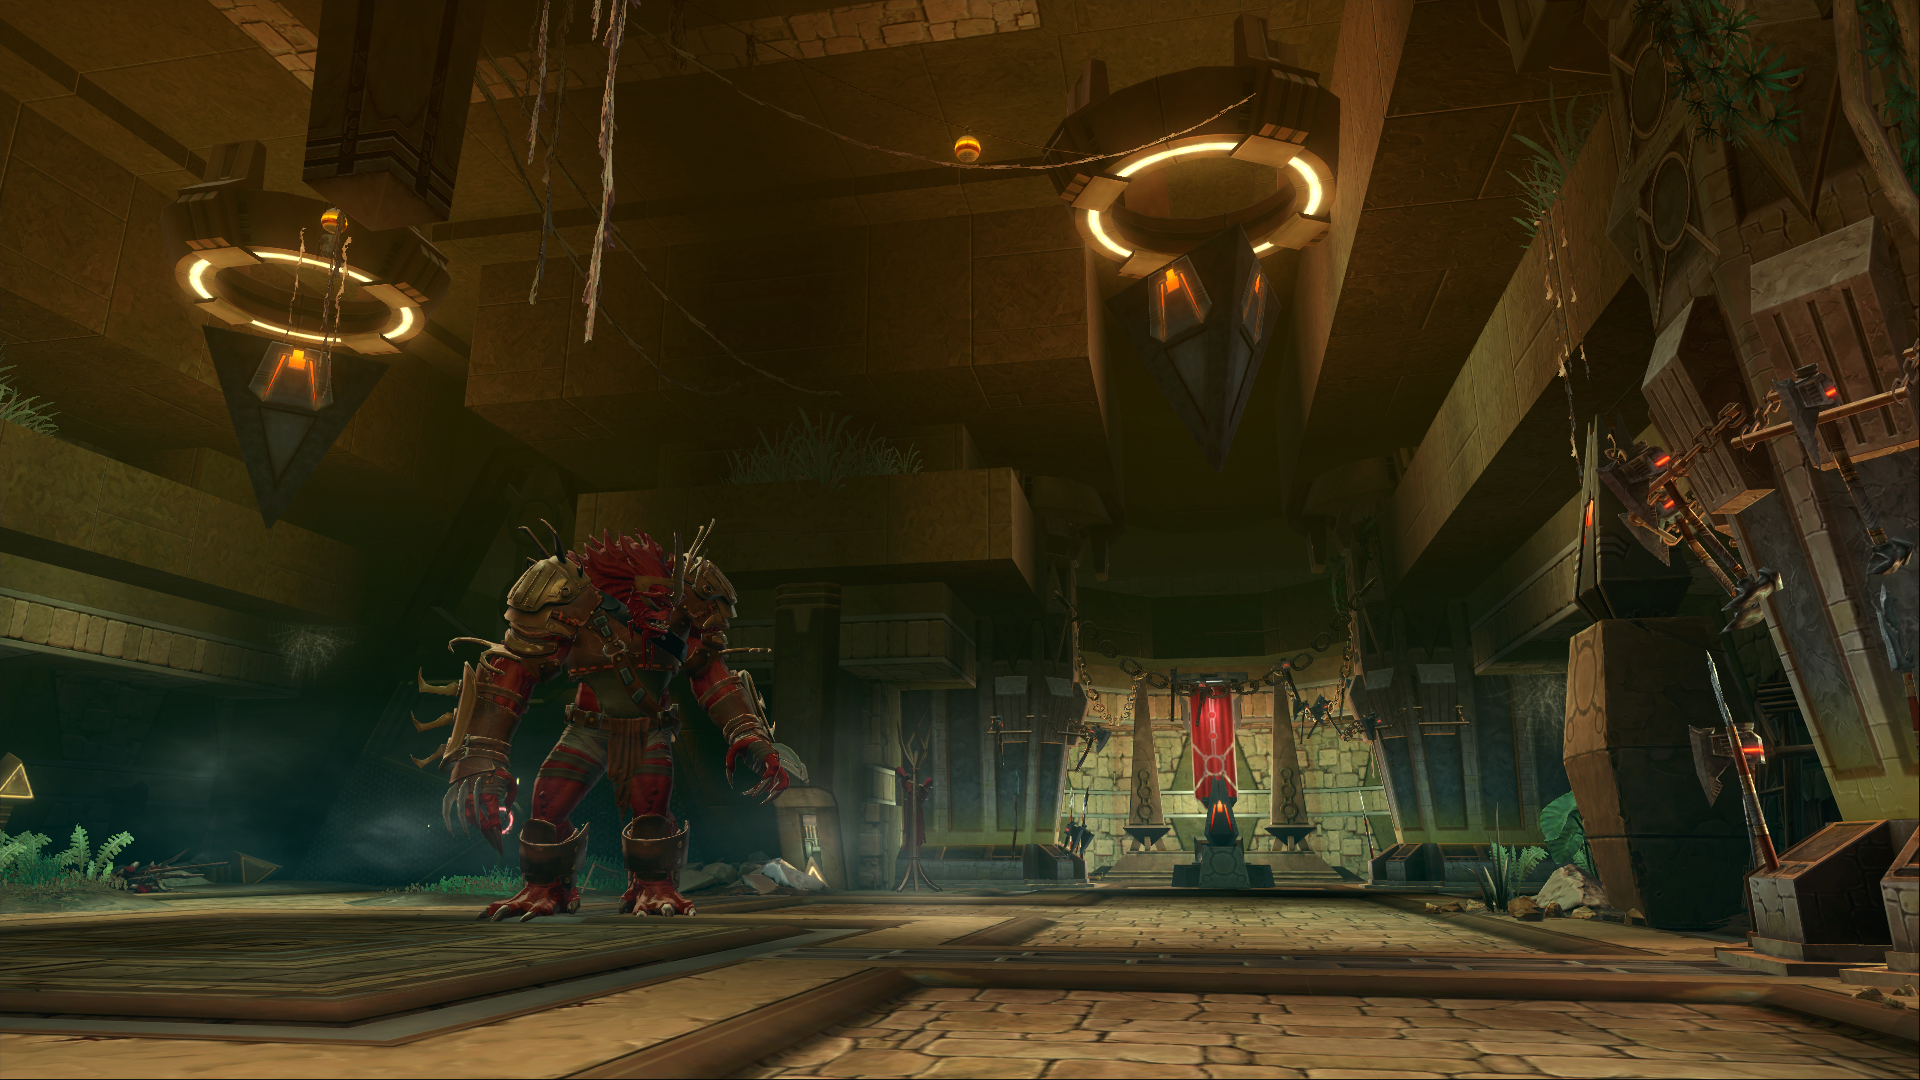
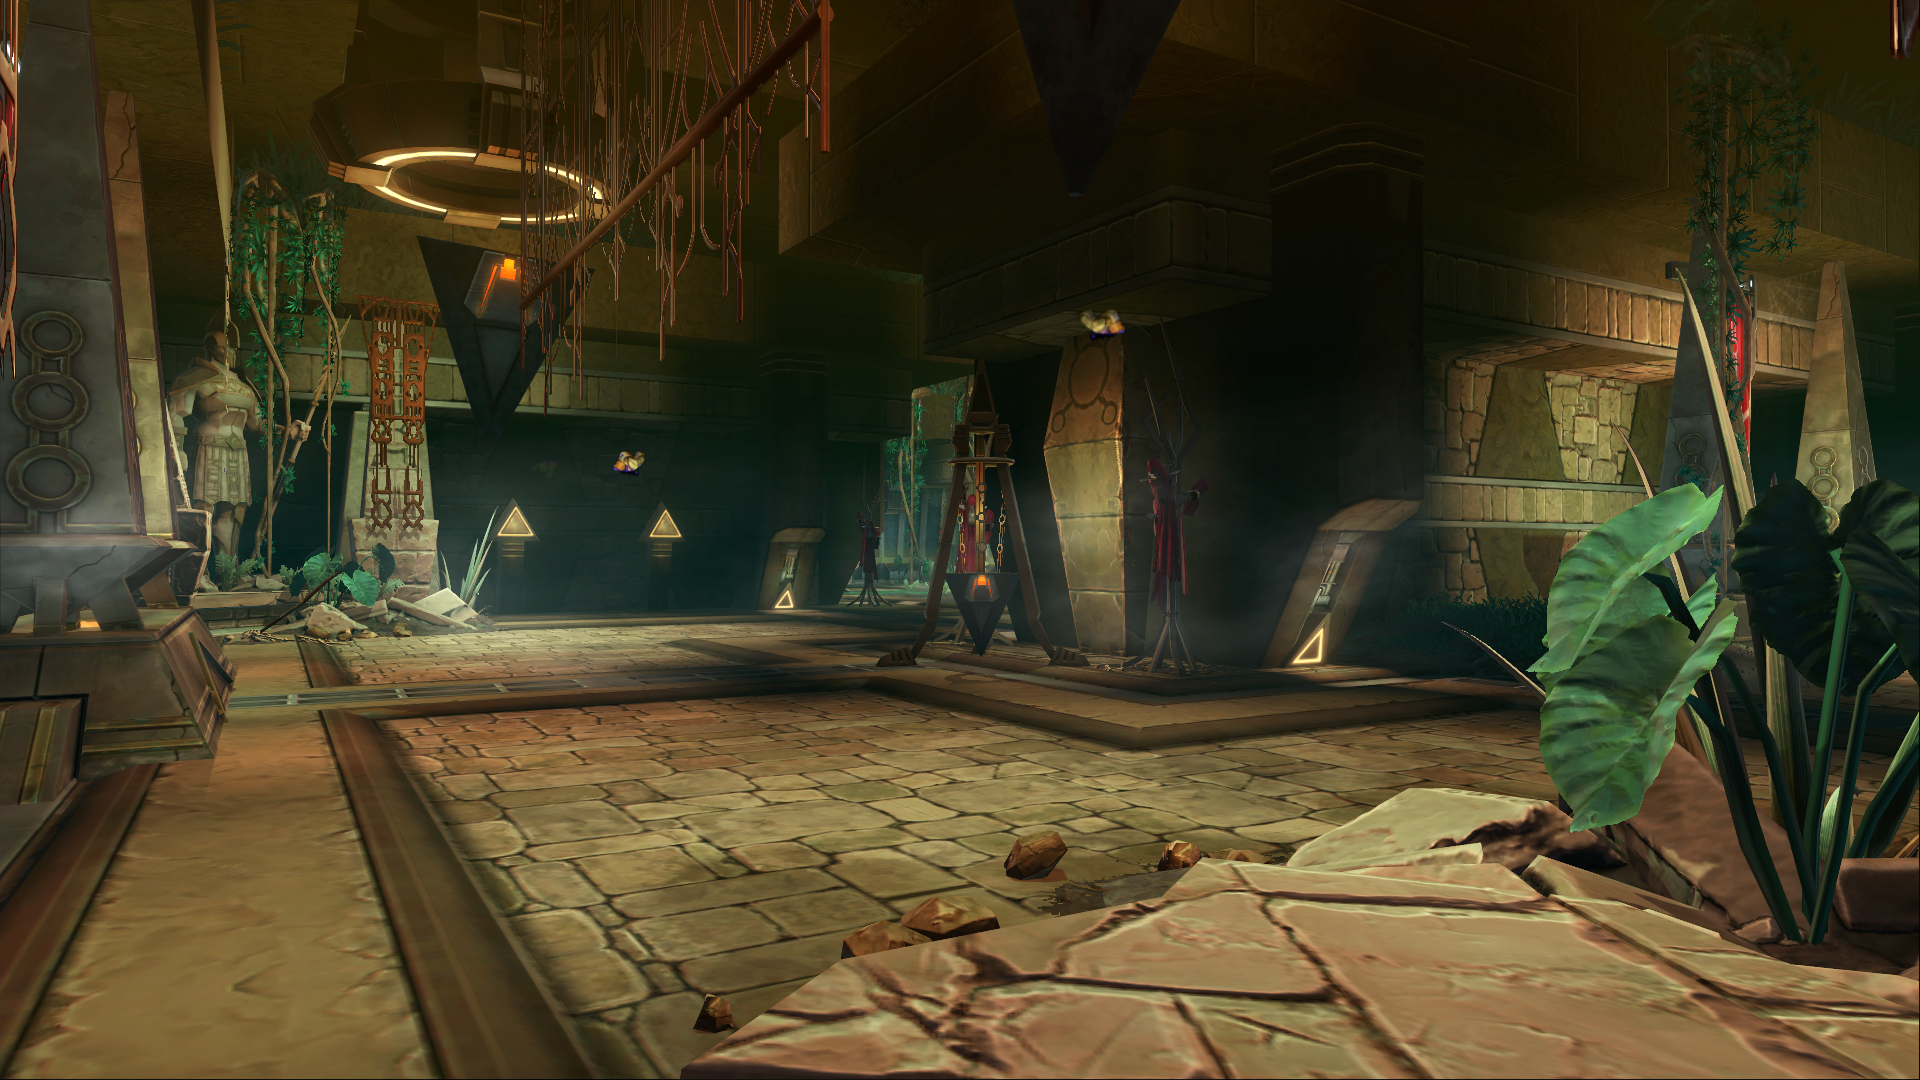
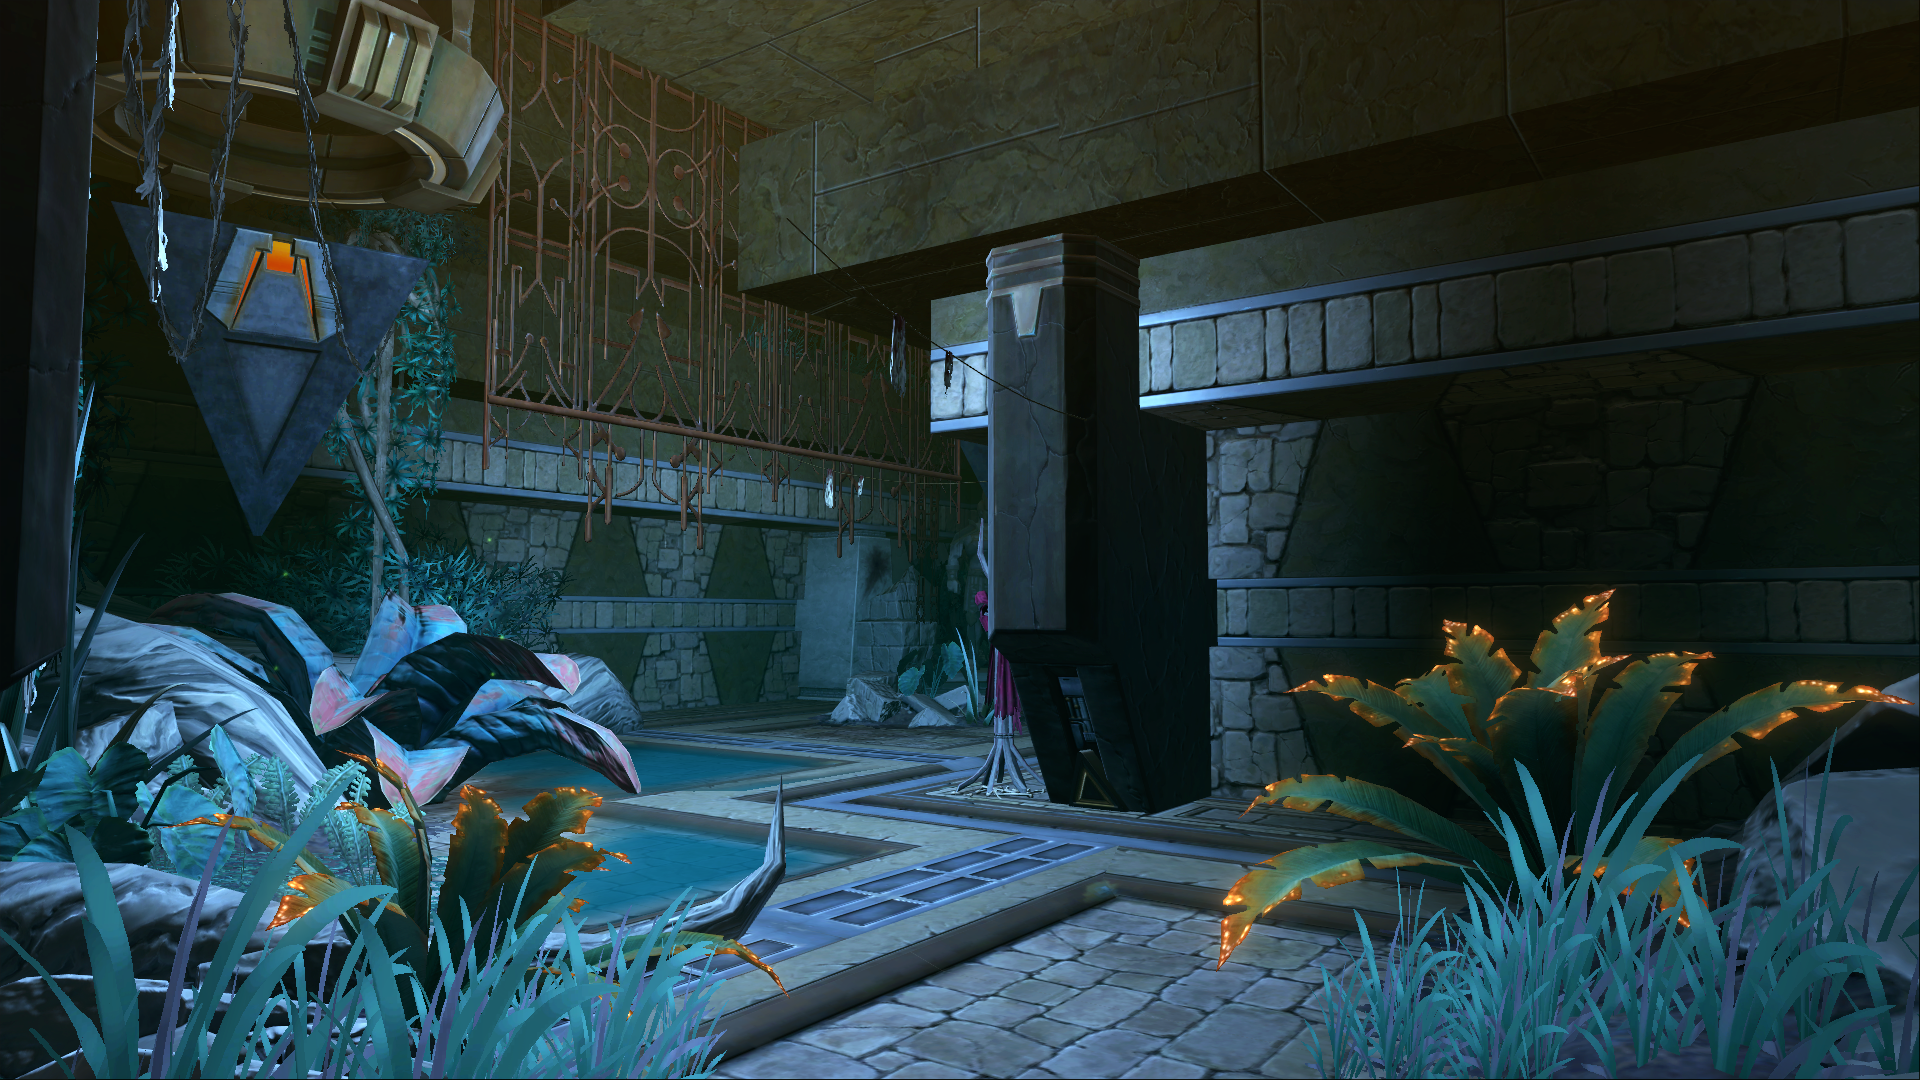
Danger lurks in the shadows of the Republic and the Empire: fanatical infiltrators hidden in the ranks of both governments and militaries, all dedicated to the cause of a man long thought dead. He has been both Jedi and Sith, both conqueror and savior. He is Revan—and he will stop at nothing to complete the galaxy-changing mission he began more than three hundred years ago…
Shadow of Revan*
*Shadow of Revan content is only available to players who pre-ordered the Shadow of Revan Digital Expansion before November 2nd, 2014. All other players who have purchased the Shadow of Revan Digital Expansion will be able to access the content on December 9th, 2014.
All classes can now reach Level 60!
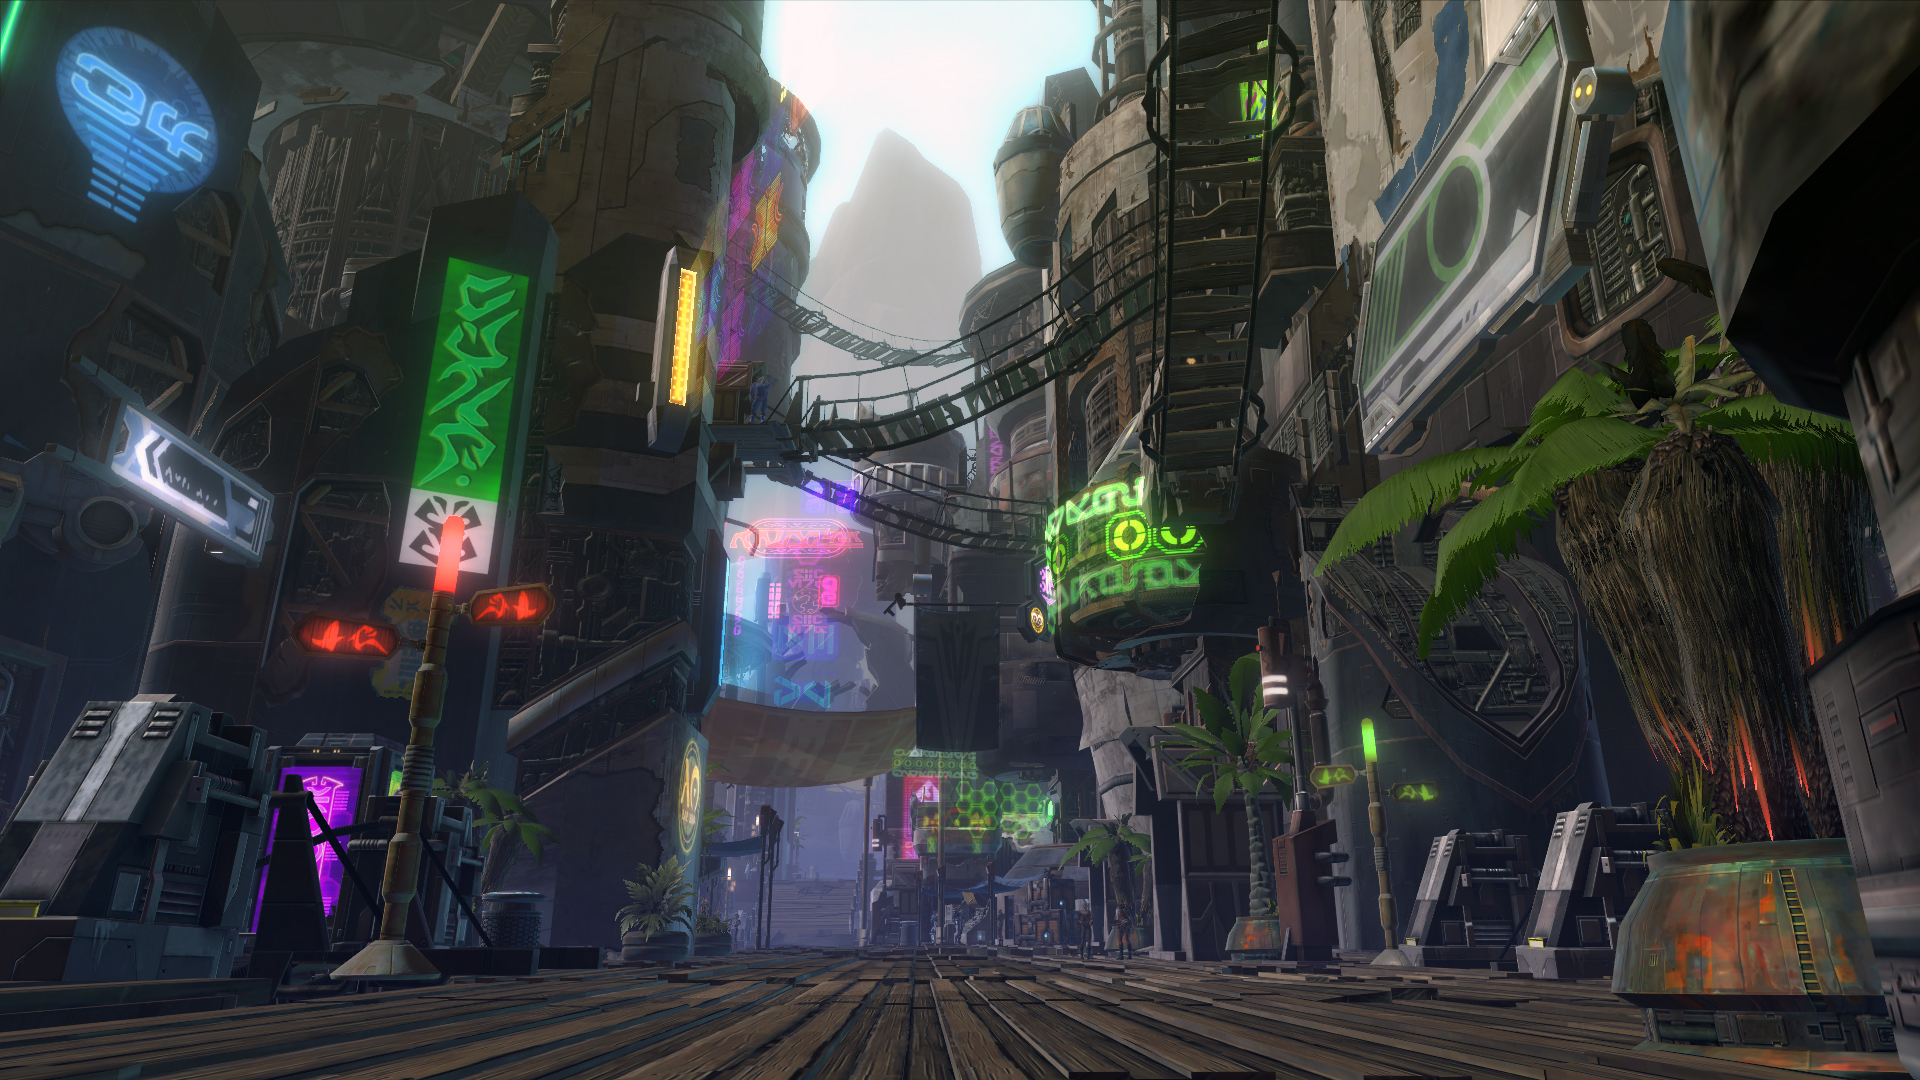
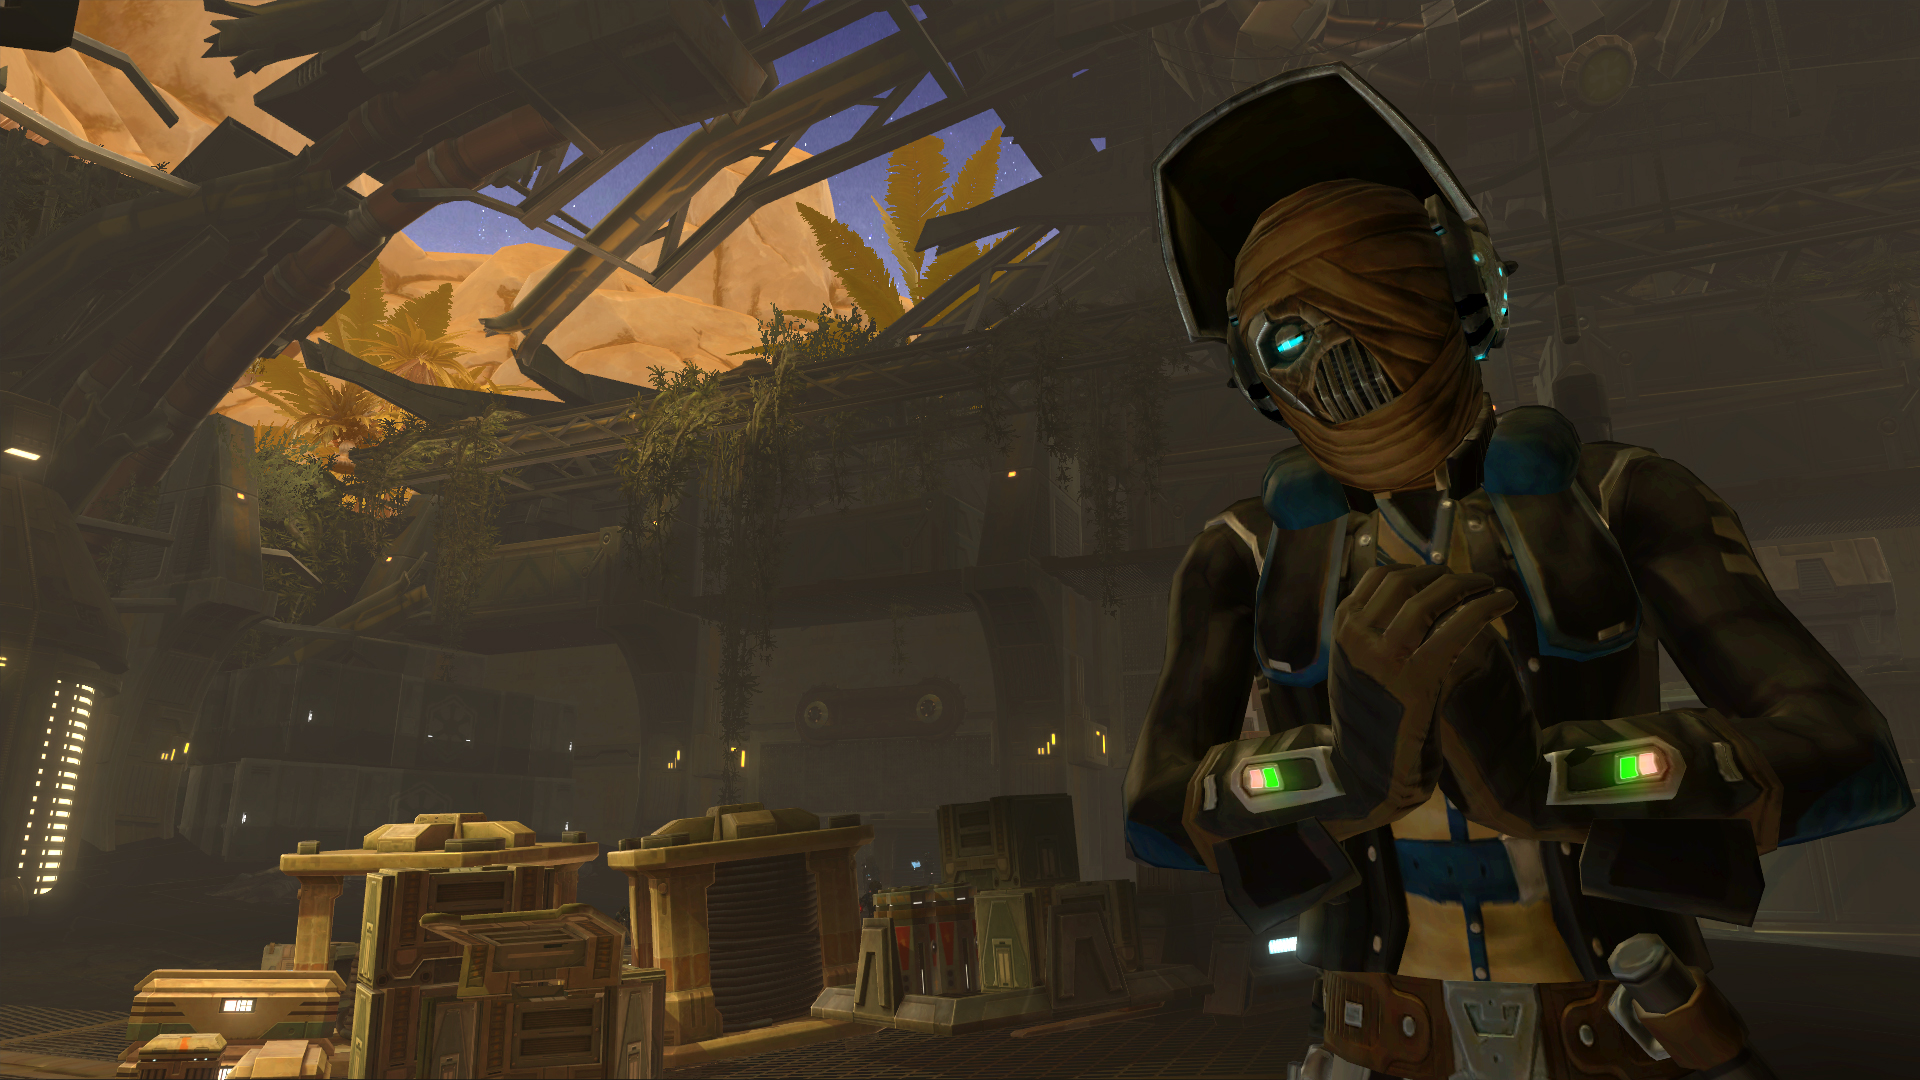
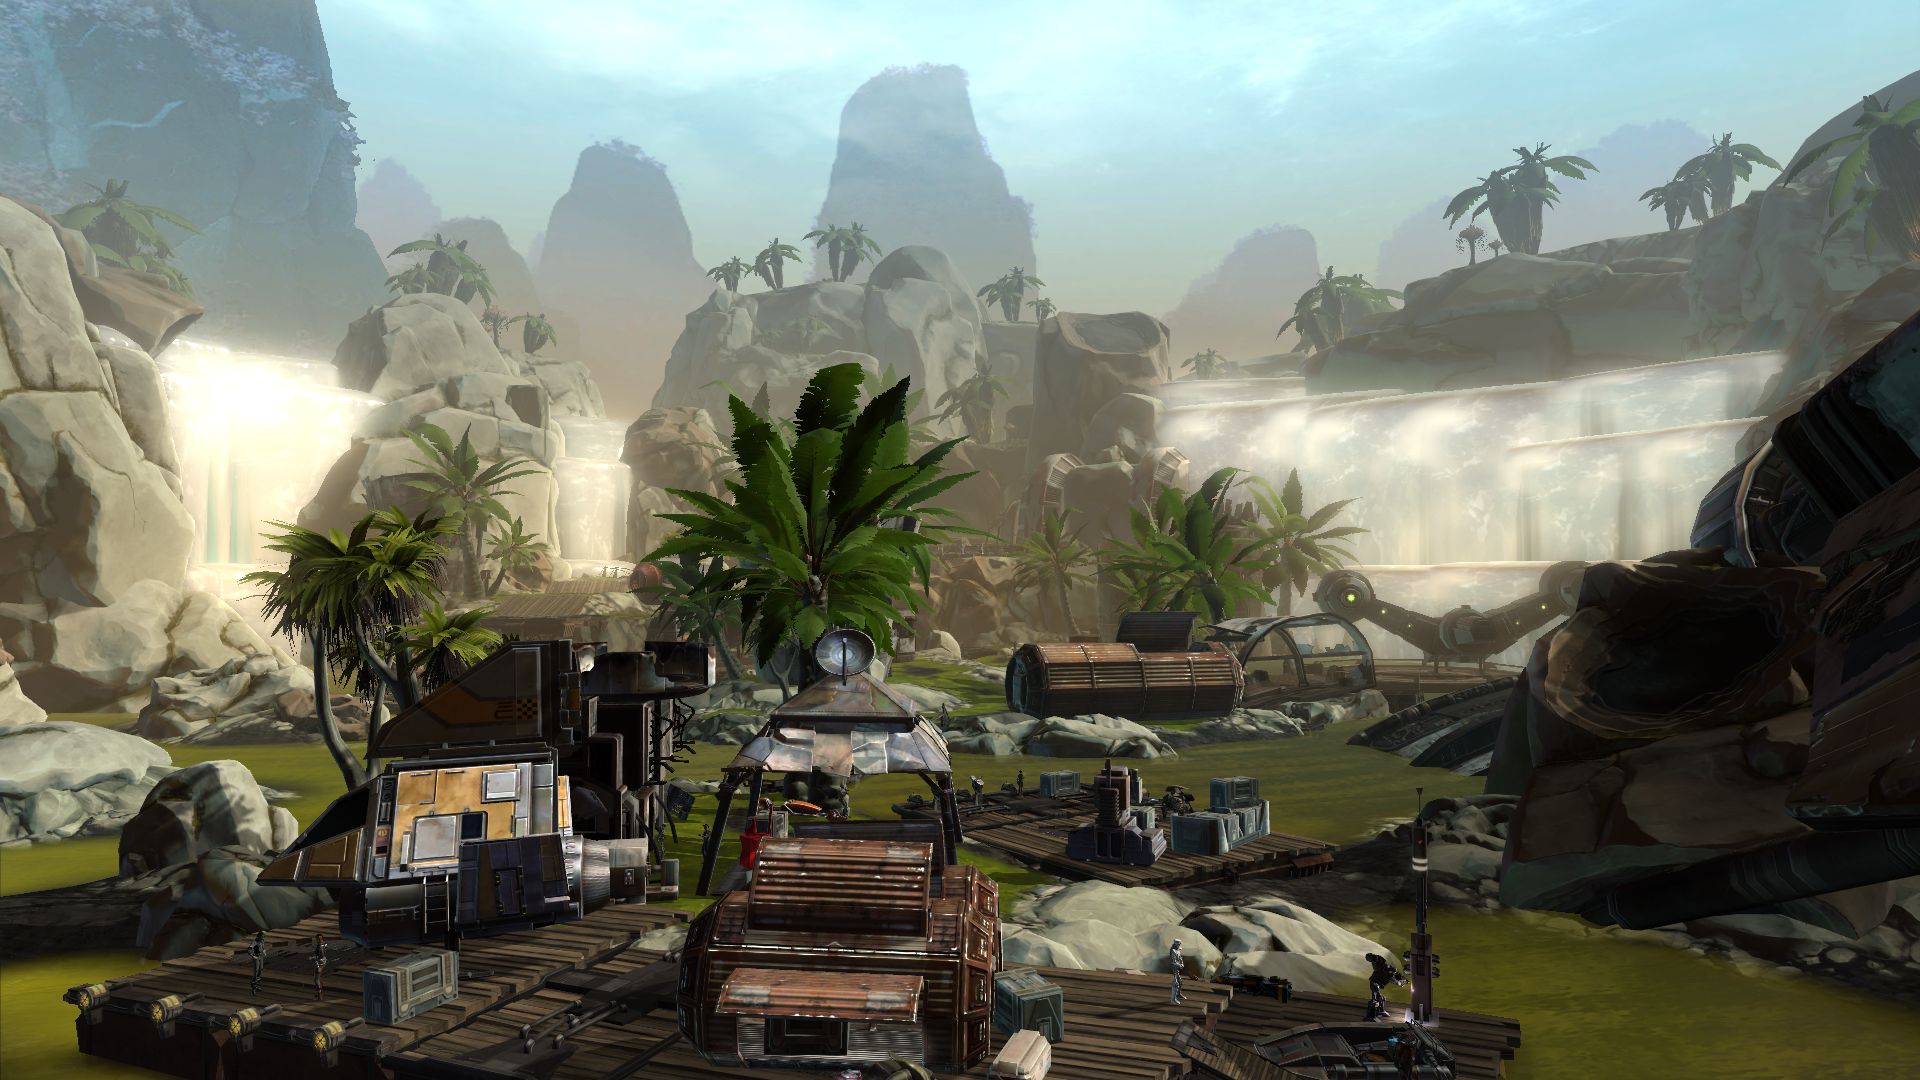
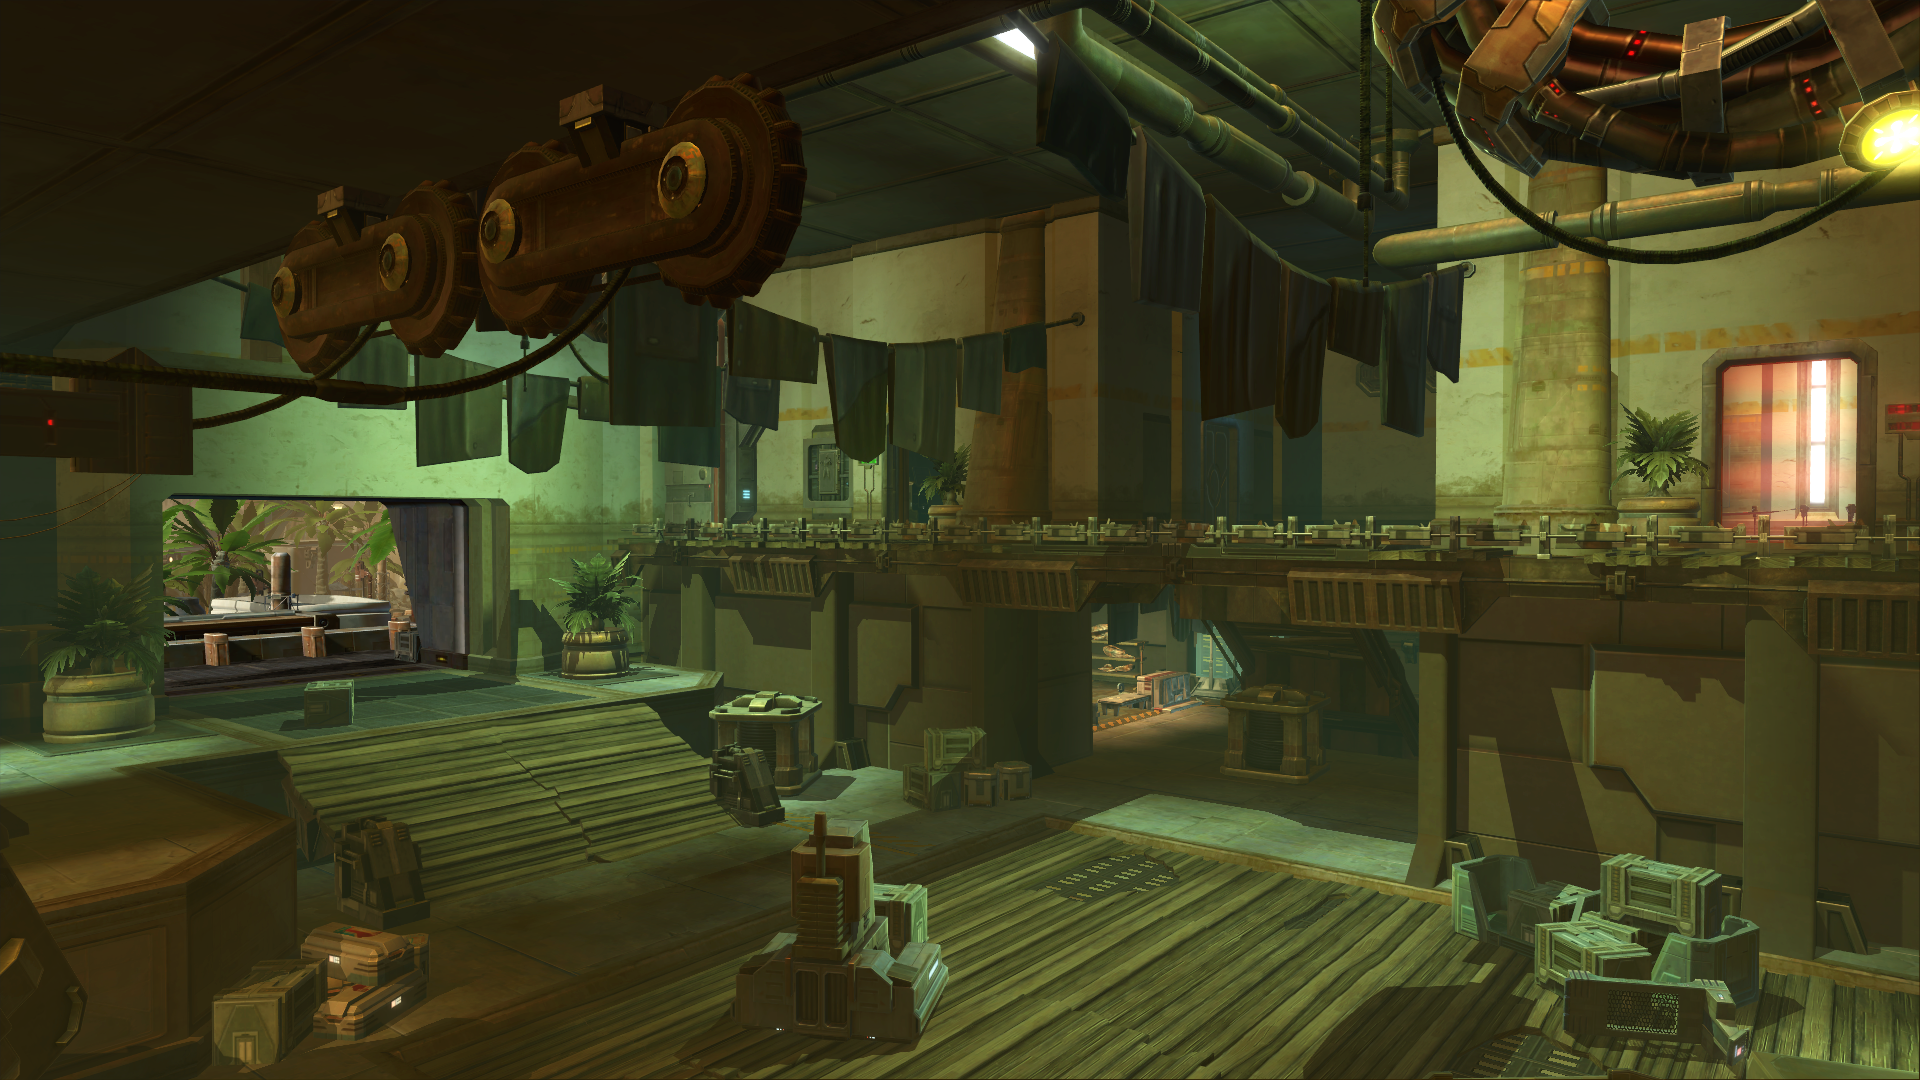
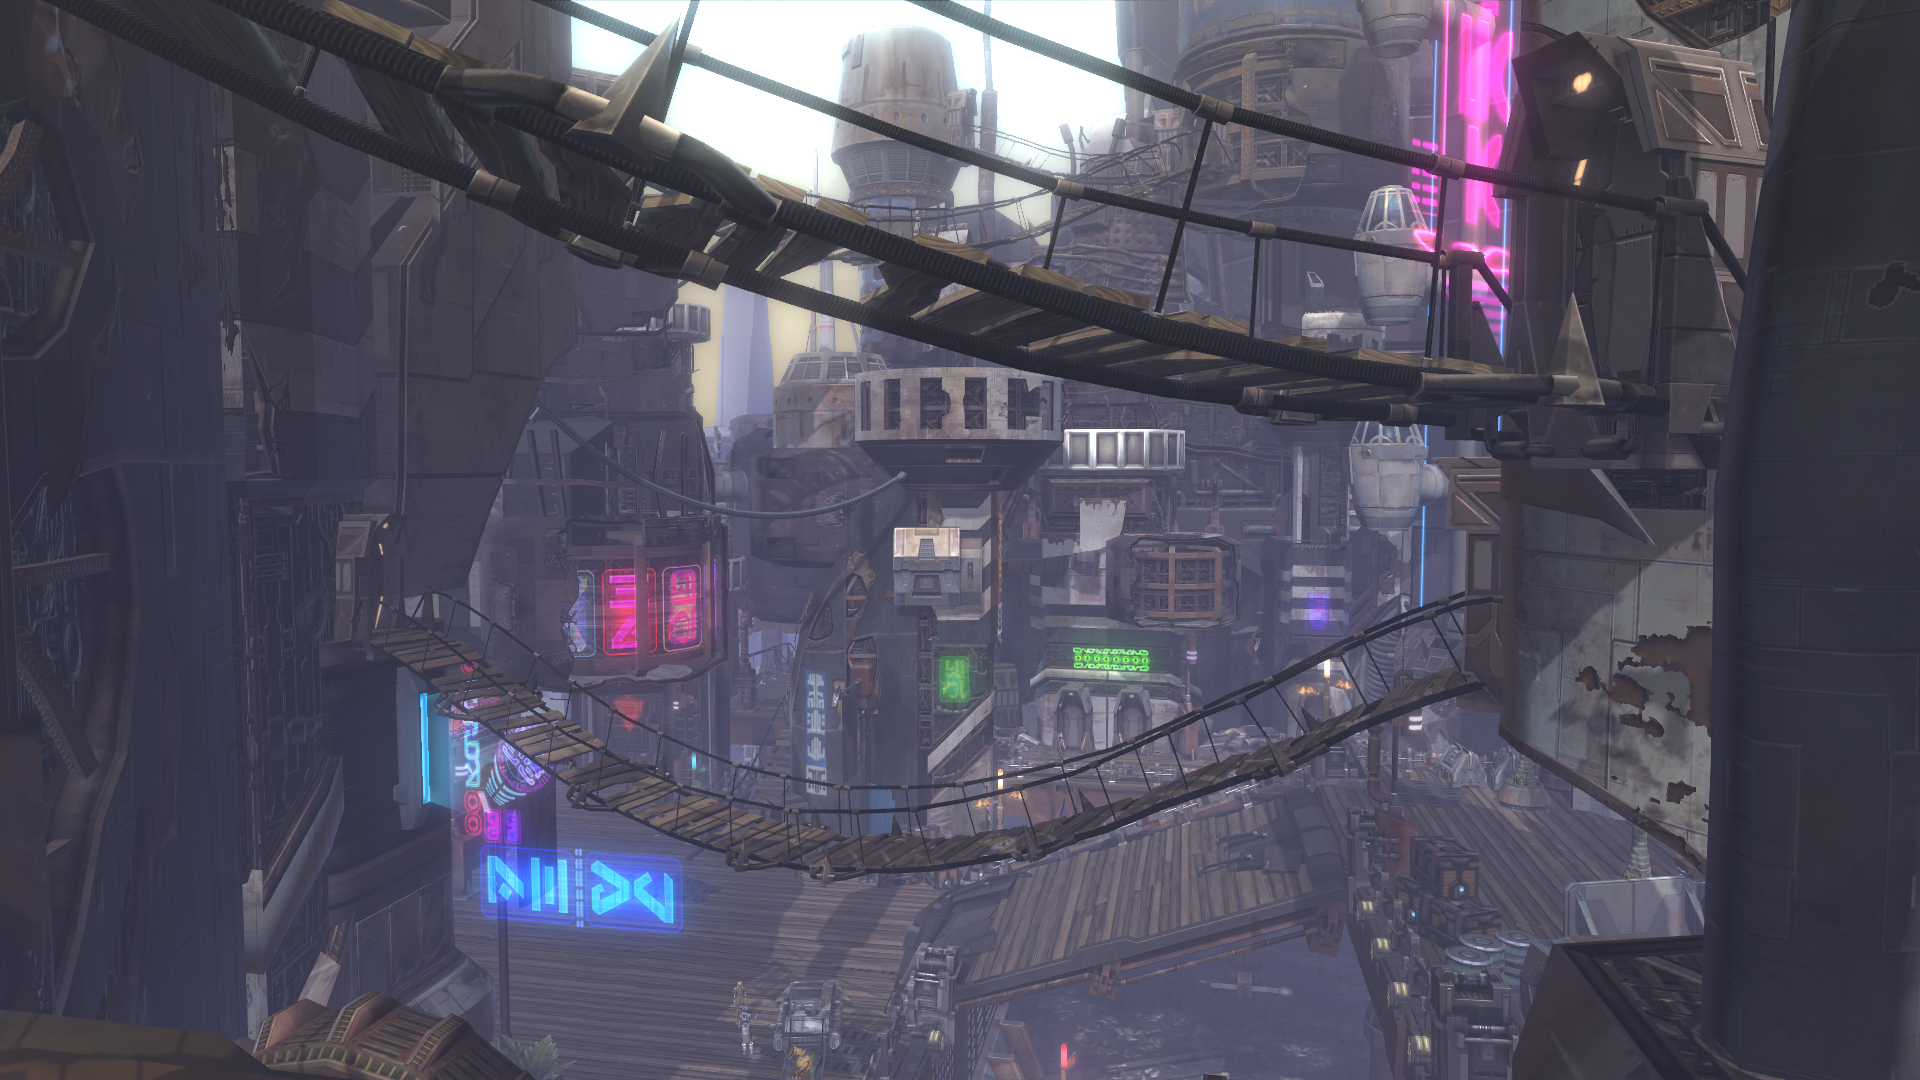
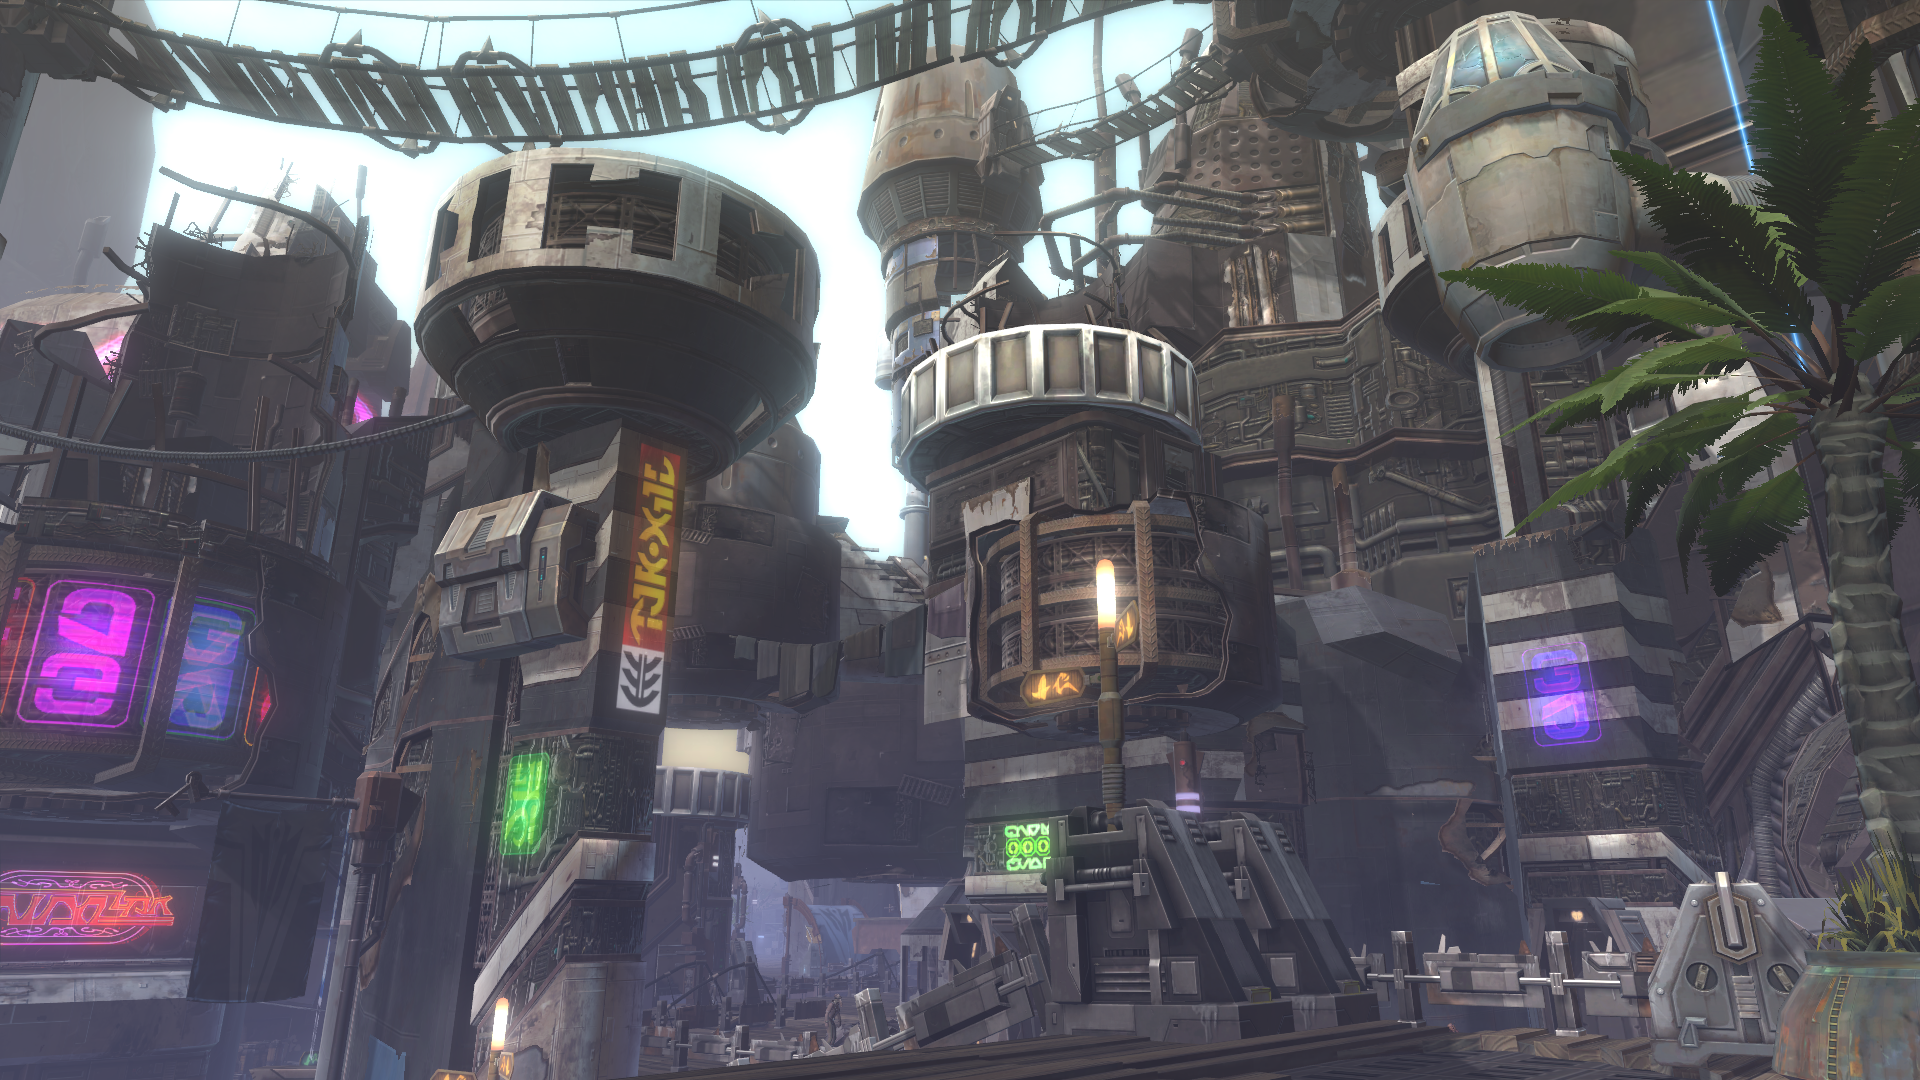
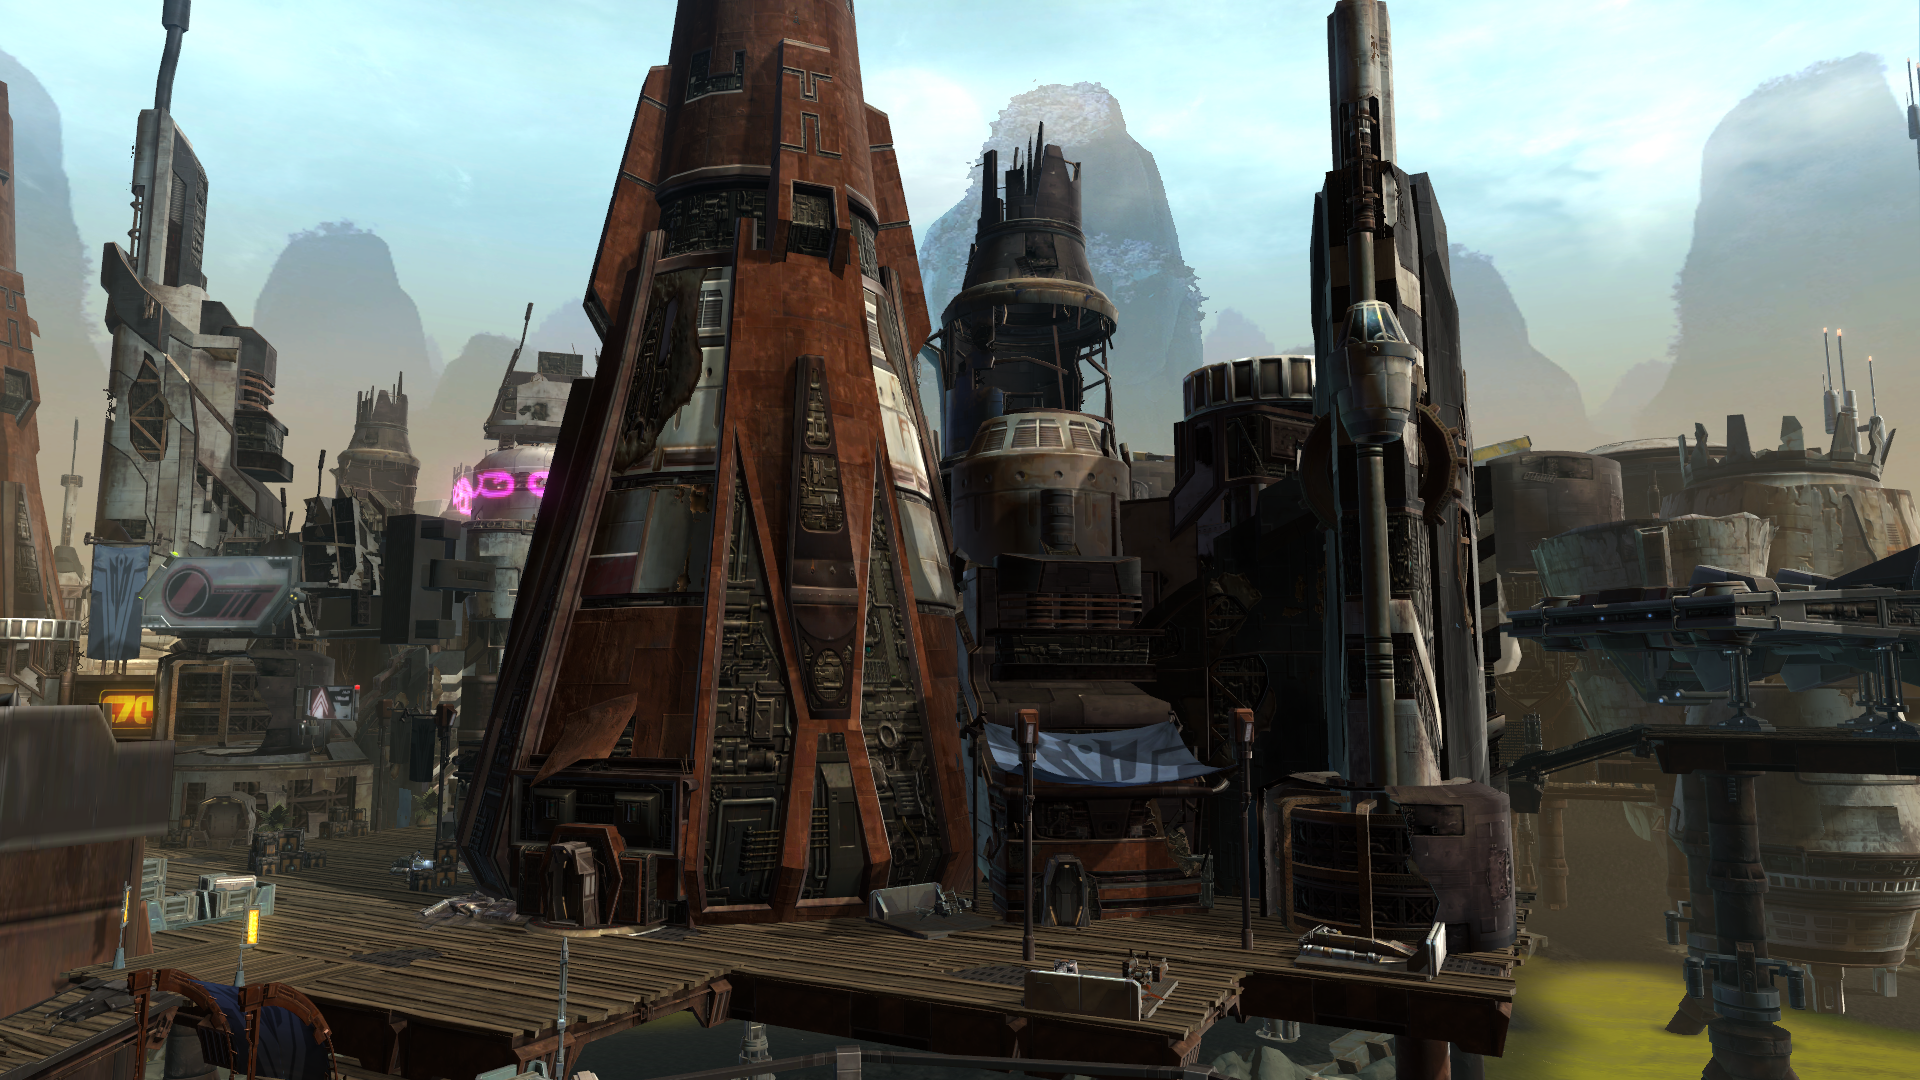
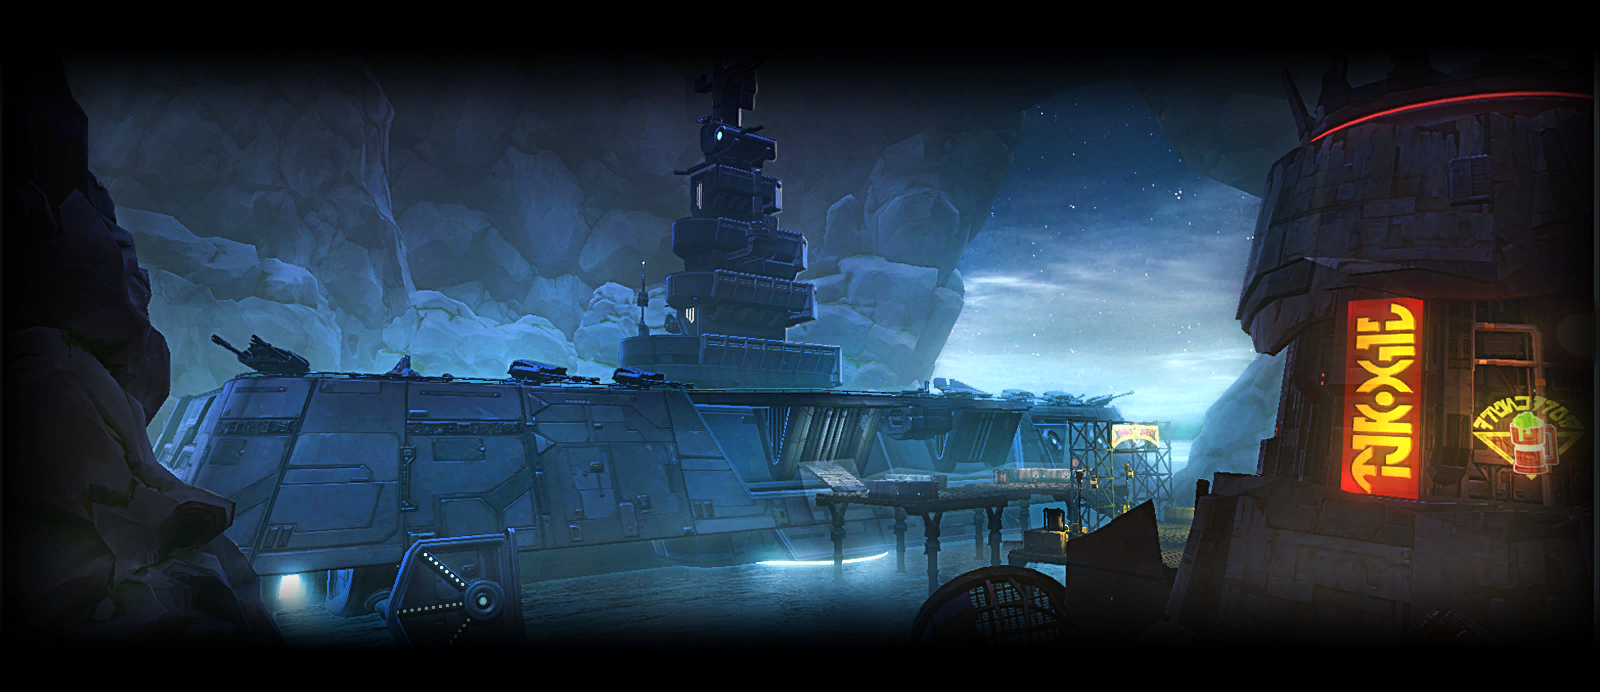
New Location: Rishi! A dangerous pirate haven at the edge of the galaxy!
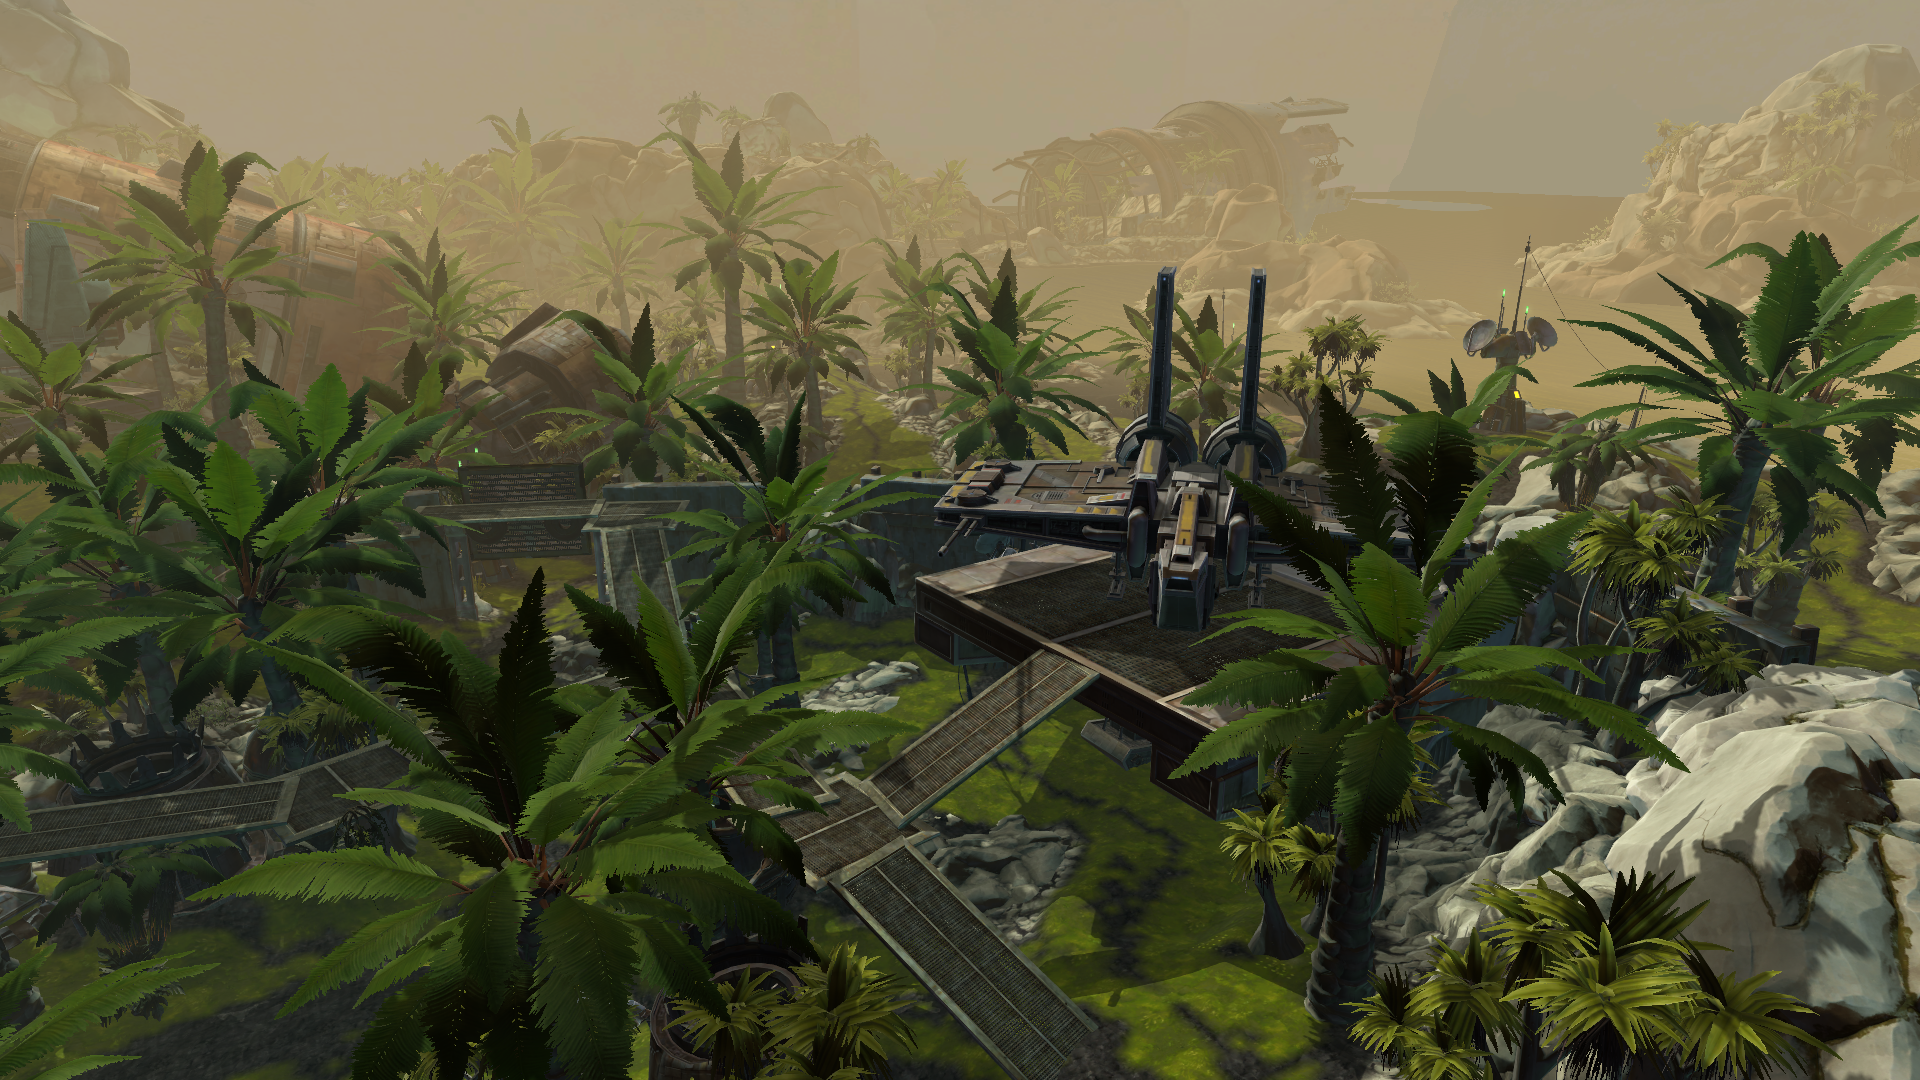
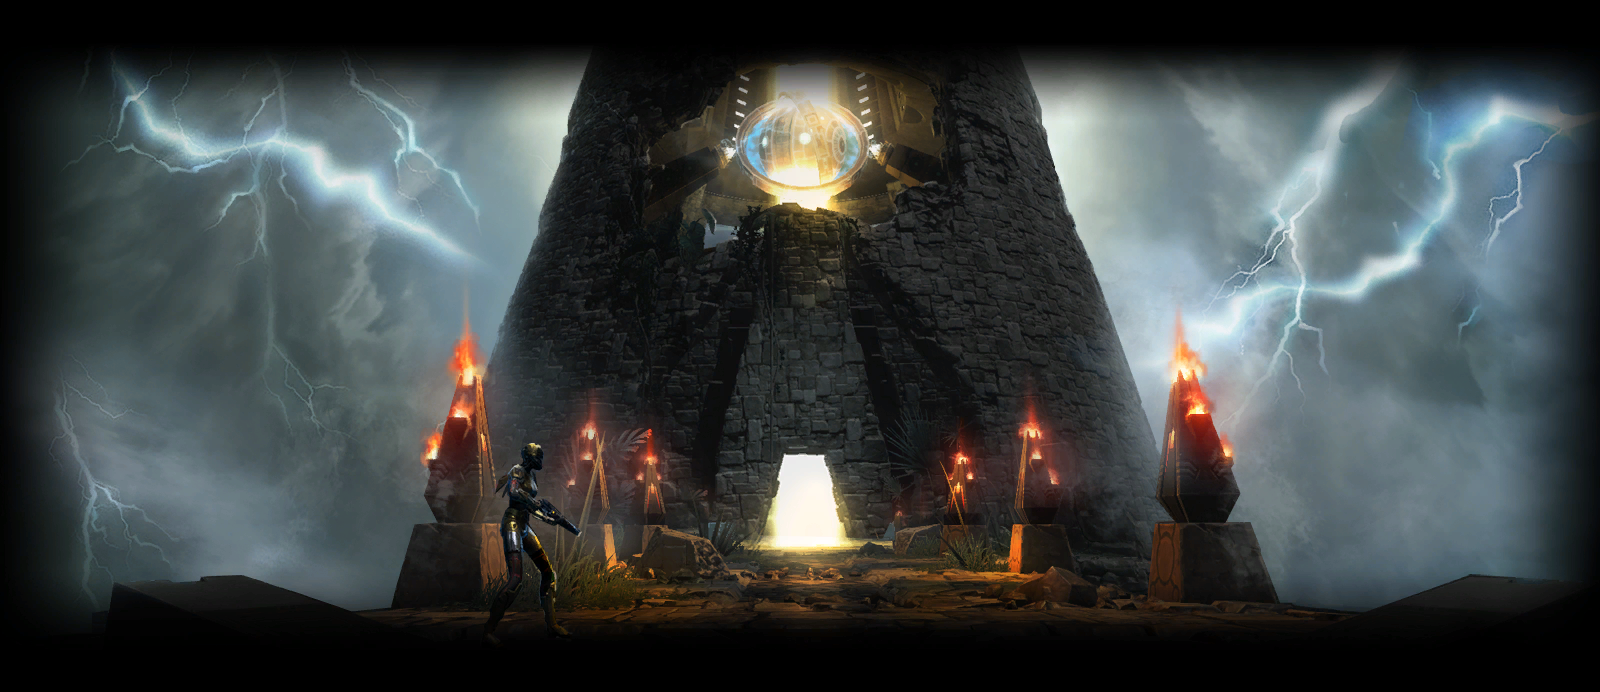
New Location: Yavin 4! Home of the fearsome Massassi warriors!
New Gear and Reputation Rewards! Powerful new Revanite gear, crafting schematics, and new mounts and vehicles, including armored vehicle transports.
New Flashpoints! Ruthless Mandalorians and an army of fanatical Revanites stand between the Players and their ultimate goal in two new Flashpoints for levels 56-60!
New Operations! Take on the galaxy's most savage pirates, then face Revan's most dedicated protectors in two new level 60 operations, providing the ultimate challenge for groups of 8 or 16 players!
New Hard Mode Flashpoints! Level 60 Hard Mode versions of Assault on Tython, Korriban Incursion, Depths of Manaan, and the Legacy of the Rakata Flashpoints are now available!
Highlights
New Feature: Disciplines! Disciplines is a major overhaul to the class system. At its very core, the Disciplines System replaces the current Skill Tree system while offering a wider array of impactful Utility choices to expand their character and the ability for a character's identity to surface much earlier in the level path. The Disciplines System changes the way we think about and develop the classes themselves, which translates into a more balanced game and the capacity to expand levels and abilities more often. We're excited about this system and the possibilities it unlocks for the future.
For a full description of what Disciplines is, please see our Dev Blog.
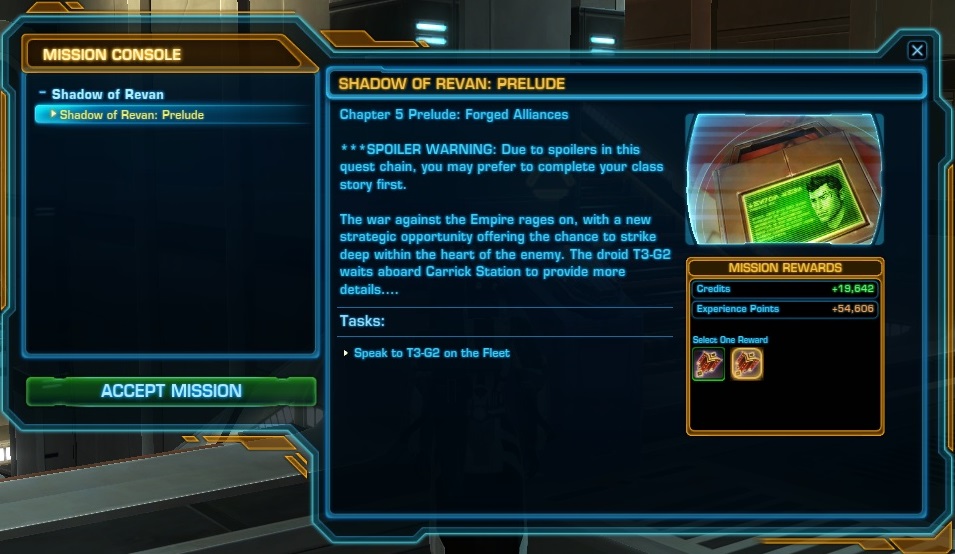
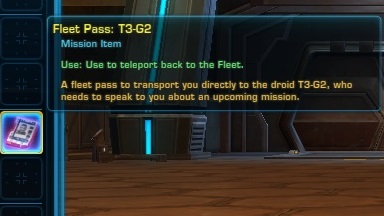
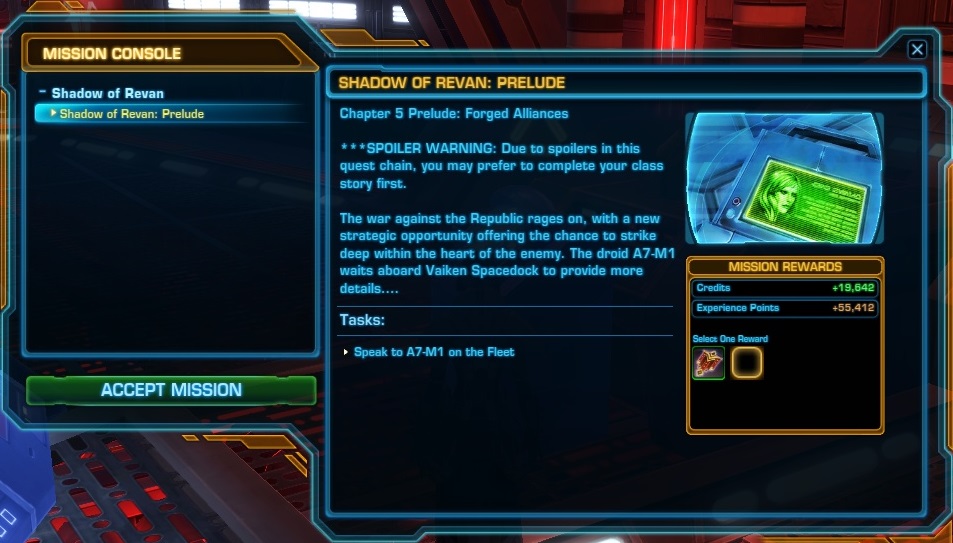
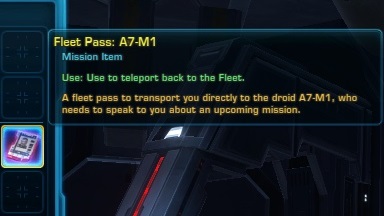
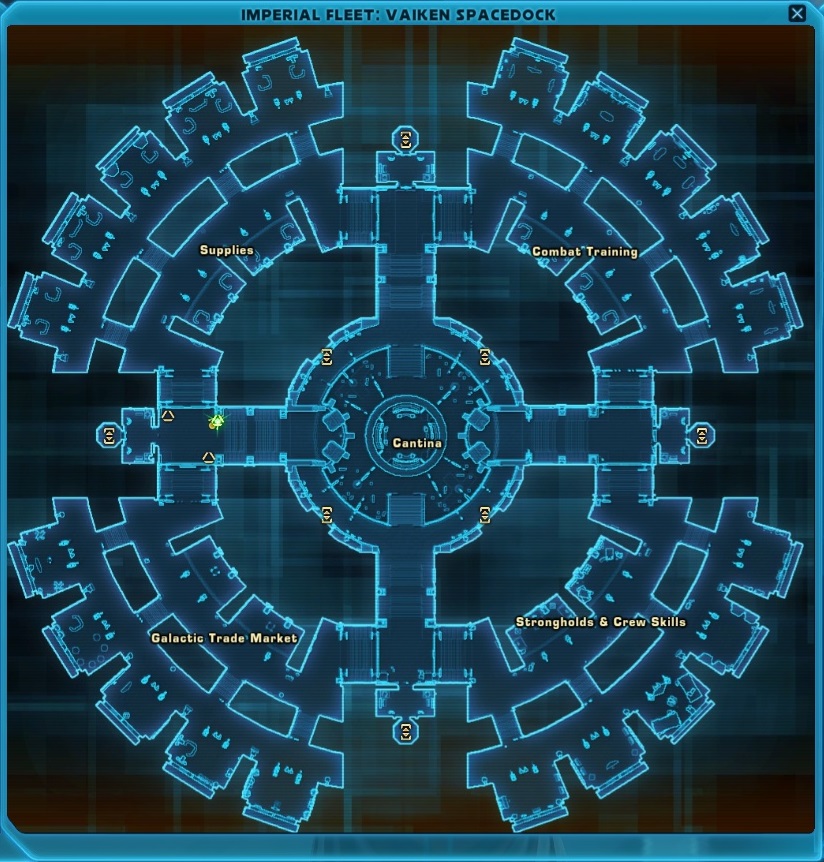
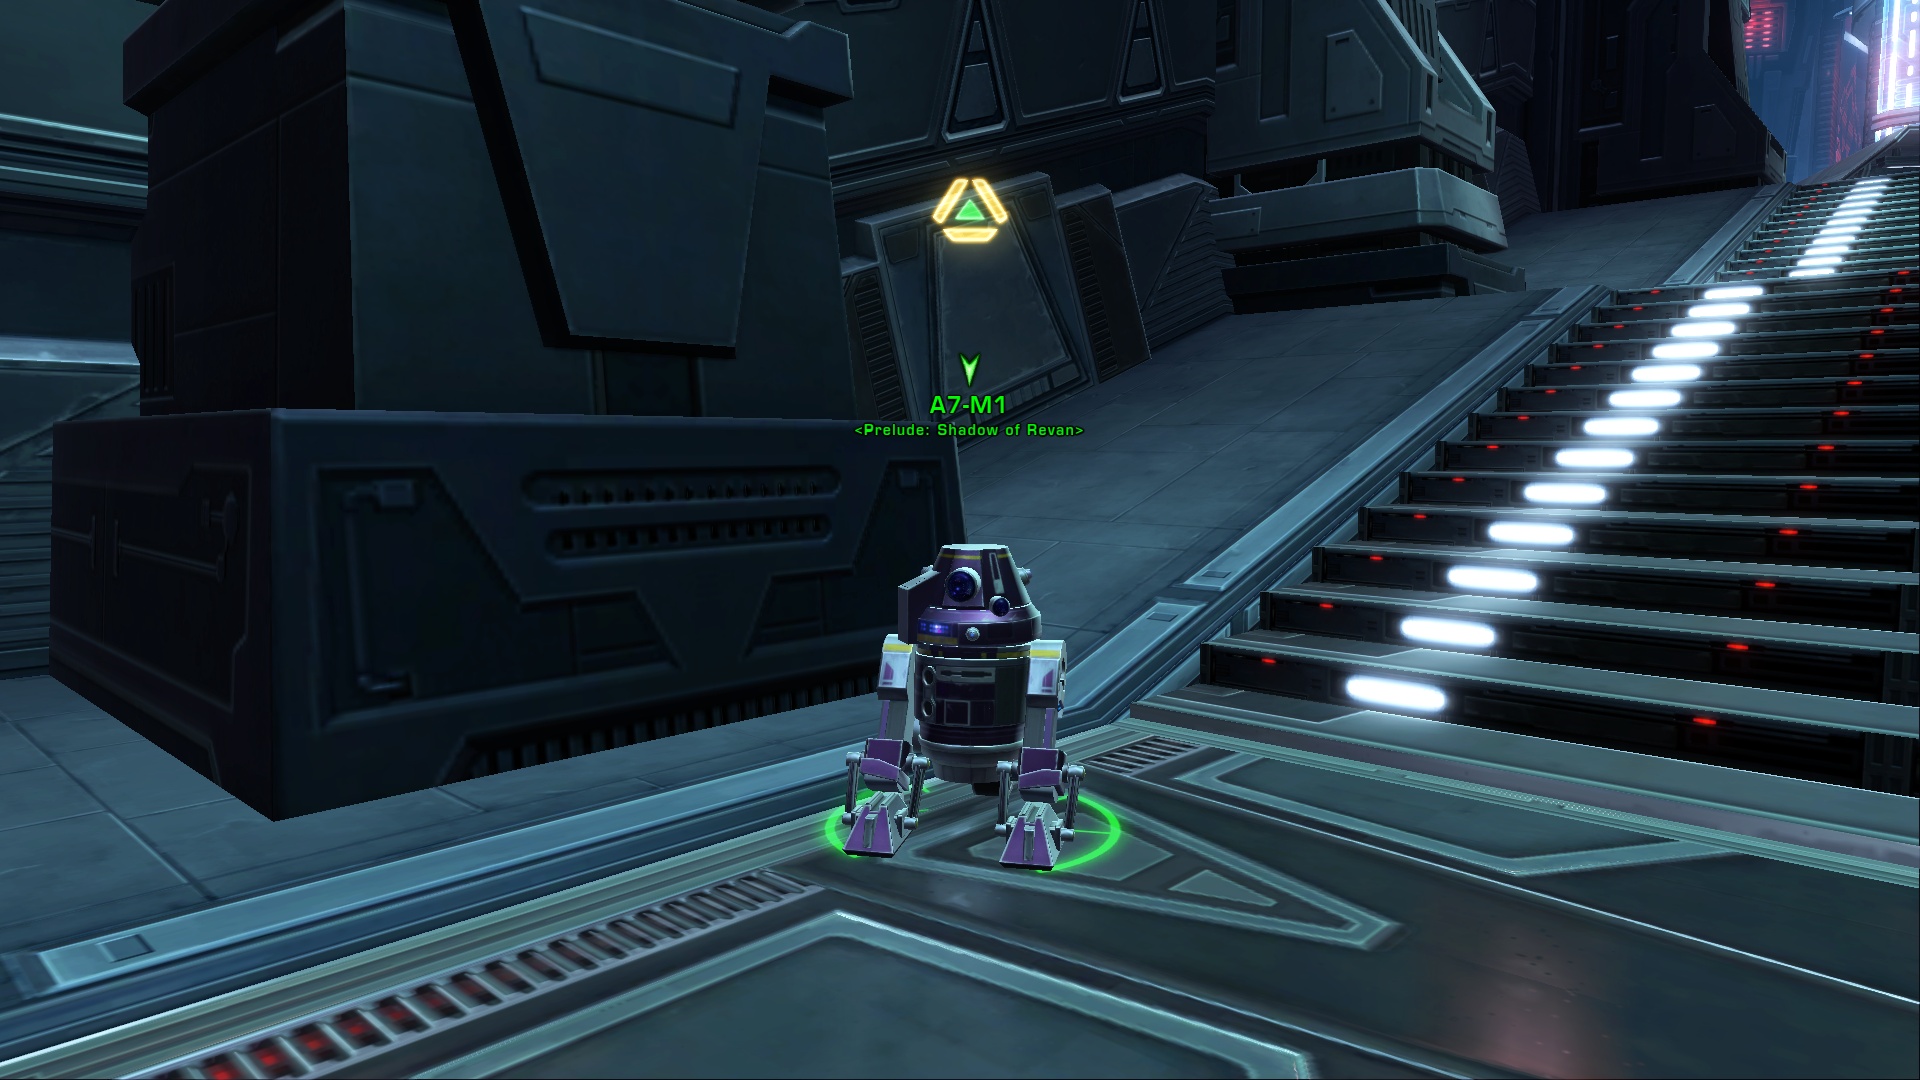
Single-Player Forged Alliances: Prelude to Shadow of Revan! Players who haven't completed the Forged Alliances story arc can find the new Mission "Prelude to Shadow of Revan" on their ship. This Mission provides the necessary Fleet Passes to move through Parts 1-3 of the epic Forged Alliances story. Use the provided Fleet Pass to be taken directly to T3-G2 or A7-M1 on your faction's Fleet to begin your journey.
While on the Mission "Prelude to Shadow of Revan," players also have access to the Solo Modes of the Forged Alliances Flashpoints when the chain calls for them to be completed.
New GUI Element: Effect Procs! A new visualization system called Effect Procs is now live! This system plays an eye-catching visual effect around hotbar buttons when the ability in that button has been "powered up" by another effect.
Ranked Arena Season 3 has come to a conclusion! Congratulations to all the reward winners! In preparation for Season 4, Ranked stats have been reset and the Leaderboard for Season 2 has been archived.
Bounty Contract Week Returns! Hunt wanted criminals in this returning event. The event begins December 9th at 4 AM PST/12:00 GMT and ends December 16th at 4 AM PST/12:00 GMT.
General
General
In honor of the upcoming 3rd Anniversary, all players can purchase the Dromund Kaas and Coruscant Strongholds for 3 credits!
The Centerpiece Decoration "Grand Statue of Revan" is now available to players who pre-order Shadow of Revan by December 1st, 2014.
All Stronghold Commanders are now level 60.
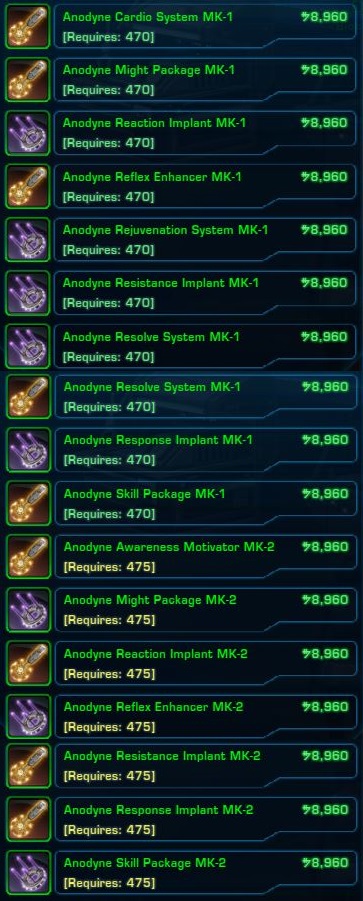
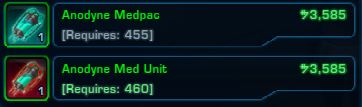
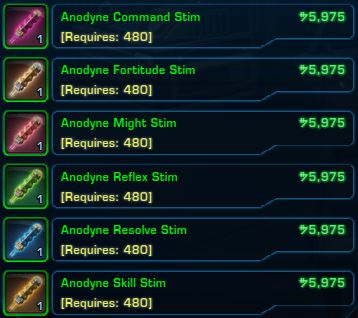
Medical Droids on the Fleets have been newly stocked with level 50+ Med Packs and Stims.
Elder Game Weekly and Daily Missions have had their objectives and rewards updated for Shadow of Revan:
"[WEEKLY] Tactical Flashpoints" has been updated to level 60 and rewards players for completing Blood Hunt and Battle of Rishi.
"[WEEKLY] Galactic Conflicts" has been updated to level 60, and offers Elite Commendations for completing level 60 Hard Mode Flashpoints.
"[WEEKLY] Classic Operations" is now completed by finishing Terror from Beyond, Scum and Villainy, The Dread Fortress, or The Dread Palace, and is available from levels 55-60.
"[WEEKLY] The Ravagers" and "[WEEKLY] Temple of Sacrifice" are available from new terminals on Rishi, Yavin 4 and either Fleet, and reward Ultimate Commendations for completing the two new Operations in any mode.
Players can now send 6 Companions on Crafting Missions at level 56 (up from 5).
Expert Crew Skill Training is now available on all Crew Skill Trainers. This allows players to advance to 500 Skill Rating, and requires 440 Skill Rating to learn. Only accounts that have access to Shadow of Revan can acquire this Training.
Advanced Crew Skill Training now requires 390 Skill Rating (down from 400).
Players with AMD Radeon R9 200 video cards no longer have graphical corruption when using "High" Anti-Aliasing.
The back rooms on the Crew Deck of the Republic Guild Flagship no longer have inoperable Decoration Hooks.
Interacting with Missions next to a Priority Mission Terminal no longer causes the Missions GUI to close and the Priority Mission Terminal GUI to open.
The "Flashpoint Havoc" Conquest Event now includes the Legacy of the Rakata Flashpoint.
Addressed an issue with the Small Wall Hooks over the west door in the First Floor Hallway of the Dromund Kaas Stronghold that prohibited Trophy placement.
Tech and Ranged Resistances are now properly labeled in the Character GUI.
Med Centers on Oricon now have specific names.
Cartel Market
Cartel Market
New Cartel Market items are viewable in Collections.
The Initiate's Shadow Pack is now available for purchase in the Cartel Market.
The Pilgrim's Shadow Pack is now available for purchase in the Cartel Market.
Balanced Combatant's wrist attachment now appears correctly on Male Body Type 3.
The Austere City Bench is no longer misnamed as the Metropolitan Bench, and now appears correctly in the Decorations Window.
While the Disciplines System is the major cornerstone of the changes coming to Classes and Combat (for more on the Discipline system, see our Dev Blog), we have also made adjustments outside of Disciplines that change combat on a global scale:
All classes now do less damage overall at Level 55 and gain that damage back as they get closer to 60.
Enemies Level 50 and below are now less difficult to defeat.
Operation-wide abilities have been given to every Advanced Class.
Player Damage over Time abilities (DoTs) can no longer be cleansed by another Player. They can, however, still be Purged by abilities such as Resilience/Force Shroud. DoTs inflicted by Enemy NPCs can still be Cleansed and Purged.
Most player-applied Crowd Control (CC) abilities can now be cleansed by another Player.
The cooldowns of abilities that Cleanse has been increased.
Abilities that Interrupt now have longer cooldowns.
Channeled abilities are no longer effected by pushback, but can still be stopped by Interrupts or Stuns.
Channeled abilities now consume resources every time the Ability deals - or would deal – damage or healing, and does not have an upfront resource cost.
All Accuracy-increasing abilities have been removed.
Accuracy Rating grants more Accuracy per point.
Tank classes in the appropriate Tank stance get 10% Accuracy at the cost of a decrease in damage dealt.
Alacrity has been reworked, and now speeds up Ability Activation, Global Cooldown, Resource Regeneration, DoTs (the speed that damage is dealt as well as the duration), and reduces Internal Cooldowns on certain passive abilities.
Many new Interface options, including Effect Procs, moveable Player Buffs/Debuffs, and Effect Highlighting. See the GUI Section for more details.
Most player-activated abilities now have a 270 degree Line of Sight (up from 180).
All AoE healing abilities now prioritize the target with the lowest health percentage first.
Combat Change Philosophy
Classes + Combat
Leading up to 3.0, we knew we wanted to make changes to how we handled customization and choice, as we felt like the tree-based Skill System lead to many problems, including the loss of class identity, uneven power gains, and overly complex rotations. While we wanted to maintain the feeling of progression and gain that this system provided during the leveling process, we wanted to move past the tree-based system. This lead to the introduction of Disciplines, which you can read all about here. Given this chance to reimagine how combat and classes work in The Old Republic, there were also some changes we wanted to make on a more global scale in order to address some concerns and feedback.
Damage + Health
Towards the end of the 2.0 patch cycle, classes began to exceed the baseline damage values that we intended. In order to get back to where we wanted the damage output to be, we are lowering the damage output across the board. Players at level 55 will find that their damage has dropped, while players at level 60 end up having about the same amount of damage output that they did pre-3.0 at 55.
In a similar fashion, we weren't happy with how long it took to level from 1 to 55 in the pre-3.0 game. In order to speed up the low-level game, all enemies from level 50 and lower are no longer as tough, and now die faster.
Operation-Wide Abilities
With the release of Game Update 3.0, Operation-wide abilities have been given to every Advanced Class. This change was made in order to address the idea that you had to have a Sentinel/Marauder in your Operations group in order to be at the best that you could be. These new abilities stack with each other, but not with themselves, and include defensive and offensive abilities. These abilities also ensure that any Operation group composition is well equipped to tackle what's ahead of them, even if they don't have a specific class available.
DoTs, Interrupts, and Channels
In order to make Damage-over-Time Disciplines more viable in Warzones and Warzone Arenas, player DoTs can no longer be cleansed. They can, however, be purged by self-targeted abilities such as Force Shroud/Resilience. DoTs inflicted by Enemy NPCs can still be both cleansed and purged. In order to make cleansing abilities more viable after losing a major component of its functionality, cleanses can now be used to remove Crowd Control (CC) abilities, such as stuns and roots.
Interrupts now have a longer cooldown, as we want players making informed, tactical choices when choosing what to interrupt instead of indiscriminately interrupting everything possible.
Channeled abilities now cost resources at the intervals when damage or healing would be dealt, instead of costing the full amount at activation. This is mostly a quality of life change, as players would spend a large chunk of resources and get interrupted, pushed backed, stunned, etc. and lose those resources. Additionally, channeled abilities can no longer be pushed back. They can, however, still be interrupted with interrupting abilities and stuns.
Stat Changes
Accuracy skills have been removed from the game, and Accuracy is now a gearing consideration only. Additionally, Accuracy Rating now gives more Accuracy per point. Tank Classes now gain 10% Accuracy for being in the appropriate "Tank Stance," but lose some damage. This change was made in response to their being no counter-play to Taunts in PvP – it was simply a damage reduction with no recourse for those afflicted by it.
Alacrity now speeds up ability activation, speeds up global cooldowns, resource regeneration, Duration of DoTs (DoTs deal the same amount of damage, but faster), and reduces internal cooldowns. This change was to make Alacrity more useful as it now always makes you faster, and eliminates situations where Alacrity could actually be disruptive to your rotation or resources.
Bolster
Augments now interact with the Bolster system. Like other slots, Players with low level (or no) Augments will be given some stat compensation to bring them up to a more competitive level. Higher rating Augments still have an advantage over these Augment slots.
Due to Augments now being handled inside the Bolster system, the power gap between the Bolstered level of stats and the high end PvP gear (disregarding any Augments attached) has been increased slightly. The "worst case" to "best case" power gap remains the same.
Class Changes
Classes + Combat
Jedi Knight/Sith Warrior
Jedi Knights and Sith Warriors will notice that Riposte/Retaliation is now specific to the Guardian and Juggernaut Advanced Classes instead of being an ability that all Knights and Warriors get. This change was made due to Sentinel and Marauder Disciplines not supporting the effective use of Riposte and, barring fringe cases, Riposte was a poor use of Focus/Rage. Guardians and Juggernauts will find that the new Riposte is part of the Global Cooldown, deals more damage and consumes less Focus/Rage than Slash/Vicious Slash. Sentinels and Marauders will also notice that Crippling Throw/Deadly Throw has been removed, but the healing received debuff it applied has been added to Crippling Slash. For further changes, see below:
Jedi Consular/Sith Inquisitor
The most substantial Base Class change for Jedi Consulars and Sith Inquisitors is that Force Potency/Recklessness now affected numerous channeled abilities instead of just one. Sages and Sorcerers will find that a few abilities that used to go to all Shadows and Sages have been moved into specific Disciplines, but Rejuvenation/Resurgence is now available to all. Shadows and Assassins have received a few quality of life improvements, such as Force Cloak no longer inhibiting healing while active. Additionally, Whirling Blow/Lacerate has been adjusted in order to make it more viable in a rotation. For further changes, see below:
Smuggler/Imperial Agent
The Smuggler and Imperial Agent Base Classes have been refined, and a few abilities have been moved out of the Base Class and into appropriate Disciplines. Gunslingers and Snipers will likely first notice that being in cover is no longer a requirement for many of the abilities that previously required it, but also that being in cover is advantageous. Scoundrels and Operatives will find that they have more survivability with the inclusion of an instant activation heal and gaining Scamper/Exfiltrate earlier in the game. For further changes, see below:
Trooper/Bounty Hunter
Troopers and Bounty Hunters will find that their resource costs have been adjusted in order to make resources more manageable, and that the order that abilities are received has been streamlined to allow for easier leveling and earlier access to tanking and healing abilities, depending on Discipline. Additionally, Diversion/Chaff Flare is now just for Commandos/Mercenaries, while Vanguards/Powertechs can reduce their threat with Sonic Round/Missile while Ion Cell/Gas Cylinder is not active, but it continues to be an area taunt while Ion Cell/Gas Cylinder is active. For further changes, see below:
Blood Hunt has been added to the Tactical Flashpoint category for levels 56-60.
Battle of Rishi has been added to the Tactical Flashpoint category for levels 56-60.
Assault on Tython has been added to the Hard Mode Flashpoint category at level 60.
Korriban Incursion has been added to the Hard Mode Flashpoint category at level 60.
The Depths of Manaan has been added to the Hard Mode Flashpoint category at level 60.
Legacy of the Rakata has been added to the Hard Mode Flashpoint category at level 60.
The Ravagers has been added to the Operations category at level 60.
Temple of Sacrifice has been added to the Operations category at level 60.
The Depths of Manaan Flashpoint now properly grants the Codex Entry for C2-D4.
GUI
GUI
New GUI Element: Effect Procs! An eye-catching visual effect is now played around hotbar buttons when the ability in that button has been "powered up" by another effect.
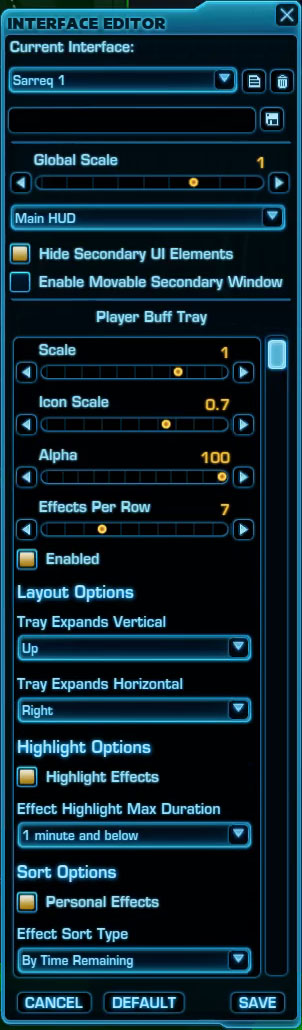
The Player Buff and Player Debuff trays have been removed from the Player Frame and have been moved into new, separate frames that are moveable in the Interface Editor.
New Option: Show Personal/Group Mission Progress! This option has been added to the User Interface section of the Preferences Window. When enabled, Mission progress will be shown in the large tooltip when placing your cursor over an object in-game that is involved with a Mission the player/group member is on.
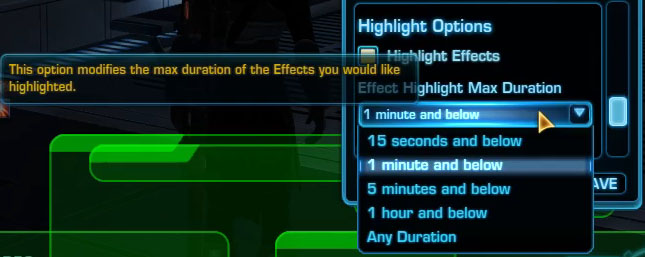
New Option: Highlight Effects! This option allows the user to enable effect highlighting, which adds a border to buff and debuff icons.
New Option: Effect Highlight Max Duration! This option allows the user to define the max duration of the effects they would like highlighted.
New Option: Personal Effects! Allows the user to enable personal sorting on the effects. If this option is selected it will separate the buffs into two lists apply the sort to those two lists then merge them back together displaying personal first.
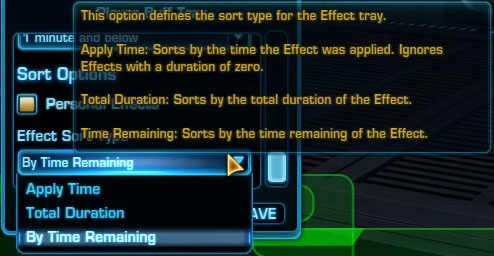
New Option: Effect Sort Type! This option allows the user to define the sort for the selected frame, and has been added to the Player Buff, Player Debuff, Target, and Focus Target Frames:
Apply Time: This option sorts the effects by the time they were applied. This is the most similar to how effects are currently sorted.
Total Duration: This option sorts effects by the total duration of the effect.
Time Remaining: This option sorts the effects by the time remaining until they are finished.
Missions + NPCs
Missions + NPCs
Corrected an issue that caused certain Companions to grant more bonus stats than intended.
Warzones
Warzones
A PVP Mission Turn in Terminal has been added to the Southern base in Ancient Hypergates.
Storyline
Shadow of Revan: Prelude
To begin the Chapter 5 Prelude: Forged Alliances missions interact with the new console on your personal ship.
Before beginning the story on Rishi, you will need to complete the Forged Alliances flashpoints. If you have not done these yet, you will be receive a mission to enter a solo version of them.
Walkthrough: Complete the Forged Alliances story arc to complete this mission. If you've already completed the arc, click the terminal again to be taken to Rishi.
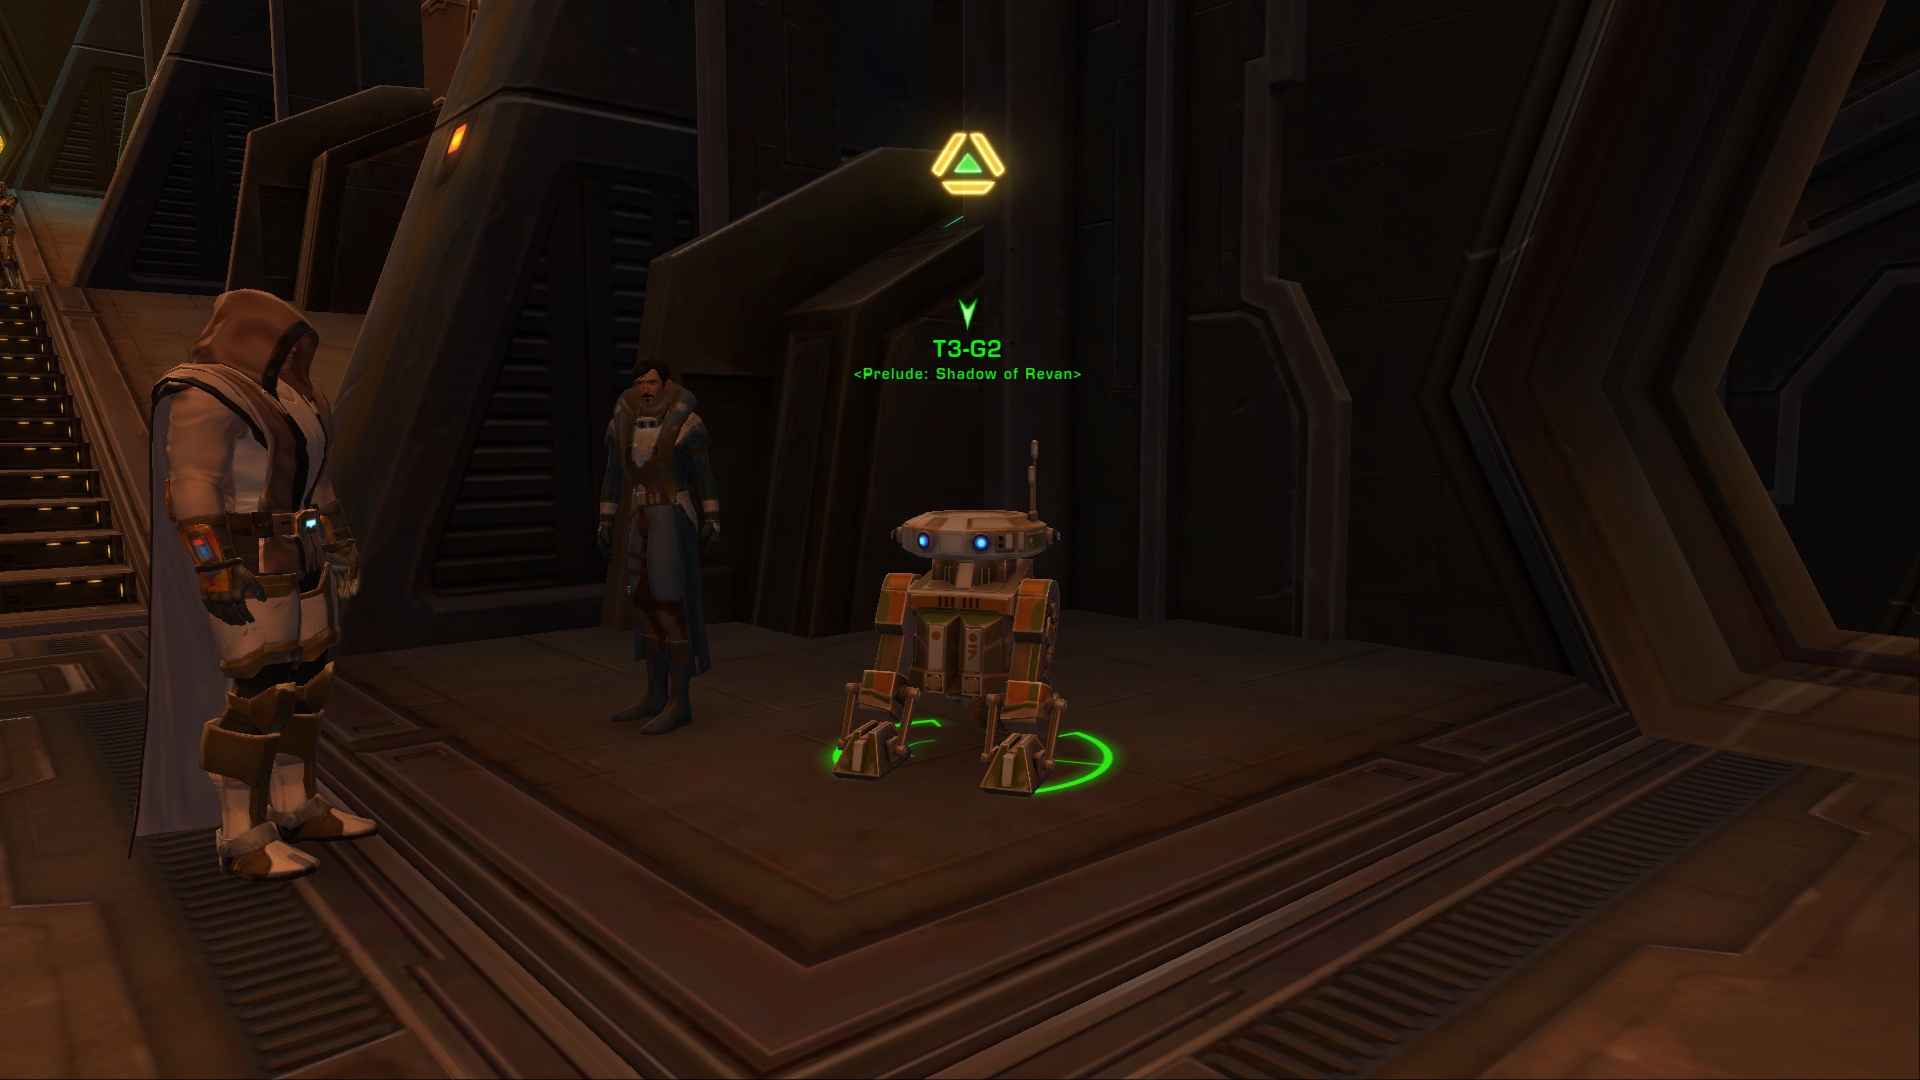
There is a new mission terminal on your ship. It is here that you will get the mission to begin the Forge Alliances mission.
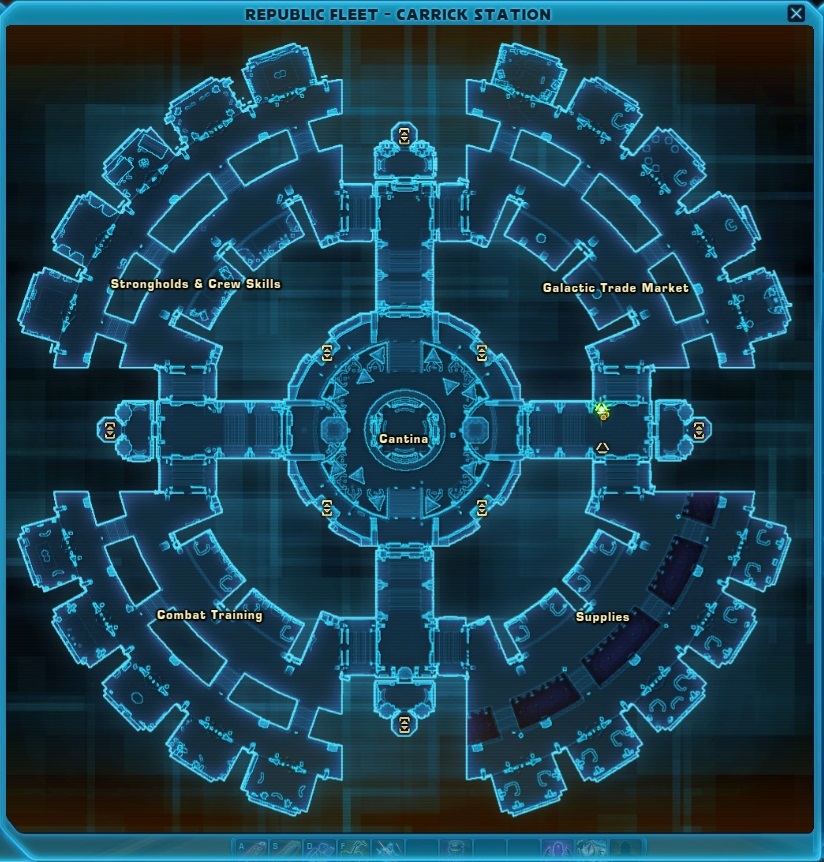
The mission will send you to talk to T3-G2 at The Fleet. The droid will open an intercom with Theron Shan from SIS.
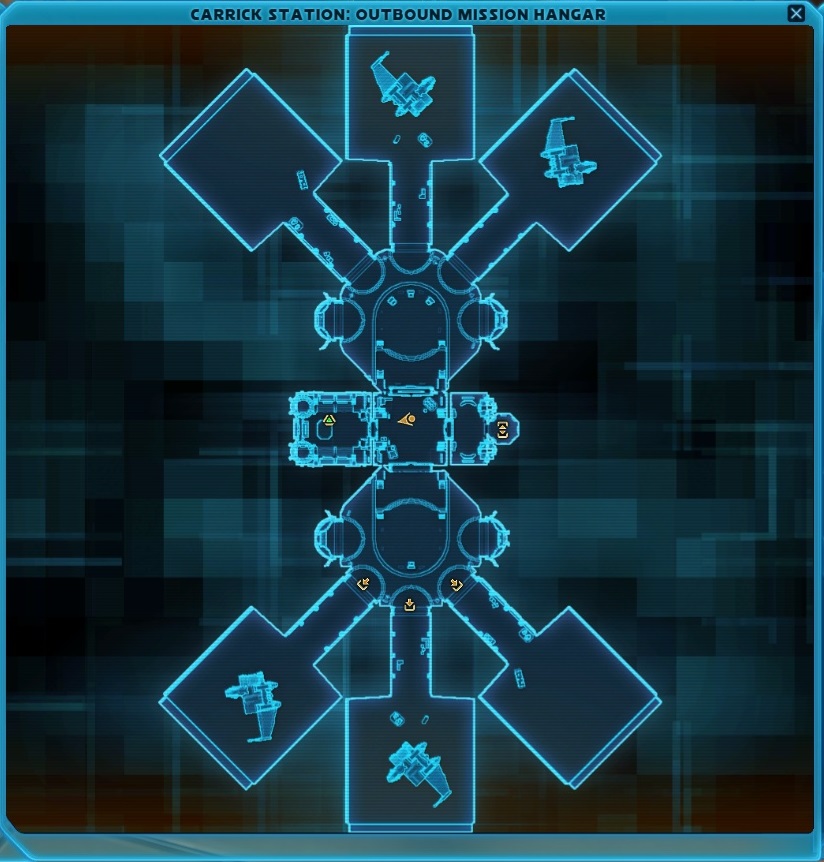
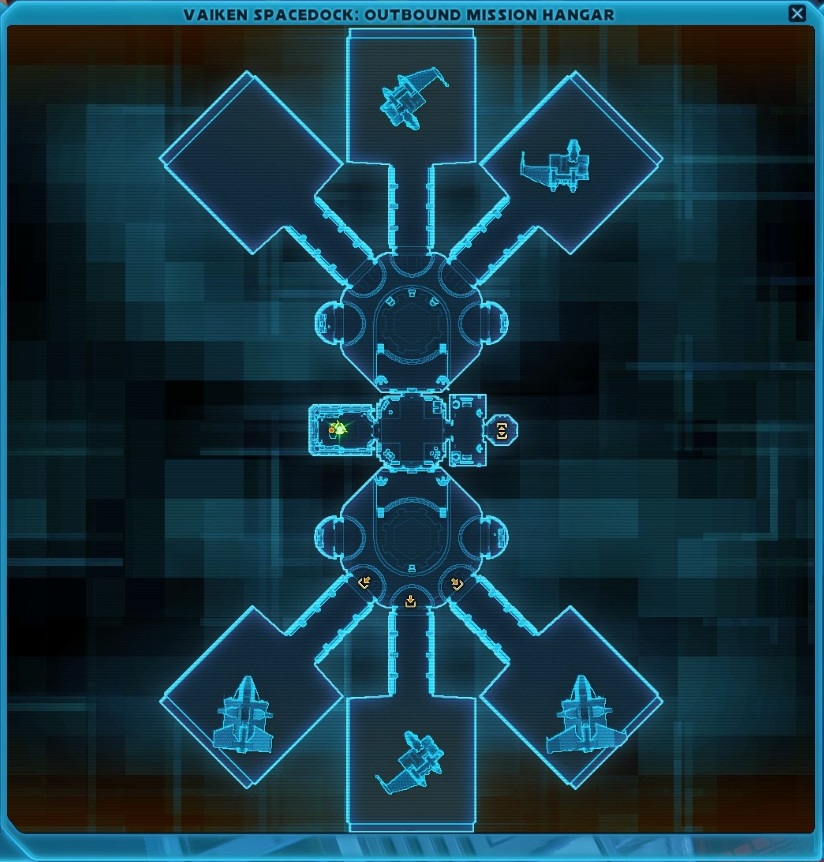
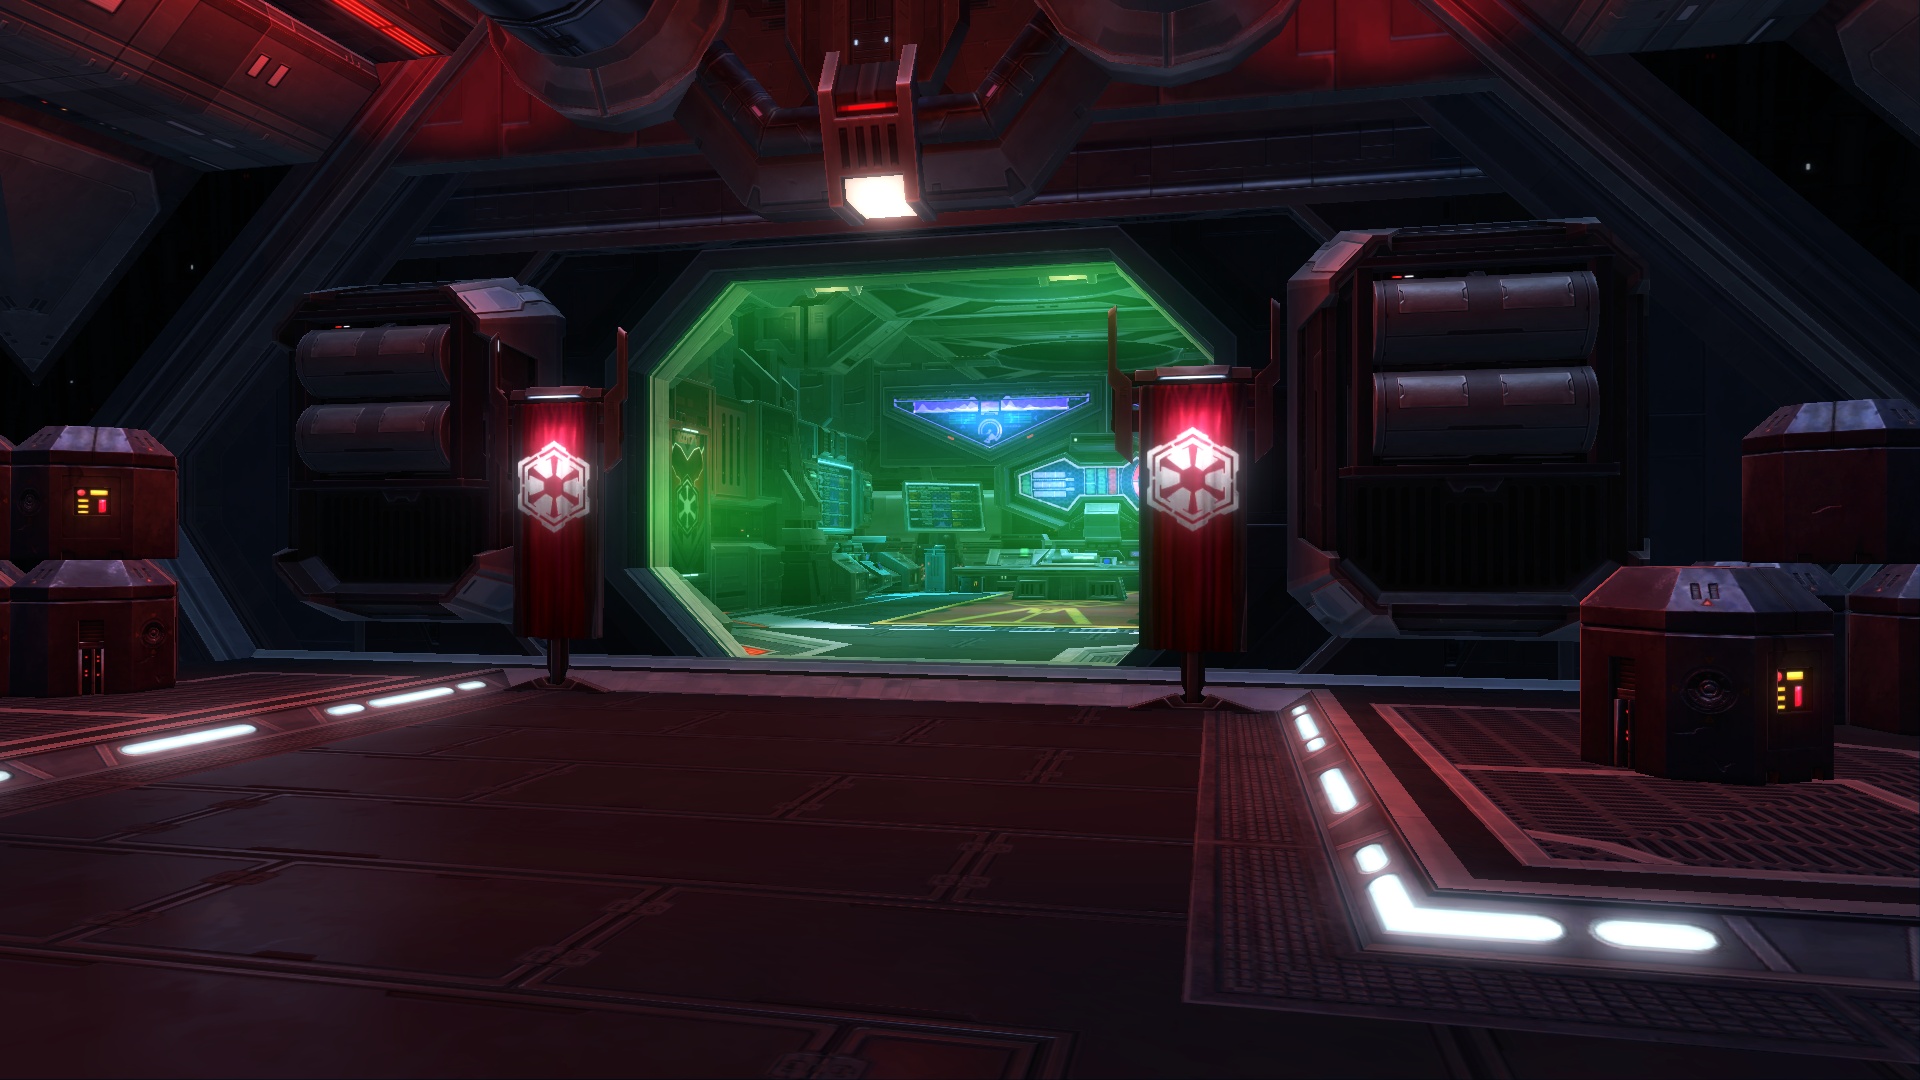
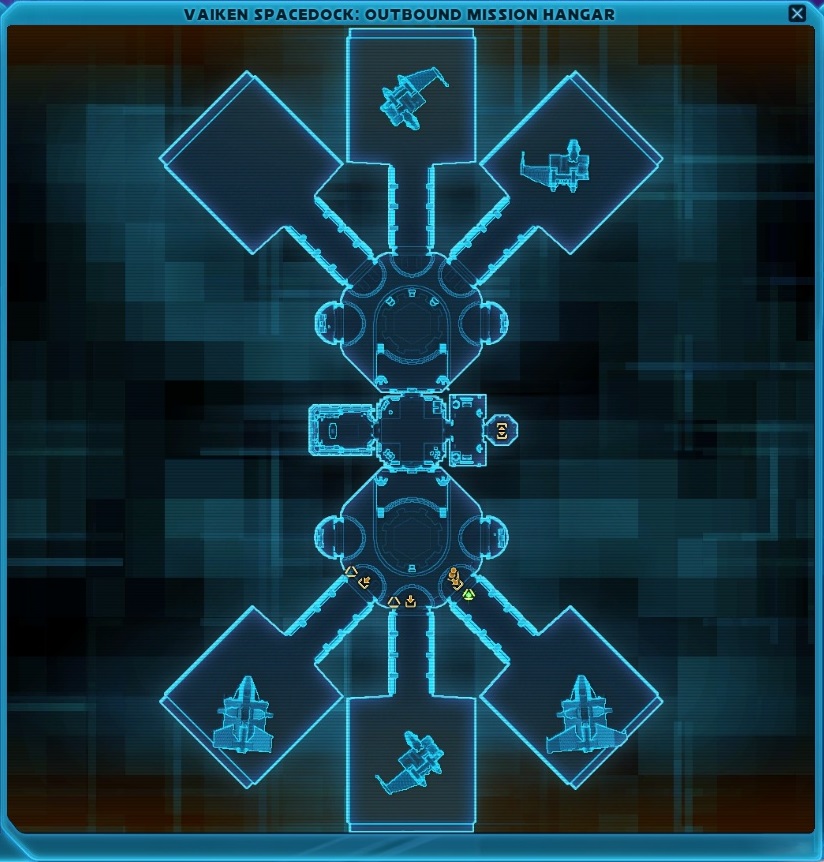
From here, you will proceed to the Outbound Mission Hanger to meet Theron Shan and Colonel Darok face-to-face.
After a conversation with them, you will be sent to enter Forged Alliances: Korriban Incursion.
Rewards
Class
Provided Rewards
All
3 Large Basic Commendation Container and 19,642 credits
Description: Your navicomputer has mysteriously developed an obsession with a planet called Rishi, a world known as a haven for pirates. Someone clearly wants you on that planet. Travel to Rishi and speak to a local to find out what's going on.
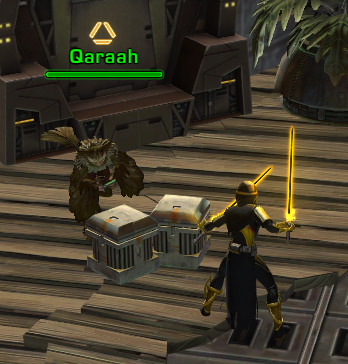
Walkthrough: Go and speak to the Local, Qaraah, at X: 986, Y: 480.
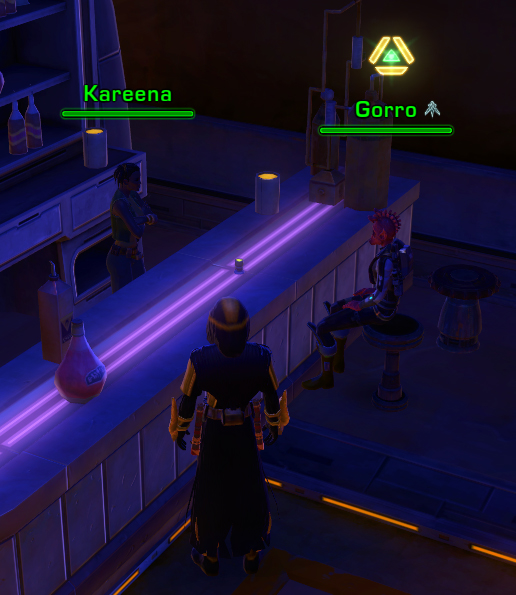
Description: Following mysterious clues, you've traveled to the remote planet Rishi, home to pirates and other criminals of all types. Strangely, the locals seem to think you're a famous pirate captain and leader of the Red Hulls. One local in particular, someone named Gorro, seems to have talked you up a lot before your arrival. Find him in the cantina and see what he knows.
Walkthrough: Go and speak to Gorro at X: 686, Y: -52. He will then start a fight - once you defeat Gorro and his friends, speak to Kareena at the bar.
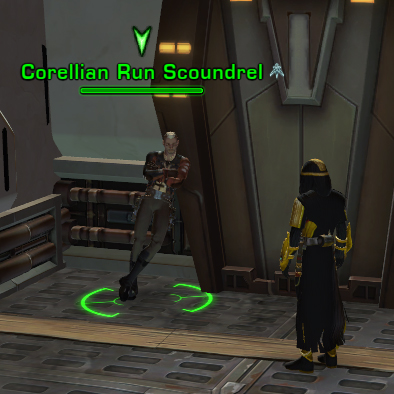
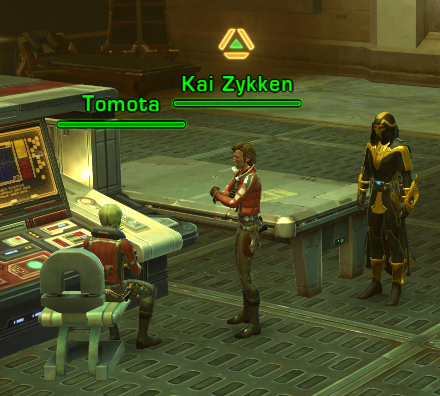
Description: The leader of the Corellian Run Scoundrels, a man named Kai Zykken, may have information about the reason you were lured to Rishi. Question the Corellian Run Scoundrels' Lieutenants to find out where Kai Zykken can be found.
Walkthrough: Speak to the Corellian Run Scoundrels near the Blaster's Path Cantina. You may have to try speaking to several different Scoundrels (and some may even attack you) before finally getting one to reveal Kai Zykken's location.
Once you have the location, confront Kai Zykken at X: 782, Y: -144.
Description: Kai Zykken claimed to have a holorecording of the person who told him you were coming. You'll have to find his datapad to see if he was telling the truth.
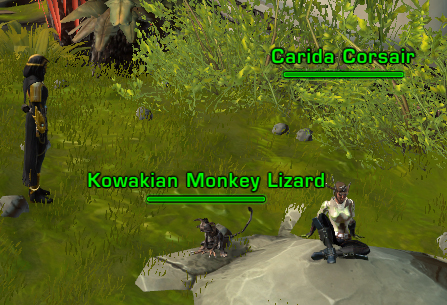
Walkthrough: Exit the warehouse and open the nearby lockbox. A Monkey-Lizard will steal the datapad and run down the path.
Click on the Kowakian Monkey Lizards along the path until you find the one that took the datapad. A Carida Corsair will then appear and attack you. Kill the Corsair to recover the datapad.
Head to one of the nearby holoterminals and connect the datapad.
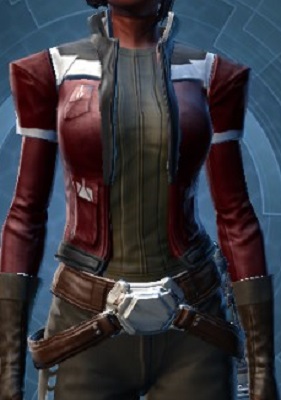
Raider's Cove Mender's Suit or Raider's Cove Targeter's Jacket
Shadow/Assassin
?
Guardian/Juggernaut
?
Sentinel/Marauder
Raider's Cove Pummeler's Chestguard
The Cove Crier
The Cove Crier
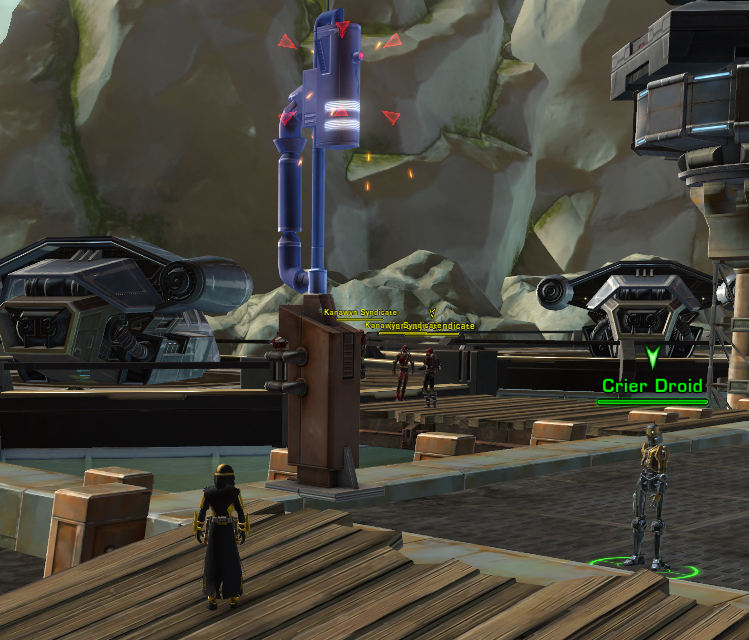
Description: The mysterious person responsible for luring you to Rishi also arranged for the local town crier droids to spread the word of your arrival. Find a way to stop one of the Crier Droids in Raider's Cove so you can speak to it.
Walkthrough: Head to one of the three marked zones on the map and look for a Crier Droid circling around. Follow it until it gets close to one of the nearby electrical poles. Click the pole to stun the droid, then speak with it.
Description: You've finally learned the location of the person or persons responsible for luring you to Rishi and convincing everyone that you're a famous pirate. Investigate the coordinates given to you by the town crier droid.
Walkthrough: Head to the coordinates to trigger a cutscene, followed by a fight with Gorro's brother, Grumm.
After you defeat Grumm, head east to the safe house and speak to Theron Shan/Lana Beniko (X: 1112, Y: 358).
Description: In order to establish your cover as a pirate rival of the Nova Blades, you'll need to assault their supply camp on the island. There's a signaling device in the jungle on the way to the camp. Use it to call in the "allies" who'll be helping you complete the mission.
Walkthrough: Head north and activate the signaling device at X: 304, Y: -95. You will be greeted by Jakarro and C2-D4, who will tell you to go tag the weapons stockpiles to the northwest.
The bonus mission "Marking Territory" will also become available (plant 3 pirate flags and defeat 15 Nova Blades). To plant a pirate flag, target a Nova Blade Captain or Gunner and then click the Emblem Holoprojector in your inventory (they do not have to be alive to do this). Once you've finished, head north and confront Lieutenant Donovarr. After defeating him, tag the generator, then interact with the holoterminal to the south.
Note: Completing the mission will unlock missions "Sunken Cache" and "Master of None."
Description: You've been told that the Nova Blades maintain a camp of captured slaves on an island nearby. It's up to you to bust up the camp and stop the Blades' slave trade. The best way to reach Slave Island is to stow away in one of the Nova Blades' transport crates.
Walkthrough: Enter a supply transport crate and you'll be taken to Slave Island. Once there, head north and begin rescuing the slaves by opening the slave pens.
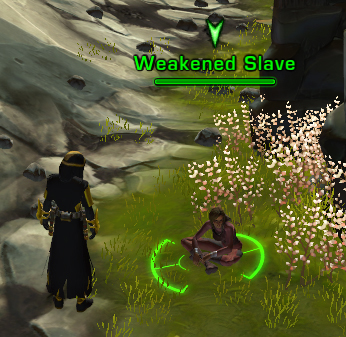
The bonus mission "Thus Always to Slavers" will be available. To complete it, use the Medical Stim in your Mission Items on 5 weakened slaves, and defeat 15 Nova Blades.
Once you've freed 3 sets of slaves, ready the shipping container near the area start point, then return to Theron Shan using the speeder.
Description: The Nova Blades have critical information about the Revanites on the computers inside their main base, a crashed ship called the Aggressor. But to gain access to the base, you'll need decoder modules from Nova Blade communications towers. Tag the communications towers around the Aggressor to have Jakarro disable them. Then recover decoding modules from the wreckage of the towers.
Walkthrough: Complete the Forged Alliances story arc to complete this mission. If you've already completed the arc, click the terminal again to be taken to Rishi.
There is a new mission terminal on your ship. It is here that you will get the mission to begin the Forge Alliances mission.
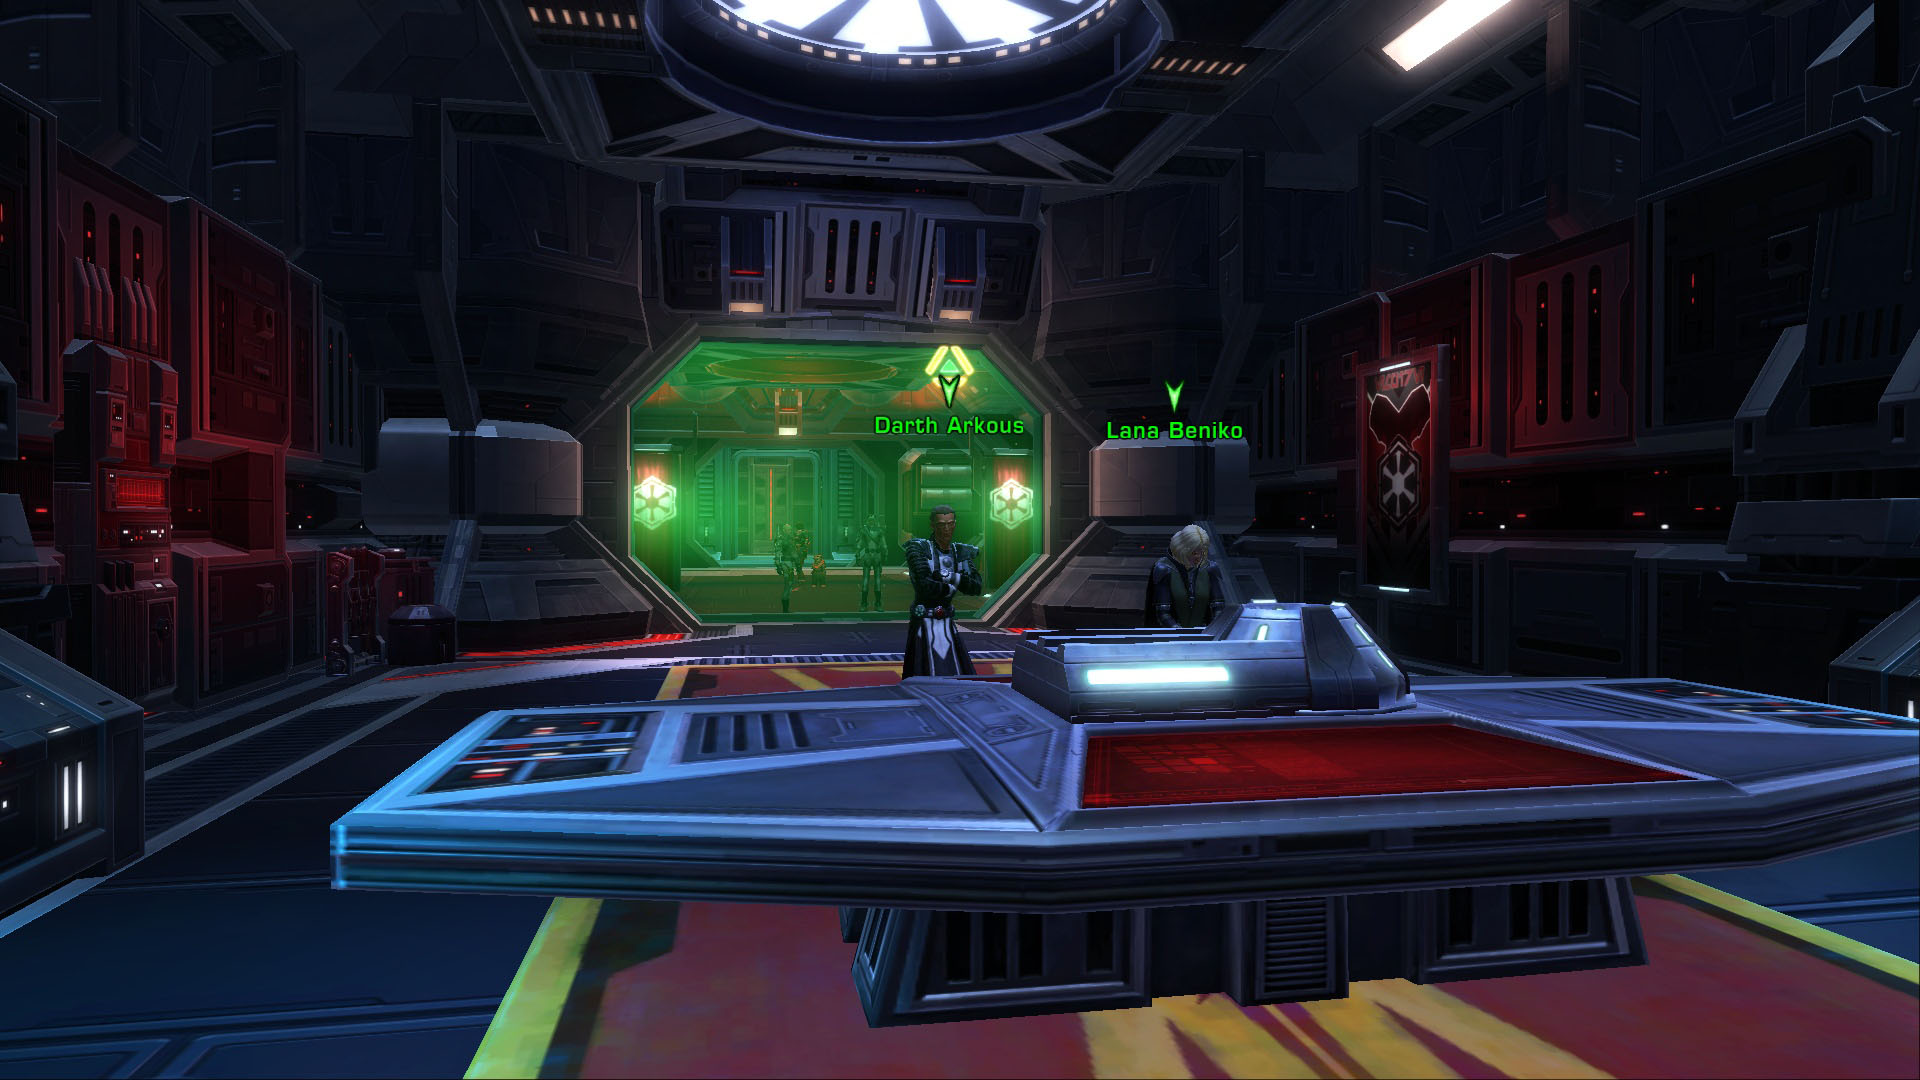
The mission will send you to talk to A7-M1 at The Fleet. The droid will open an intercom with Darth Arkous.
From here, you will proceed to the Vaiken Spacedock to meet Darth Arkous and Lana Beniko face-to-face.
After a conversation with them, you will be sent to enter Forged Alliances: Tython Incursion.
Rewards
Class
Provided Rewards
All
3 Large Basic Commendation Container and 19,642 credits
Explore through the tropical world of Rishi and the Jungles of Yavin IV. If you have not completed the Forged Alliances story arc, you will be prompted to do a solo version of the instances prior to going to Rishi.
The Seer Sage is the rejuvenation master of Consulars, assisting with an array of Force healing powers that grant allies the strength to continue through even the harshest of encounters. Separated from the heart of the fray, the Seer can be an unfailing warden to those in need.
At one with the environment, the Telekinetic Sage manipulates the essence of the surrounding elements with the power of the Force to mount powerful distance attacks. Waves of turbulence and torrential gusts of telekinetic energy make for a potent combination that can pummel even the toughest adversaries into submission.
There is serenity in balance, and no one knows this better than the Balance Sage. Able to assail multiple targets at once while at the same time absorbing their vitality, the Balance Sage is a formidable presence in long-range engagements.
Abilities
Force in Balance (Level 10) - Sever Force (Level 26) - Force Serenity (Level 41) - Vanquish (Level 57)
A powerful connection to the Force allows the Kinetic Combat Shadow to draw their opposition's attention while also warding off their attacks. Add to that a formidable Force-based offense, and it becomes clear that the Kinetic Combat Shadow can serve as an effective bulwark against any foe.
Abilities
Slow Time (Level 10) - Kinetic Ward (Level 26) - Force Pull (Level 41) - Cascading Debris (Level 57)
Infiltration
Infiltration (Damage)
Planning a coordinated attack from a position of stealth and striking at the most opportune of times, the Infiltration Shadow is a master of surprise. By adopting special Force techniques, the Shadow's attacks can become even more effective, building to a powerful crescendo that the opposition won't even see coming.
The Serenity Shadow is ever mindful that the Force ebbs and flows, and uses this knowledge to great advantage. Able to wield the Force against multiple targets while wrestling vitality from the enemy, the Serenity Shadow can even stand up to opponents in close combat.
Abilities
Force in Balance (Level 10) - Sever Force (Level 26) - Serenity Strike (Level 41) - Vanquish (Level 57)
The great protector among Jedi Knights, the Defense Guardian is able to withstand even the most brutal assaults, and can give as good as they take. Even while dealing powerful blows, the Defense Guardian can reduce the impact of any attacks that come their way, making them key participants at the front line of any battle.
Operating through a disciplined state of enlightened focus, the Vigilance Guardian defends by providing would-be attackers with a torrential offense. The Vigilance Guardian enters the fray nimble and alert, unleashing a whirlwind of lightsaber and Force attacks that leaves any adversaries wondering what just happened - if they're still conscious.
The ways of the Force can reveal themselves to a Jedi Knight thorugh intense concentration and, most importantly, focus. The Focus Guardian uses debilitating bursts of lightsaber strikes and Force powers to exhaust their foes, crushing any hopes they had of mounting an effective offense.
Some try to take down their opponent with a single blow, but the Watchman Sentinel chooses to utilize calculated strikes that continue to dismantle their foe over time. An aggressive stance and merciless offense help to keep the Watchman's foe from comprehending the toll they've taken until it's too late.
A lively flurry of dual lightsabers and Force abilities, the Combat Sentinel is a Jedi Knight who specializes in unrelenting volume. Rushing into battle with skilled precision, the barrage of overwhelming strikes increase the Combat Sentinel's vigor until their enemy is little more than a memory.
Absolute awareness in the moment brings the Force to bear - a fact the Concentration Sentinel knows well. However many opponents they may face, the Concentration Sentinel leaps into battle with focused bursts of power while maintaining a balanced stance that offers protection against the enemy's attempts at exhausting them.
Armed with the steely fortitude required to set up the perfect shot, the Sharpshooter is the Gunslinger at its most devious. Aiming from distant cover, the Sharpshooter goes for a devastating opening salvo, following up with vicious trick shots and penetrating rounds, putting a definitive end to the fight they started.
One of the perks of being a Smuggler is access to all the latest tools of any trade - including the many high-tech charges and grenades in the Saboteur Gunslinger's arsenal. Able to wreak havoc on their intended target from a safe distance, the Saboteur is a crafty, resourceful and incendiary master of mayhem.
As a Smuggler who finds nothing honorable about losing in a scrap, the Dirty Fighting Gunslinger doesn't pull punches. Lobbed bombs and cheap shots are just a sampling of the Dirty Fighting Gunslinger's bag of cruel tricks that can cause their target untold continuous suffering while the Gunslinger stands back with a satisfied smile.
As an Underworld figure armed with the latest advances in medical technology, the Sawbones Scoundrel is a crucial ally. From healing a single target to many at once, distributing emergency medpacs and clouds of healing kolto, the Sawbones ensures that their crew will endure throughout the heat of battle.
Holding no punches, the Scrapper Scoundrel never backs down from a fight - so long as said fight is on their terms. Able to hide from the fray, the Scrapper can sucker punch and bludgeon their adversary, ducking back out before things get too hairy and biding their time until the moment is right to scrap once more.
Never shy about taking advantage of any opportunity, the Ruffian is a rough-and-tumble Scoundrel able to handle any fight, big or small. Inciting chaos with a shrapnel bomb and then coming in close for a shot at point-blank range, the Ruffian Scoundrel makes devious moves that keep their enemies reeling.
Just behind the front line, the Combat Medic Commando uses medical know-how and an array of tools to keep their allies in pristine fighting shape. Damage monitoring equipment and advanced kolto delivery systems allow the Combat Medic to maintain the offense's forward momentum.
The Gunnery Commando specializes in ranged cannon attacks, employing long-range weapons to demolish anyone unlucky enough to be in their sights. Devastating blaster round combinations and relentless assault cannon volleys generate a spectacle of explosive brilliance and transform the Commando into a virtual blaster storm.
Using the chaos of the battlefield to their advantage is the Assault Specialist Commando's forte. Loaded to the brim with incendiary ordnance and perforating bolts, the Assault Specialist's volleys and explosions add to the pandemonium - causing massive damage to their enemies all the while.
Storming to the front line with a powerful charge, the Shield Specialist Vanguard can withstand any incoming offensive. The Shield Specialist boldly takes the brunt of the attack while employing a wide range of tech-based attacks to gas, blast and jolt their enemies into oblivion.
Abilities
Storm (Level 10) - Energy Blast (Level 26) - Riot Gas (Level 41) - Ion Storm (Level 57)
Plasmatech
Plasmatech (Damage)
Vanguards adamant on burning their way through hostile forces can do so effectively with the latest in weaponized plasma technology. The Plasmatech Vanguard stands their own, strikinger their enemy with waves and rounds of raw incendiary power that persist in their searing destruction.
The Tactics Vanguard is a pro at executing a focused line of attack on a hostile target with great efficiency. From up-close vibroblades in the gut to deadly charges of explosive plastique thrown from a distance, all manner of effective strategies for eliminating enemies are at the Tactics Vanguard's disposal.
The dark side of the Force provides many benefits, including the ability to ward off death itself. By conjuring a series of arcane Force abilities out of harm's way, the Corruption Sorcerer can sustain injured allies, allowing them to fight on with the power of the dark side's twisted gift.
Of all the dark arts of the Sith, little can match the spectacle and devastation of Force lightning. Summoning intense discharges of pure Force energy, the Lightning Sorcerer overwhelms enemies with punishing damage from a distance, leaving them shaken and vulnerable - if not dead.
Delving ever deeper into the dark side of the Force can lead to madness, but it can also lead to immense power. Attacking multiple enemies simultaneously and instilling terror in their hearts, all while sapping their very life essence from afar, the Madness Sorcerer is a dark threat unlike any other.
Abilities
Death Field (Level 10) - Creeping Terror (Level 26) - Force Leech (Level 41) - Demolish (Level 57)
In darkness, there is protection. A Darkness Assassin acts in defense of their allies, using the dark side of the Force to ward off attacks and launch powerful channels of Force lightning while standing their ground against even the most formidable enemies.
Abilities
Dark Ward (Level 10) - Wither (Level 26) - Force Pull (Level 41) - Depredating Volts (Level 57)
Deception
Deception (Damage)
From the murky depths of the dark side, the Deception Assassin emerges with a calculated plan. AS the Assassin presses the attack, Force lightning accumulates within their double-bladed lightsaber and culminates in a massive discharge that can ravage the Assassin's opponent before they even know what hit them.
Hate fuels the dark side of the Force, and no one knows this better than the Hatred Assassin. Able to command dark Force powers that assault many targets at once or sap an enemy's very essence from a distance, the Hatred Assassin can also stand face-to-face against any foe.
Abilities
Death Field (Level 10) - Creeping Terror (Level 26) - Leeching Strike (Level 41) - Demolish (Level 57)
As the toughest of the Warriors, the Immortal Juggernaut can withstand even the most brutal assaults. Using the Force to turn nearly invincible for short bursts of time and to deliver crushing blows to the enemy, this Juggernaut is capable of taking a beating and giving one, too.
When embracing the dark side of the Force, vengeance can be a powerful ally. With sustained and ruthless lightsaber thrusts delivered in the lithe Shien Form, the Vengeance Juggernaut increases damage without sacrificing defense - an ideal combination of tenacity and viciousness.
Abilities
Shatter (Level 10) - Impale (Level 26) - Shien Form (Level 41) - Vengeful Slam (Level 57)
Rage
Rage (Damage)
Fueled by extreme rage, a Sith Warrior can reach new heights of destructive power. Furiously striking at one or more foes with bursts of hate and anger, the Rage Juggernaut forges ahead, the dark side of the Force providing ever more opportunities to crush and obliterate the enemy.
Annihilation doesn't have to be instantaneous - and that's how the Annihilation Marauder likes it. With lightsaber and Force attacks designed to bleed their foe and increasing their potency with an aggressive combat form, the Annihilation Marauder causes deep, rupturing wounds that add up until it's too late..
Agile and swift, the Carnage Marauder wins the day by way of sheer volume. As a devastating flurry of dual lightsaber strikes and Force attacks overwhelm their foe, each successful blow can serve to embolden the Carnage Marauder in their assault, making them all the more deadly.
Abilities
Ataru Form (Level 10) - Massacre (Level 26) - Gore (Level 41) - Devastating Blast (Level 57)
Fury
Fury (Damage)
The dark side can be a powerful ally when one channels their inner fury, and no one knows this better than the Fury Marauder. Faced with one opponent or many, the Fury Marauder strikes with raging bursts of power while maintaining a balanced stance that offers protection against the enemy's attempts at obliteration.
One perfect shot has the potential to change everything, and no one is more precise than the Marksmanship Sniper. From the safety of cover, the Marksmanship Sniper ambushes the enemy and follows up with an encore of penetrating blasts that make extra sure the Sniper's job is done.
Technology - and its application in deploying advanced weaponry - sets the Engineering Sniper apart from the rest. A variety of probes at their disposal allows the Engineering Sniper to attack from a distance with explosions, electrical jolts and waves of destructive plasma designed to eliminate any target.
Some Agents prefer a less direct method of eliminating a target, such as administering poison. Lethal toxins and all-consuming microbes are the domain of the walking biohazard known as the Virulence Sniper, who inflicts lethal shots and lobs corrosive grenades from a safe distance where they can witness the results of their handiwork.
As an accomplished practitioner of the medical arts, the Medicine Operative serves as the preservative backbone of any combat team. Deploying a full complement of sophisticated gadgets to dispense healing kolto and reparative nanotech clouds to one or more targets, the Medicine Operative ensures their allies remain fit for fighting.
Striking from the shadows, the Concealment Operative surprises the enemy with a flurry of calculated attacks designed to stun and debilitate. Then, before the fight gets out of hand, the Concealment Operative can return to a position of stealth, biding their time until the time to strike reveals itself again.
The Lethality Operative firmly believes the one true gift that keeps on giving is poison. Dispensing potent toxins using a variety of methods, the Lethality Operative's attacks take a toll over time, corroding the enemy from within until all that's left is a whithered husk that only thinks it still has a chance.
The Bodyguard Mercenary specializes in personal-security services, positioning themselves as the best protection credits can buy. A varied array of kolto dispersement instruments provide the Bodyguard's targets with protective shells and time-release infusions, offering safe haven in even the most hostile environments.
The Arsenal Mercenary specializes in distance attacks, employing long-range weapons to demolish anyone unlucky enough to be in their sights. Devastating missile-fire combinations and relentless blaster volleys generate a spectacle of explosive brilliance and transform the Bounty Hunter into a virtual artillery platform.
Taking advantage of chaos they've created is what the Innovative Ordnance Mercenary is all about. With an arsenal of explosive and piercing munititions, the I.O. Mercy's barrage of missiles, grenades and weapon blasts cause lasting, destructive damage to all their enemies.
Launching into the fray with a jetpack-propelled attack and able to withstand powerful offenses, the Powertech trained in the Shield Tech specification takes the brunt of the assault while employing a wide range of tech-based attacks to scorch and trip up even the most formidable adversaries.
Need a light? The Pyrotech-style Powertech adds fuel to any firefight with an abundance of vivid, searing flame attacks. From fistfuls of fire to missiles loaded with highly combustible compounds, the Pyrotech's arsenal allows them to never back down while making sure their enemy burns out in a blaze of destruction.
When stalking dangerous prey, a selection of powerful, high-tech armaments can be a hunter's best friend. The Advanced Prototype Powertech's thermal detonators, gauntlet blades, and magnetized bracers devastate their intended target while ensuring the Powertech remains on the bleeding edge of any engagement.
Abilities
Retractable Blade (Level 10) - Magnetic Blast (Level 26) - Thermal Detonator (Level 41) - Energy Burst (Level 57)
Flashpoints
Solo mode is available for Forged Alliance Flashpoints, Blood Hunt and The Battle For Rishi.
Hard modes for Forged Alliance Flashpoints have been added at level 60.
Blood Hunt and The Battle For Rishi flashpoints blend into the story arc on the planets.
During the planet stories, you will be prompted to go into the new flashpoints. Again, solo modes are available to do these.
Blood Hunt
The notorious pirate lord Shae Vizla, also known as "Torch" has taken over the Pirate's Cove. It is up to you to take on her and her allies to sieze back the Pirate Cove.
There are 4 main encounters within this flashpoint.
Jungle Wampa
Challengs
The Mandalorian Couple
Shae Vizla
The Battle of Rishi
Revan has gained support across the galaxy. A large gathering has been found on the planet Rishi. It is up to you to remove the support that Revan has on Rishi.
There are 5 main encounters within this flashpoint.
Rarrook and Marko Ka
Mokan
Master Obai and Lord Vodd
Cannons
Shield Squadron Unit 1
Operations
The Ravagers
Ruggar's ship has been stolen by pirates. It is up to you to help Ruggar retrive his ship again. However, there is more than meets the eye with Ruggar. Is he friend? Is he foe? Only time will tell.
There are 5 main encounters within this operation.
Sparky
Quartermaster Bulo
Chief Engineer Torque
Blaster & Master
Pirate Commanders
Temple of Sacrifice
The final showdown for Revan has come. Through his rising, he has gone to a sacred temple on Yavin IV. Now is the time to stop him, once and for all! There ar 5 main encounters within this operation.
Malaphar the Savage
Sword Squadron
The Underlurker
Revanite Commanders
Revan
World Bosses
Note: The following section was written by Acuzel of The Shadowlands.
The Lance Squadron Commander is a world boss found in a Heroic Area on Yavin IV.
Abilities
Buffs
Boss Immunity
Unshakable
Steadfast
Basic Attack
Description: Gun fire from walker Style: Single-target Application: Instant Timing: Repeats every 2 seconds in clusters of 5 before pausing Damage Output: 2k-4k on DPS / healer Damage Sub-divisions: 1 hit Effects: Can overlap other attacks (i.e. off the global cooldown)
High Impact Bolt
Description: Knockback bolt fires from walker Style: Single-target Application: 1.5 second cast, then instant Timing: Repeats every 17 seconds Damage Output: 9k-12k on DPS / healer Damage Sub-divisions: 1 hit Effects: 30 meter knockback
High Energy Beam
Description: Armor melting laser beam fires from walker Style: Single-target tracking + 10 meter diameter marked AoE centered on the primary target Application: 6 second channel Timing: Repeats every 30 seconds Damage Output: 2k-6k per tick (24k-72k total, if full channel) on DPS / healer Damage Sub-divisions: Ticks every 0.5 seconds during channel Damage Type: Energy Effects: Each tick applies 1 stack of "Melted Armor" debuff (uncleansable) to the primary target and any player in the AoE. Melted Armor stacks up to 10 times and reduces armor by 10% per stack. Debuff falls off in 10 seconds.
Explosive Charge
Description: Explosive charge drops from bottom of walker and lands on ground between its feet Style: 10 meter diameter marked AoE Application: Instant drop, then 7.5 second invisible cast before instant explosion Timing: Repeats every 15 seconds. Will be delayed by High Impact Bolt and High Energy Beam. Cannot appear with Poisoned. Damage Output: 11k-15k on DPS / healer Damage Sub-divisions: 1 hit Damage Type: Kinetic Effects: None.
Poisoned
Description: Grenade drops from bottom of walker and lands on ground between its feet creating poison cloud when it explodes Style: 5 meter diameter unmarked AoE (the AoE range is subtly shown when the grenade hits the ground) Application: Instant drop, then 2 second invisible cast before instant explosion leaving 1.5 second DoT applying poison cloud Timing: Repeats every 17 seconds. Cannot appear with Explosive Charge. Damage Output: 8k-12k per DoT tick (40k-60k, if not cleansed) on DPS / healer Damage Sub-divisions: Ticks every 1 second during debuff Damage Type: Internal Effects: Touching the poison cloud applies a Poisoned DoT (cleansable) to the player. DoT lasts for 5 seconds.
Cluster Rockets
Description: Multiple homing rockets fire from walker at all players Style: Group-wide Application: Instant Timing: Repeats every 20-22 seconds Damage Output: 5k-8k per person Damage Sub-divisions: 5 hits Damage Type: Energy Effects: None.
Orbital Missile Battery
Description: Yellow targeting circles randomly scan platform to locate players. When a player is located by touching the targeting circle, an Air Strike is called in centered on their location. Style: 10 meter diameter marked AoE targeting circles, 10 meter diameter marked AoE Air Strike Application: Roaming AoE targeting, then instant Air Strike marker with 1.5 second invisible cast before instant AoE explosion Timing: Constant, five targeting circles are always present. If one targeting circle locates a player, it is replaced by an Air Stirke. After Air Strike is completed, the used targeting circle instantly respawns. Damage Output: 8k-12k Damage Sub-divisions: 1 hit Damage Type: Kinetic Effects: 30 meter knockback to any player hit by Air Strike.
Emergency Assault Protocols
Description: Soft-enrage through stacking buff to walker Style: Buff Application: Instant Timing: Applied at 6 minutes, stacks every 3 seconds Effects: Stacking buff that increases damage output by 10% per stack to a maximum of 200% (i.e. 20 stacks applied over 1 minute)
With 10 million hit points and a six minute soft enrage timer, this is fight for a large group of players, likely 24. Based on the mechanics, damage output and the fact that this encounter does not take place in a phase, the Lance Squadron Command Unit should be viewed as a new 10-Stack Dreadtooth for decently geared Level 60 players.
Suggested group composition is two tanks, six to eight healers, and at least ten DPS.
The battle with the Lance Squadron Command Unit takes place on a platform overlooking a ravine. The platform is open on three sides and anyone knocked off the platform and into the ravine will be instantly killed.
All Roles
The Orbital Missile Battery and its five roaming targeting circles are active for the entire fight. It is important to not touch the targeting circles to avoid Air Strikes being called in that could hit you, or another group member. It is critical that if you are in an Air Strike, you immediately move out of it as the 30 meter knockback can easily throw you off the platform to your death in the ravine.
No player should ever be within 5 meters of the space between the walker's feet. All damage from Poisoned and Explosive Charge can be avoided by keeping a safe distance.
Tanks
The walker should be tanked so its back is to the ravine. This protects the tanks from being knocked off when they receive the knockback from High Impact Bolt.
The walker does not have a standard cleave. Rather, the AoE effect that surrounds the tank receiving High Energy Beam means that no one should be standing within 5 meters of the tank that the walker is aggroed on.
A taunt swap is performed after one tank receives 10 stacks of Melted Armor from the High Energy Beam. This is not mandatory, as a tank can be healed though 10 seconds of 0% armor, but it’s helpful to the healers to perform the swap.
Healers
Special attention should be paid to the tank the walker is aggroed on, especially when they are receiving Melted Armor stacks from the High Energy Beam, and as they are waiting for their 10 Melted Armor stacks to fall off, as they have 0% armor during that time.
The Poisoned DoT ticks very hard over its five second life. It should be immediately cleansed from any player that picks it up.
Periodic group-wide damage occurs from the Cluster Rockets which can be easily recovered through HoTs.
The soft-enrage can be healed though, even when damage output is increased by 200%. Players being hit by Explosive Charge or Poisoned will likely be almost instantly killed.
DPS
The Orbital Missile Battery is active for the entire fight. DPS numbers will be lower than what players are typically used to achieving due to the frequent movement that is required to avoid being targeted by the Battery, or to move out of any Air Strikes that players find themselves in.
When you trigger the "Sea Creature" on Rishi, eight Sea Creature Tentacles will spawn, each with 3.2 million hit points (25.6 million hit points total).
The tentacles have the following attacks/abilities:
Crushed
Description: Slap from a tentacle Style: Single-target melee Application: Instant Timing: Unknown Damage Output: 2k-5k on DPS / healer Damage Sub-divisions: 1 hit Damage Type: Internal Effects: 1 second before the player takes damage from Crushed they receive a Drown: Crushed effect. I believe this acts as a stun. Lasts 1.5 seconds.
Slam
Description: Slam from a tentacle Style: 5 meter long, 2 meter wide non-tracking marked cleave Application: Short (1.5 second?) cast, then instant Timing: Unknown Damage Output: 11k-15k on DPS / healer Damage Sub-divisions: 1 hit Damage Type: Kinetic Effects: None
Debris Throw
Description: Tentacle grabs debris from the water and throws it at players outside melee range Style: Single-target ranged Application: Instant Timing: Unknown Damage Output: 5k-8k on DPS / healer Damage Sub-divisions: 1 hit Damage Type: Kinetic Effects: None
Grapple
Description: Tentacle pulls player to itself Style: Single-target Application: Instant Timing: Unknown Damage Output: None Effects: 1.5 second stun
Mechanics
Currently unknown
Class Changes
Many of the class changes have been detailed out through developer blog postings.
Here are the conversion rates for all Commendations.
2 Classic Commendations = 1 Basic Commendation
1 Basic Commendation = 1 Basic Commendation
1 Elite Commendation = 2 Basic Commendations
1 Planetary Commendation = 3 Basic Commendations
1 Ultimate Commendation = 3 Basic Commendations
The Basic Commendation cap will remain at 1000. However, when the conversions happen we will allow you to go up to 2000 Commendations. Note that until you go below 1000 again, you will be unable to earn any Basic Commendations. This includes if you buy an item and try to refund it. You must go below 1000 before you can earn more.
Commendation Conversion Calculator
Enter the current number of pre-3.0 commendations you have to see your total number of Basic commendations in 3.0
Aimed Shot and Dirty Blast increases damage dealt by 2% for 15 seconds. Cannot occur more than once every 30 of seconds.
(4) Reduces the cooldown of
Illegal Mods by 15 seconds, and activating this ability restores 15 energy.
(6) Smuggler's Lucky now has 2 charges and its duration is doubled.
Scoundrel
Exhumed/Dark Reaver Enforcer's Set Bonuses (DPS)
(2)
Sucker Punch and Brutal Shots increase damage dealt by 2% for 15 seconds. Cannot occur more than once every 30 seconds.
(4) Backblast and Point Blank Shot's energy cost is reduced by 2.
(6) Activating
Blaster Whip and Bludgeon will grant Enforcer's Critical Bonus making your next Blood Broiler and Brutal Shots critically hit. This effect can only occur once every minute.
Exhumed/Dark Reaver Field Medic's Set Bonuses (Heal)
(2) Activating a healing ability has a 15% chance to grant Field Medic's Critical Bonus which causes your next
Underworld Medicine to be a critical. This effect can only occur once every 30 seconds.
Ambush and Lethal Shot increases damage dealt by 2% for 15 seconds. Cannot occur more than once every 30 of seconds.
(4) Reduces the cooldown of
Target Acquired by 15 seconds, and activating this ability restores 15 energy.
(6) Laze Target now has 2 charges and its duration is doubled.
Operative
Exhumed/Dark Reaver Enforcer's Set Bonuses (DPS)
(2)
Laceration and Corrosive Assault increase damage dealt by 2% for 15 seconds. Cannot occur more than once every 30 seconds.
(4) Backstab and Lethal Strike's energy cost is reduced by 2.
(6) Activating
Shiv and Veiled Strike will grant Enforcer's Critical Bonus making your next Volatile Substance and Corrosive Assault critically hit. This effect can only occur once every minute.
Exhumed/Dark Reaver Field Medic's Set Bonuses (Heal)
(2) Activating a healing ability has a 15% chance to grant Field Medic's Critical Bonus which causes your next
Kolto Injection to be a critical. This effect can only occur once every 30 seconds.
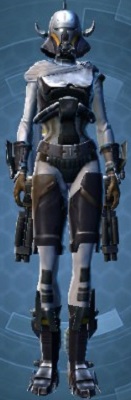
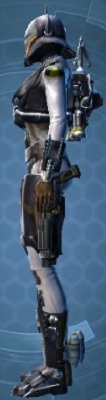
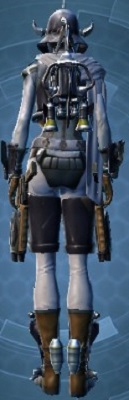
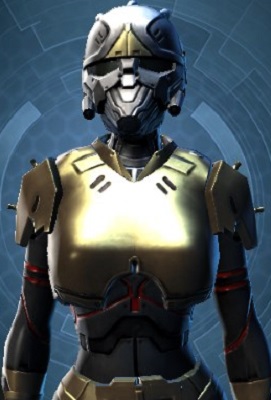
The Yavin armor sets have an armor rating of 186 and no set bonuses. This set is purchased with Basic Commendations. The total commendations needed for a set is atleast 1300. 80 Commendation Items: Belt, Bracers 100 Commendation Items: Ear, Implant 120 Commendation Items: Helmet, Chest, Gloves, Leggings, Boots, Offhand
The Resurrected and Masassi are PvP sets, contain an item rating of 192 and contain set bonuses. The Exhumed Armor is the PvP set, contain an item rating of 168 and contain no set bonuses.
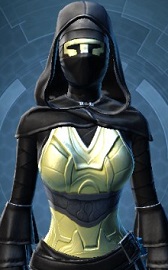
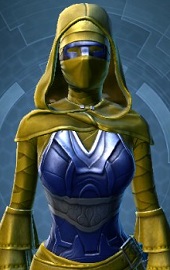
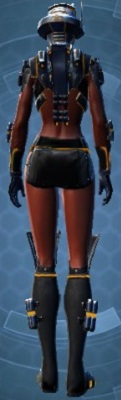
The Revanite and Deceiver are PvP sets, contain an item rating of 198 and contain set bonuses. The Dark Reaver Armor is the PvP set, contain an item rating of 174 and contain no set bonuses.
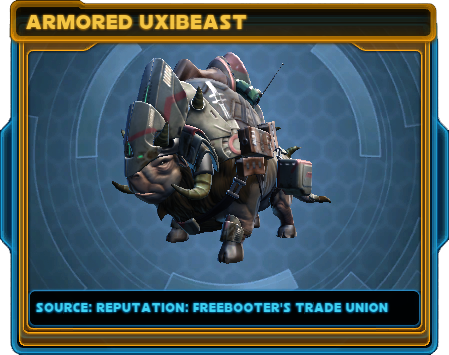
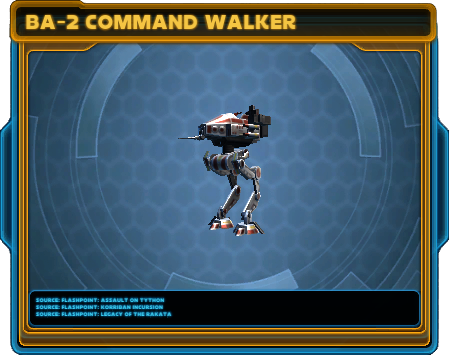
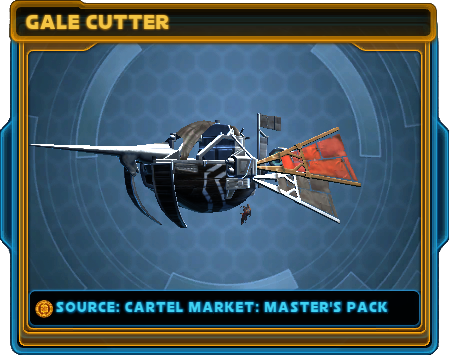
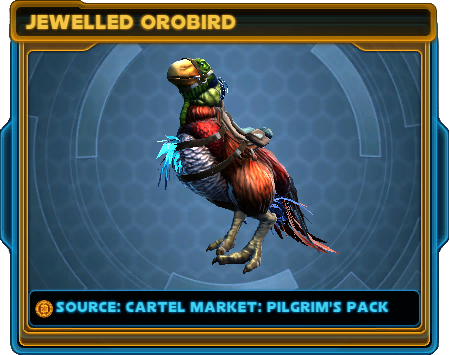
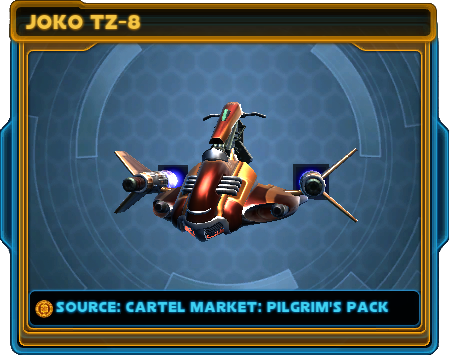
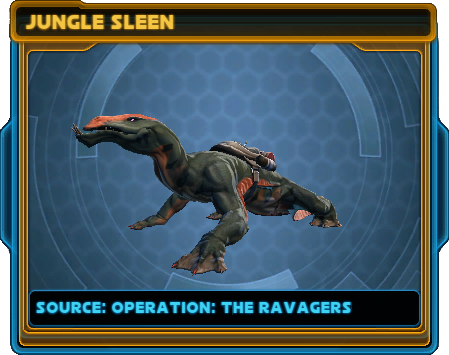
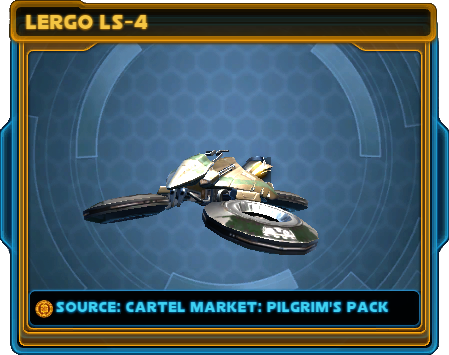
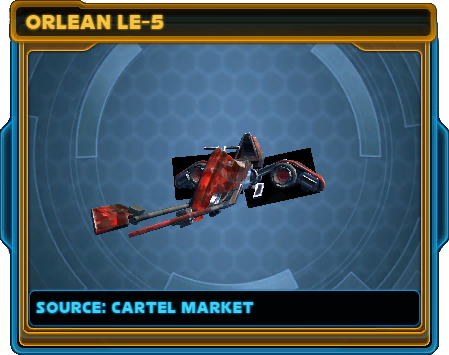
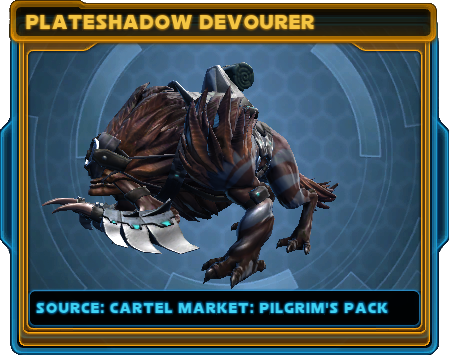
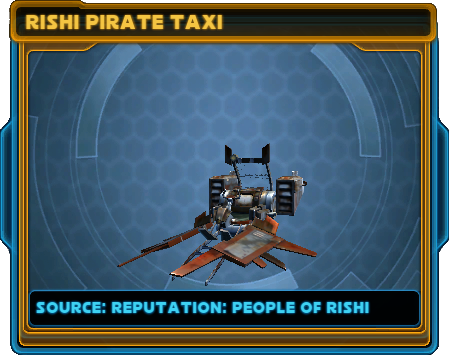
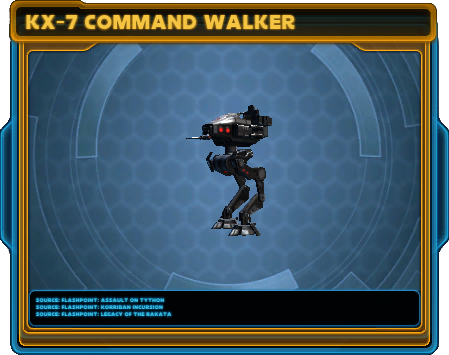
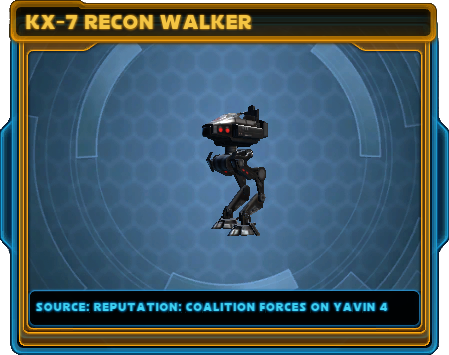
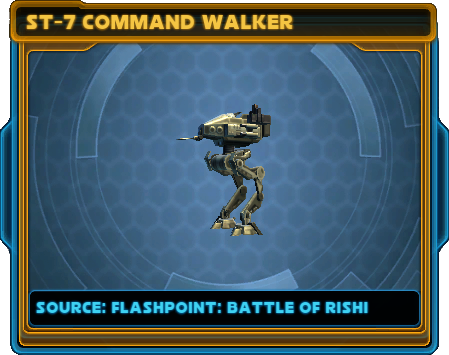
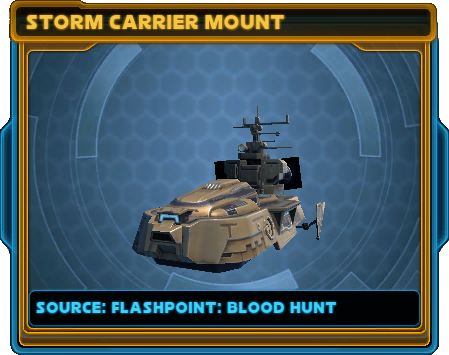
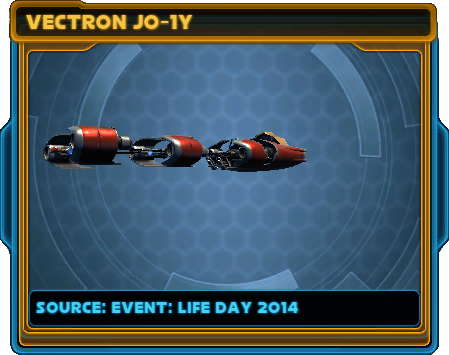
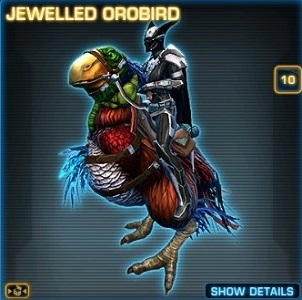
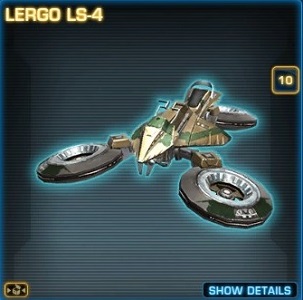
A multitude of stylish mounts have been added in Patch 3.0. These mounts come from Flashpoints, Operations, Cartel Market, Cartel Packs, Reputations, PvP Season 3 Rewards, and Life Day 2014.
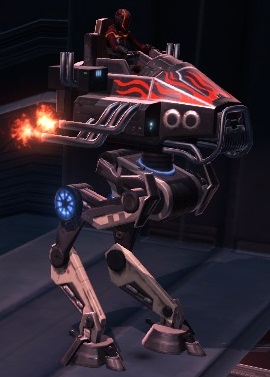
Baron Deathmark's Furious Walker
New Pets
More cute little critters and machines to follow us around have been added in Patch 3.0. These little companions come from Flashpoints, Operations, Cartel Packs, Reputations, and Life Day 2014.
New Decorations
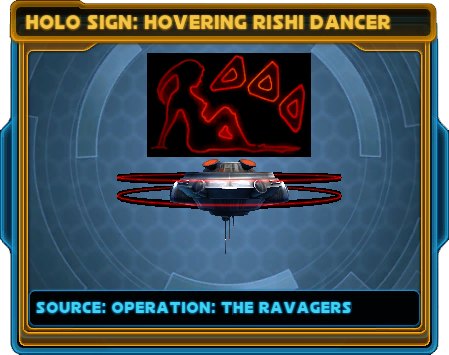
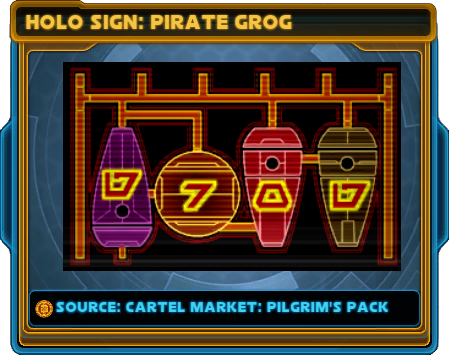
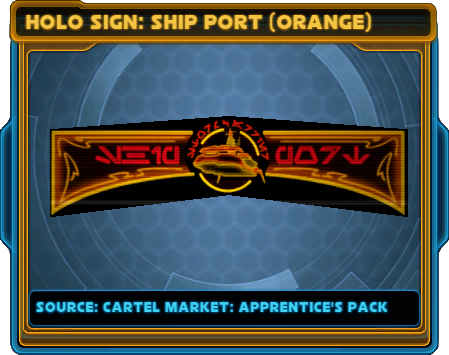
So many rooms, and not enough hooks for all these new decorations being added in Patch 3.0. These decorations come from Flashpoints, Operations, Cartel Market, Cartel Packs, Reputations, Vendors, 3rd Anniversary, and Life Day 2014.
Unique Season 3 Tier 3 Title "Character Name, Just A Little Furious"
Unique Season 3 Bronze Trophy Decoration
Unique Color Crystal Lockbox
Tier 2 - Rating 1300-1649
Color Crystal Lockbox from Tier 3
Unique Season 3 Tier 2 Title "Character Name, the Furious"
Unique Season 3 Silver Trophy Decoration
Furious Weapon Set - one of each Legacy Weapon
Tier 1 - Rating 1650+
Color Crystal Lockbox from Tier 3
Weapon Set from Tier 2
Unique Season 3 Tier 1 Title "Character Name, Fantastically Furious"
Unique Season 3 Gold Trophy Decoration
Furious Armor Set
Baron Deathmark’s Furious Walker
Top 96
Unique Season 3 Title "Character Name, Famously Furious"
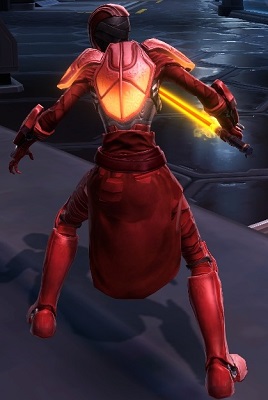
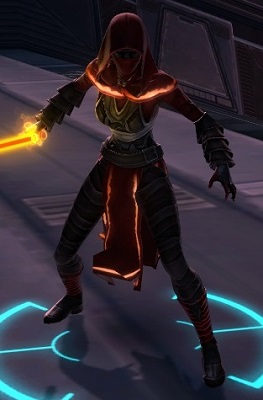
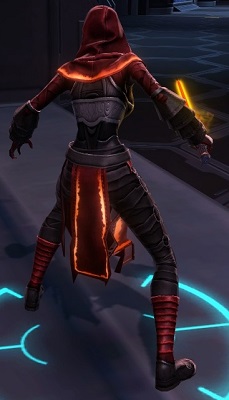
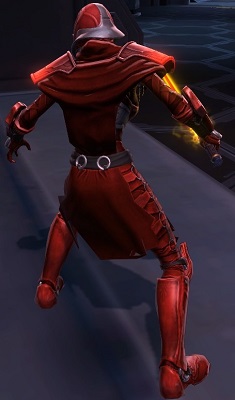
Armor
Furious Combatant Armor
Furious Mystic Armor
Furious Battler Armor
Furious Infiltrator Armor
Weapons
Red - Yellow Crystal
Furious Lightsaber & Offhand
Furious Saberstaff
Furious Blaster & Offhand
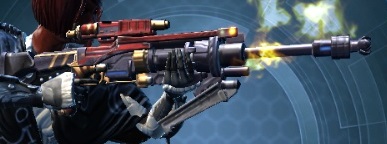
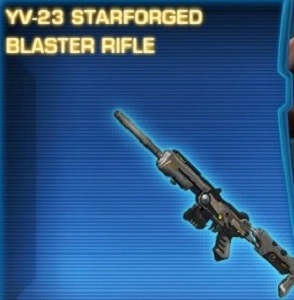
Furious Baster Rifle
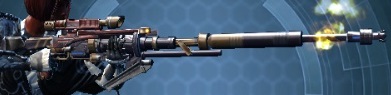
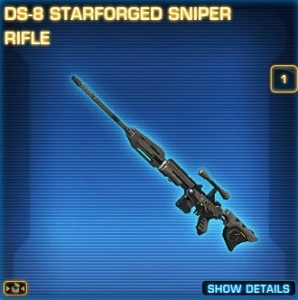
Furious Sniper Rifle
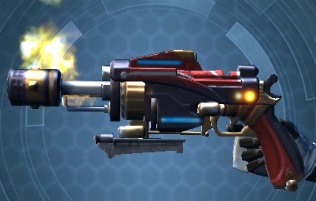
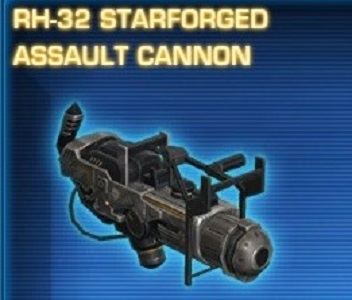
Furious Assault Cannon
Mounts & Trophies
Baron Deathmark’s Furious Walker
Pilgrim's Shadow Cartel Pack
The next cartel pack is the Pilgrim's Shadow Cartel Pack, followed soon after by the Apprentice's Pack and Master's Pack. Known mounts, pets, and decorations for Apprentice and Master packs can be viewed above in the appropriate sections.
Raider's Cove has become a top stop for those who like their fun times in a tropical paradise seasoned with a healthy pinch of danger, and the Blaster's Path cantina is the go-to destination. Set a short distance from ebony-sanded beaches, patrons can enjoy their drinks out under the warmth of the sun and in Rishi's tranquil waters. And when the weather turns, the Path serves as shelter from relentless monsoons and chilly winter nights.
The Path's two stories offer ample space for drinks, concerts, card tournaments, and large private events, leaving many first-timers stunned to hear the cantina's owner downplay its qualities. But anyone who knows Kareena knows that her dry cynicism comes from regret. Ever since she allowed the Nova Blades a stake in the Path, the Blades have had their run of the place and profits have declined as a result. Kareena does hold onto a glimmer of hope that she'll one day make the Blaster's Path fully hers again, though she's not exactly holding her breath.
Commodore Margok (Persons of Note)
Corellian Run Scoundrels (Organization)
Grophet (Bestiary)
Exonium (Lore)
Nova Blades (Organization)
Orobird (Bestiary)
Raider's Cove (Location)
In the hearts and minds of many of its residents, Raider's Cove isn't some cobbled-together beach town - it's their safe haven. The same relative lawlessness that allows unsavory types to steal and fight with abandon also gives those who don't wish to live under the rule of galactic authorities a suitable home. And it's not as though Raider's Cove is a hotbed of anarchy: the town's founding pirate crew, the Nova Blades, routinely contend with residents and visitors who become too much of a nuisance.
The first phase of Raider's Cove, now a bustling port, was built using only what the stranded Nova Blades had available from their crashed ship, plus whatever natural resources they could plunder from the local Rishii. As more pirates arrived on Rishii and the local economy began to flourish, relatively polished structures were constructed along the black-sand shores and Raider's Cove became a vacation destination for adventure and trouble seekers everywhere - a true resort for the wicked.
Republic Traitors (Lore)
Revan's Conflict Over Rishi (Lore)
Rishii (Species)
The Rishii have soared as their planet's dominant species for many thousands of years. Their powerful wings, honed talons and knack for mimicking the sounds of other living things make them natural hunters. While highly intelligent, they prefer to apply their smarts to reflective and societal matters over technological advancement.
Content to lead simple lives in villages set atop high mountain peaks and grow their population at a glacial pace, the Rishii have no reason to war amongst themselves, though their ability to defend themselves from predators make them skillful combatants. Some Rishii have chosen to relocate closer to the outsiders who have colonized the world in recent years, the most adventurous among them integrating more fully and opting for the thrill of a pirate's life.
Rishii Village (Location)
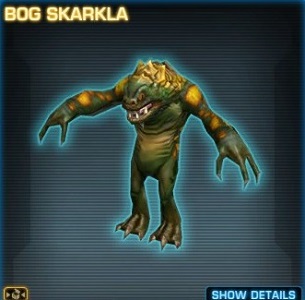
Skar'kla (Bestiary)
The Aggressor (Location)
Tonitran (Bestiary)
Loading Screens
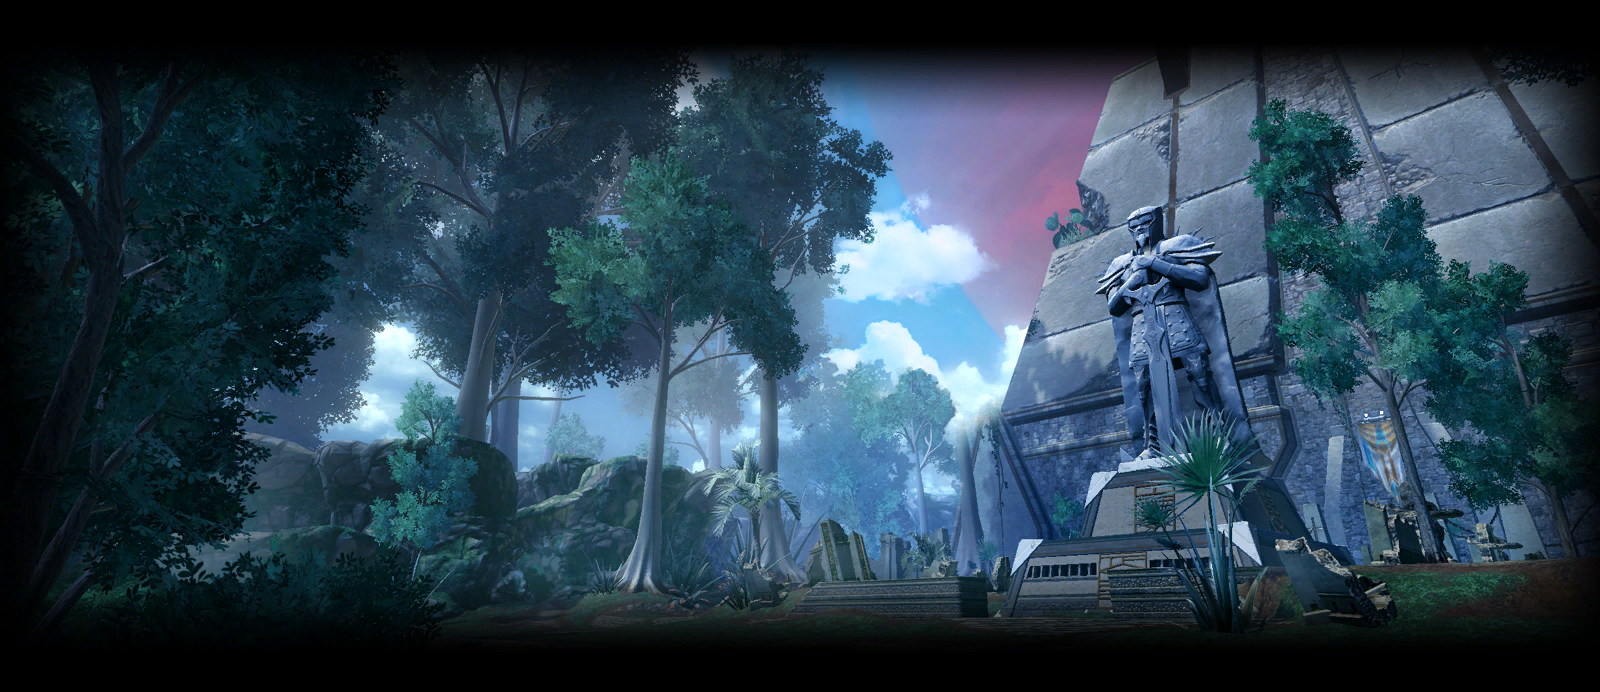
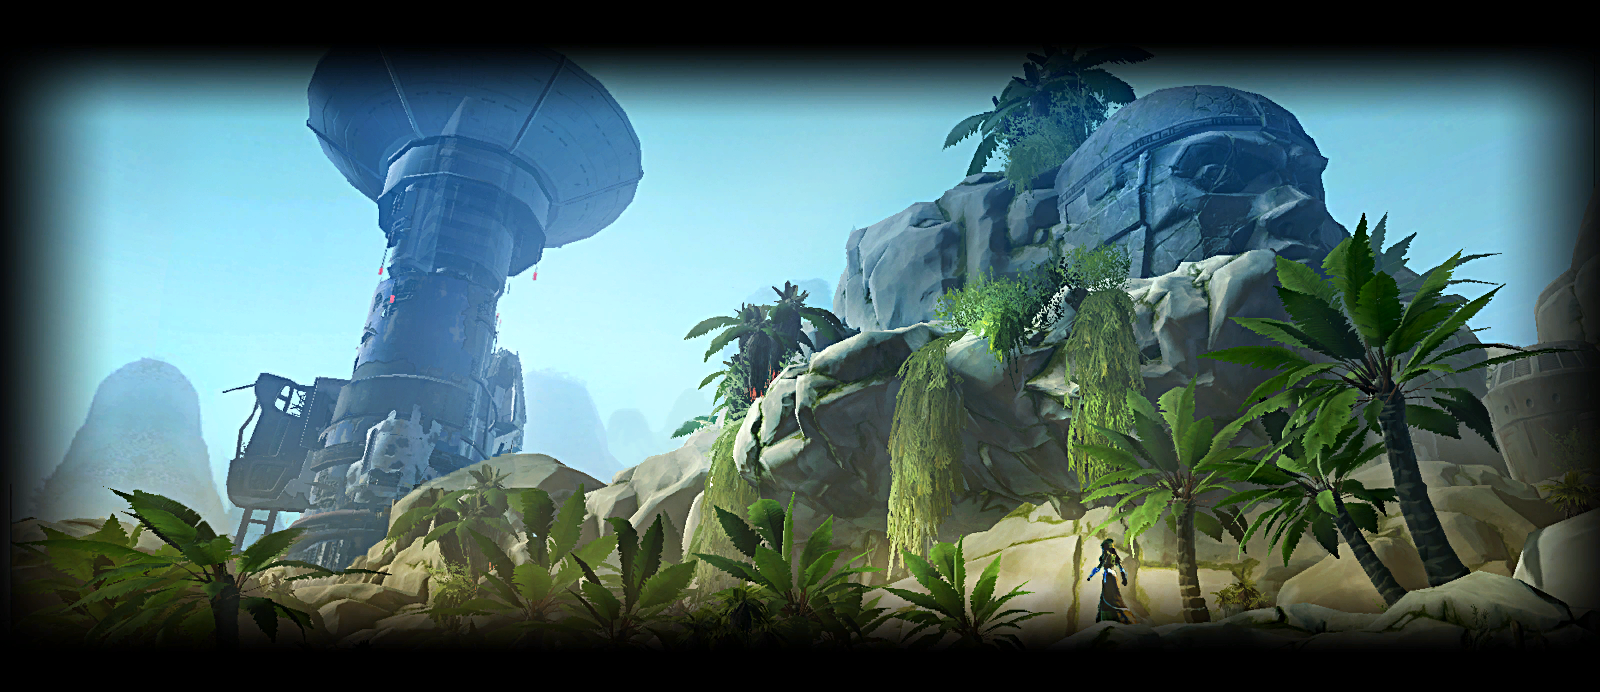
There are several new pretty pictures to look at while loading into these new planets and zones.
Rishi
Yavin IV
Blood Hunt
Battle of Rishi
The Ravagers
Temple of Sacrifice
3.0 Secrets
Note: The following section was written by Acuzel of The Shadowlands.
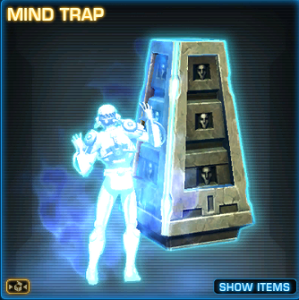
First travel to the Outlaw's Den on Tatooine and locate the Ancient Tome (X: ?, Y: ?). The Ancient Tome will give you a buff that allows you to damage the upcoming boss. (Thanks to Pythirr for discovering this).
Step 2: Sith Spirits
Once you have the Ancient Knowledge buff, travel to Yavin IV and begin searching for the 4 Sith Spirits. An achievement is available for discovering and clicking each one. For discovering them all you get another achievement and the legacy title "Speaker for the Dead." Interestingly, each spirit buffs you for 1 hour (persists through death) and while the description of each buff is similar, the icons are different. When you click on each Sith Spirit it will perform an AOE knockback, buffing everyone in range, before disappearing. If you leave Yavin IV, the buffs will be removed.
Buff Descriptions: Force Echo - You have been touched by the Force and an echo of that power remains within you.
Location 1: 2699, 635 - In a cave that connects Prowler's Trail and Verdant Swamp (Jungle Cave).
Location 2: 1920, 311 - North from Imperial camp that is next to Massassi Village (Alcove camp). There is a small dark forest with webs and other objects. The Spirit is behind the biggest tree (The Architect's Hollow).
Location: 1640, 550 - On top of the Massassi Temple behind Lord Commander Inkari.
Location: 1661, 724 - Entrance to the cave where you have puzzle (story) and relics (daily) quest phases. The Spirit is wandering inside.
Step 3: Talismans
Once you have all 4 Sith Spirit buffs (Echoes of the Force), you can begin searching for the talismans. Upon finding a talisman, interacting with it will remove its corresponding Sith Spirit and grant you a new 2 hour buff called "Talisman of the Force." You will receive this buff a total of 4 times (1 talisman per spirit). As before, if you leave Yavin IV or enter an instance the buffs will be removed.
Location 1: Massassi Village
Location 2: Prowler's Trail
Location 3: Verdant Swamp
Location 4: ?
Step 4: Summoning The Ancient Threat
Once you've obtained 4 stacks of "Talisman of the Force", head to the training grounds to summon The Ancient Threat. To do this, find the Unknown Talisman (immediately to the east of the temple, looking at the world map, and left of the Jungle Cave entrance). Assign whoever has 4 stacks to click the Unknown Talisman. A second or two will go by and then the boss will spawn.
The Ancient Threat has about 65k health and the only noticeable mechanic present is a medium-sized purple ring around the boss that damages anyone inside the ring for 9-10k per second. Don't stand in the circle or heal while in it.
Rewards: "The Ancient Threat" Legacy Title
Credits
All content in this game update coverage was written by Chemayla, Ohnoto, Hayward, and Raulos, with help from Acuzel, Milas, ZORZ (guild), Working as Intended(guild), and Hellbent guild).
All images were captured in-game or using plugins created by Vindis and swtor_miner. Special thanks to swtor_miner for additional data generation.
Several world boss sections and secrets were submitted by a third party who did not write the actual content. If you recognize those sections as being paraphrased from your work, please contact us so we can properly credit you.

 Fire Emblem Heroes
 Fire Emblem Warriors
 Pocket Mortys
 Star Wars: The Old Republic
 SWTOR News
  Ord Mantell
  Tython
  Armormech Leveling
  Armstech Leveling
  Artifice Leveling
  Biochem Leveling
  Cybertech Leveling
  Synthweaving Leveling
  Game Basics
  Character Designer
  Events Calendar
  SWTOR Tooltips
  Alderaan
  Balmorra (Empire)
  Coruscant
  Hoth
Hoth  Hutta
Hutta  Ilum
Ilum  Korriban
  Voss
Voss 








 Galactic Republic
 Sith Empire


 Armormech
 Armstech
 Artifice
 Biochem
 Cybertech
 Synthweaving




















































































 Hyrule Warriors: Age of Calamity